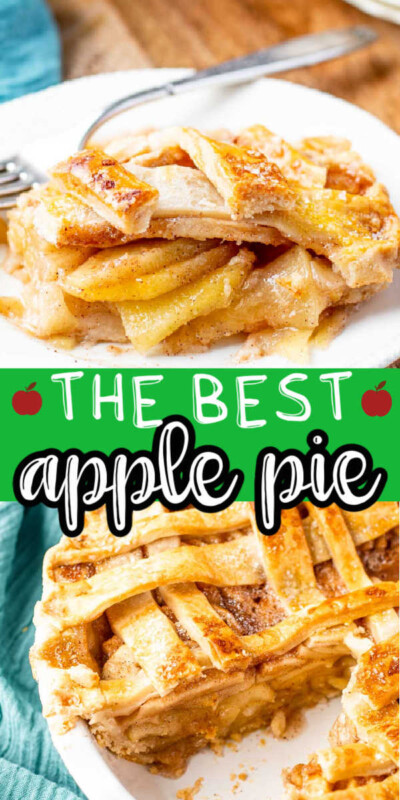
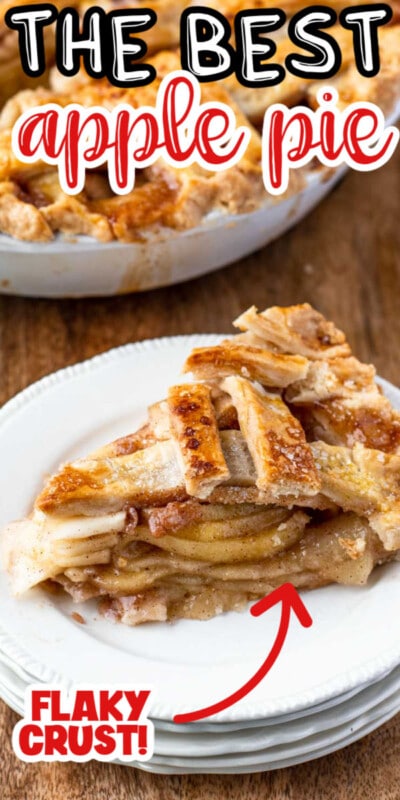
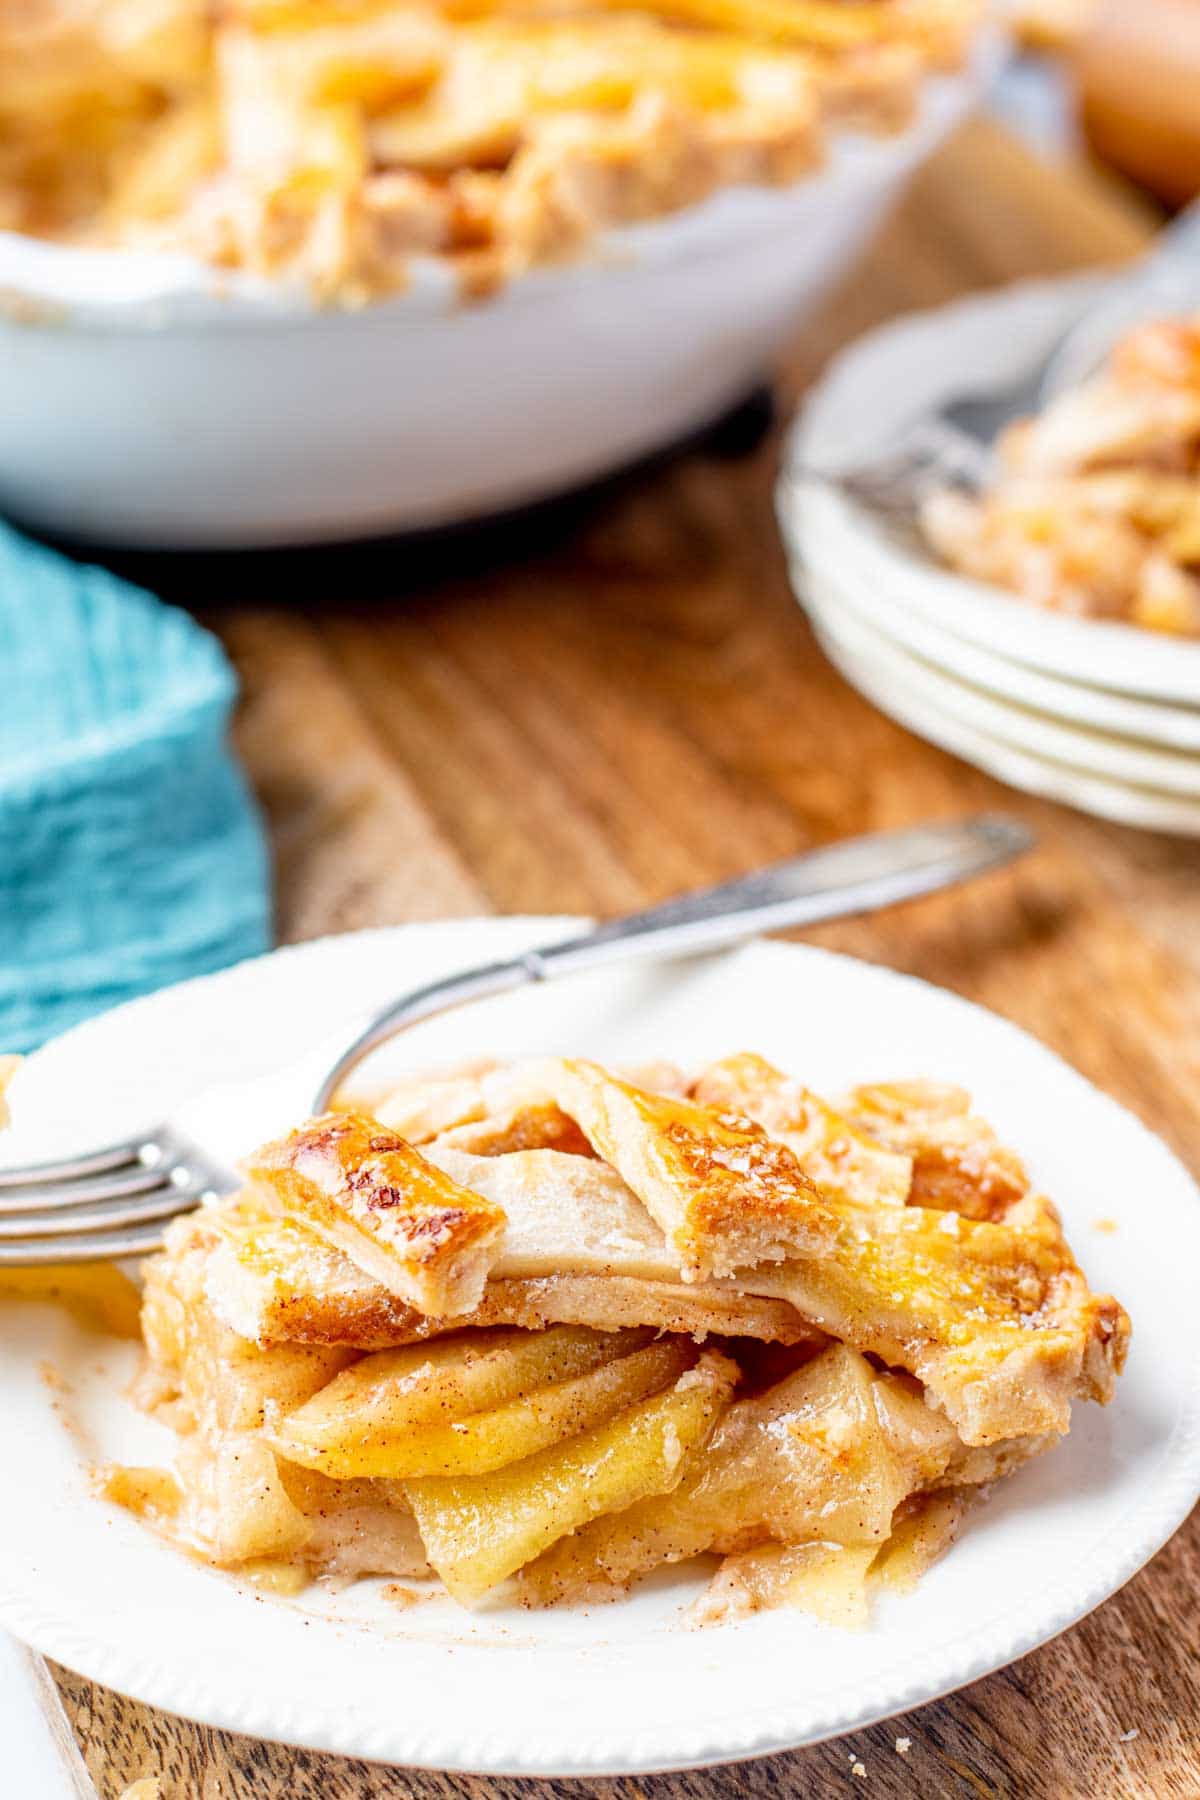
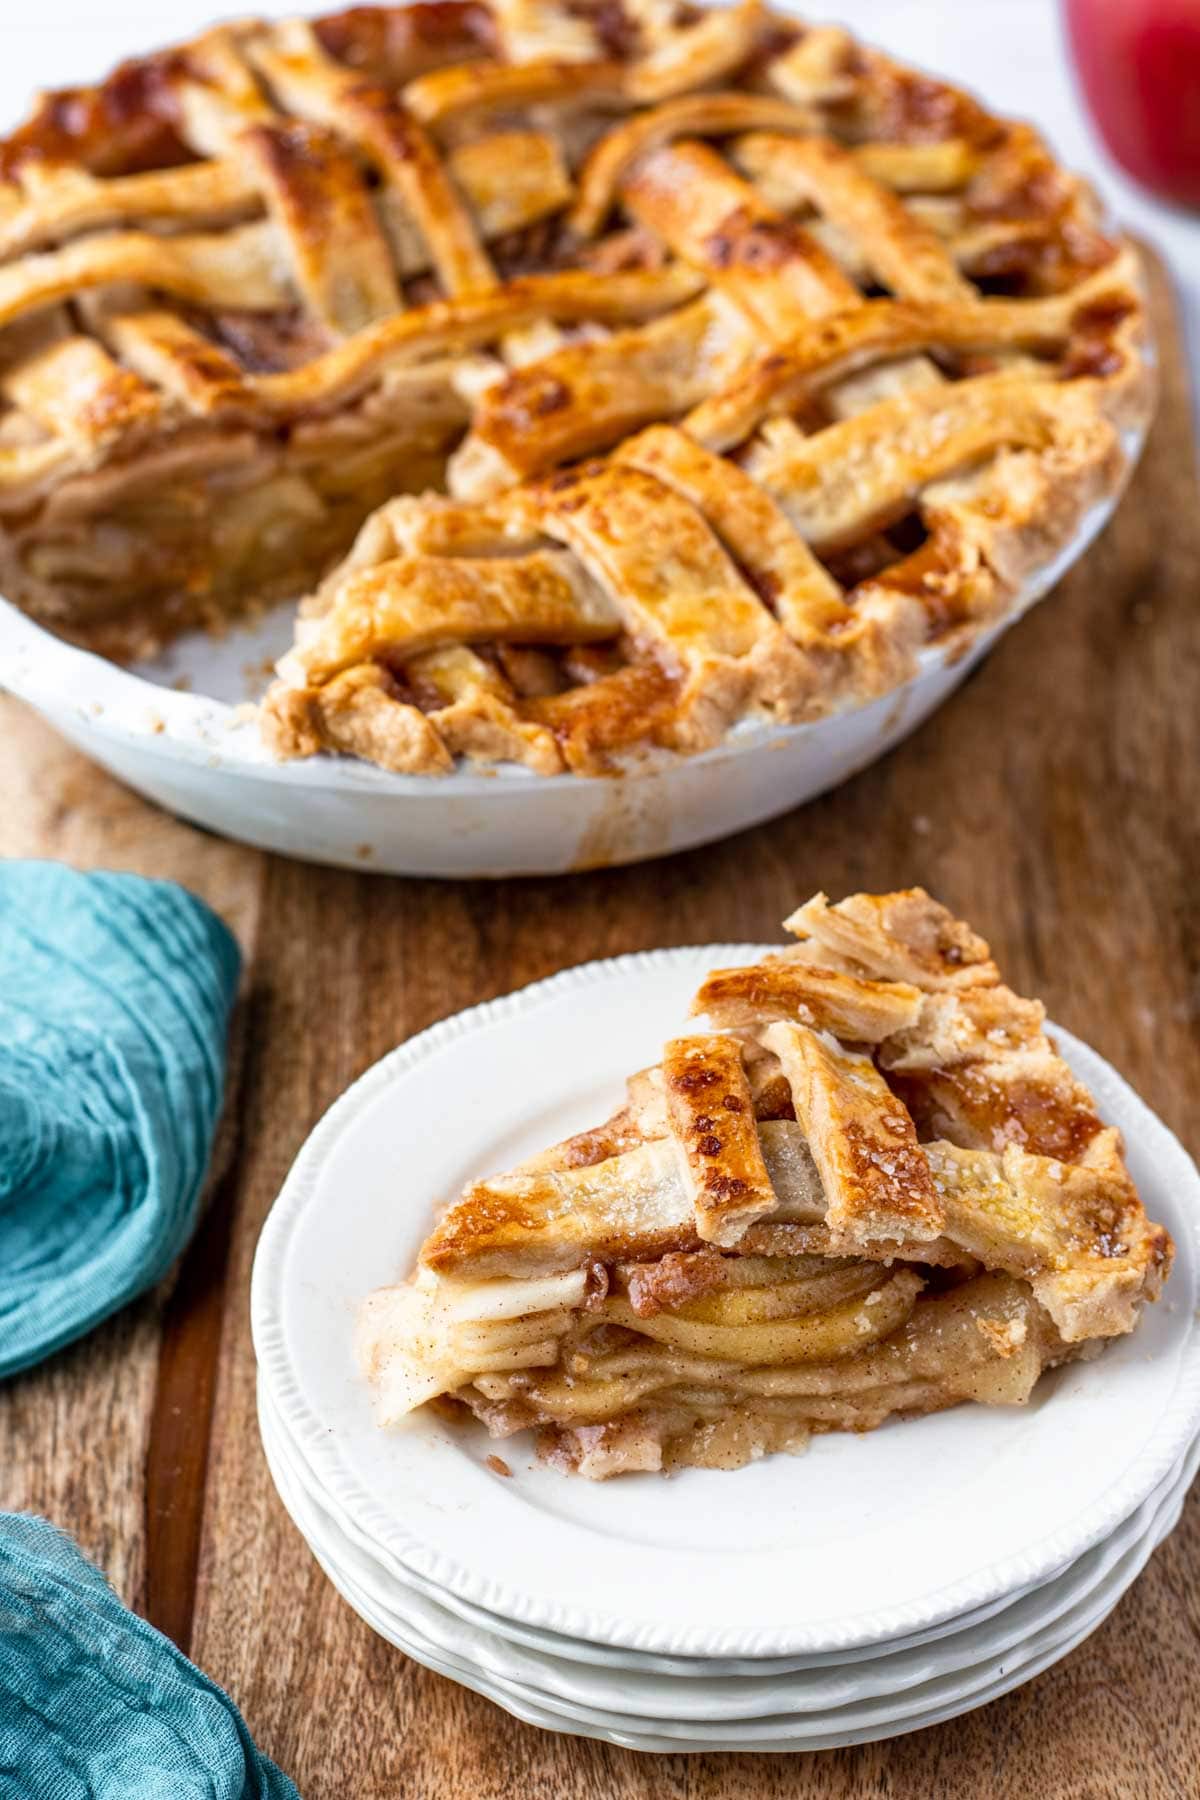
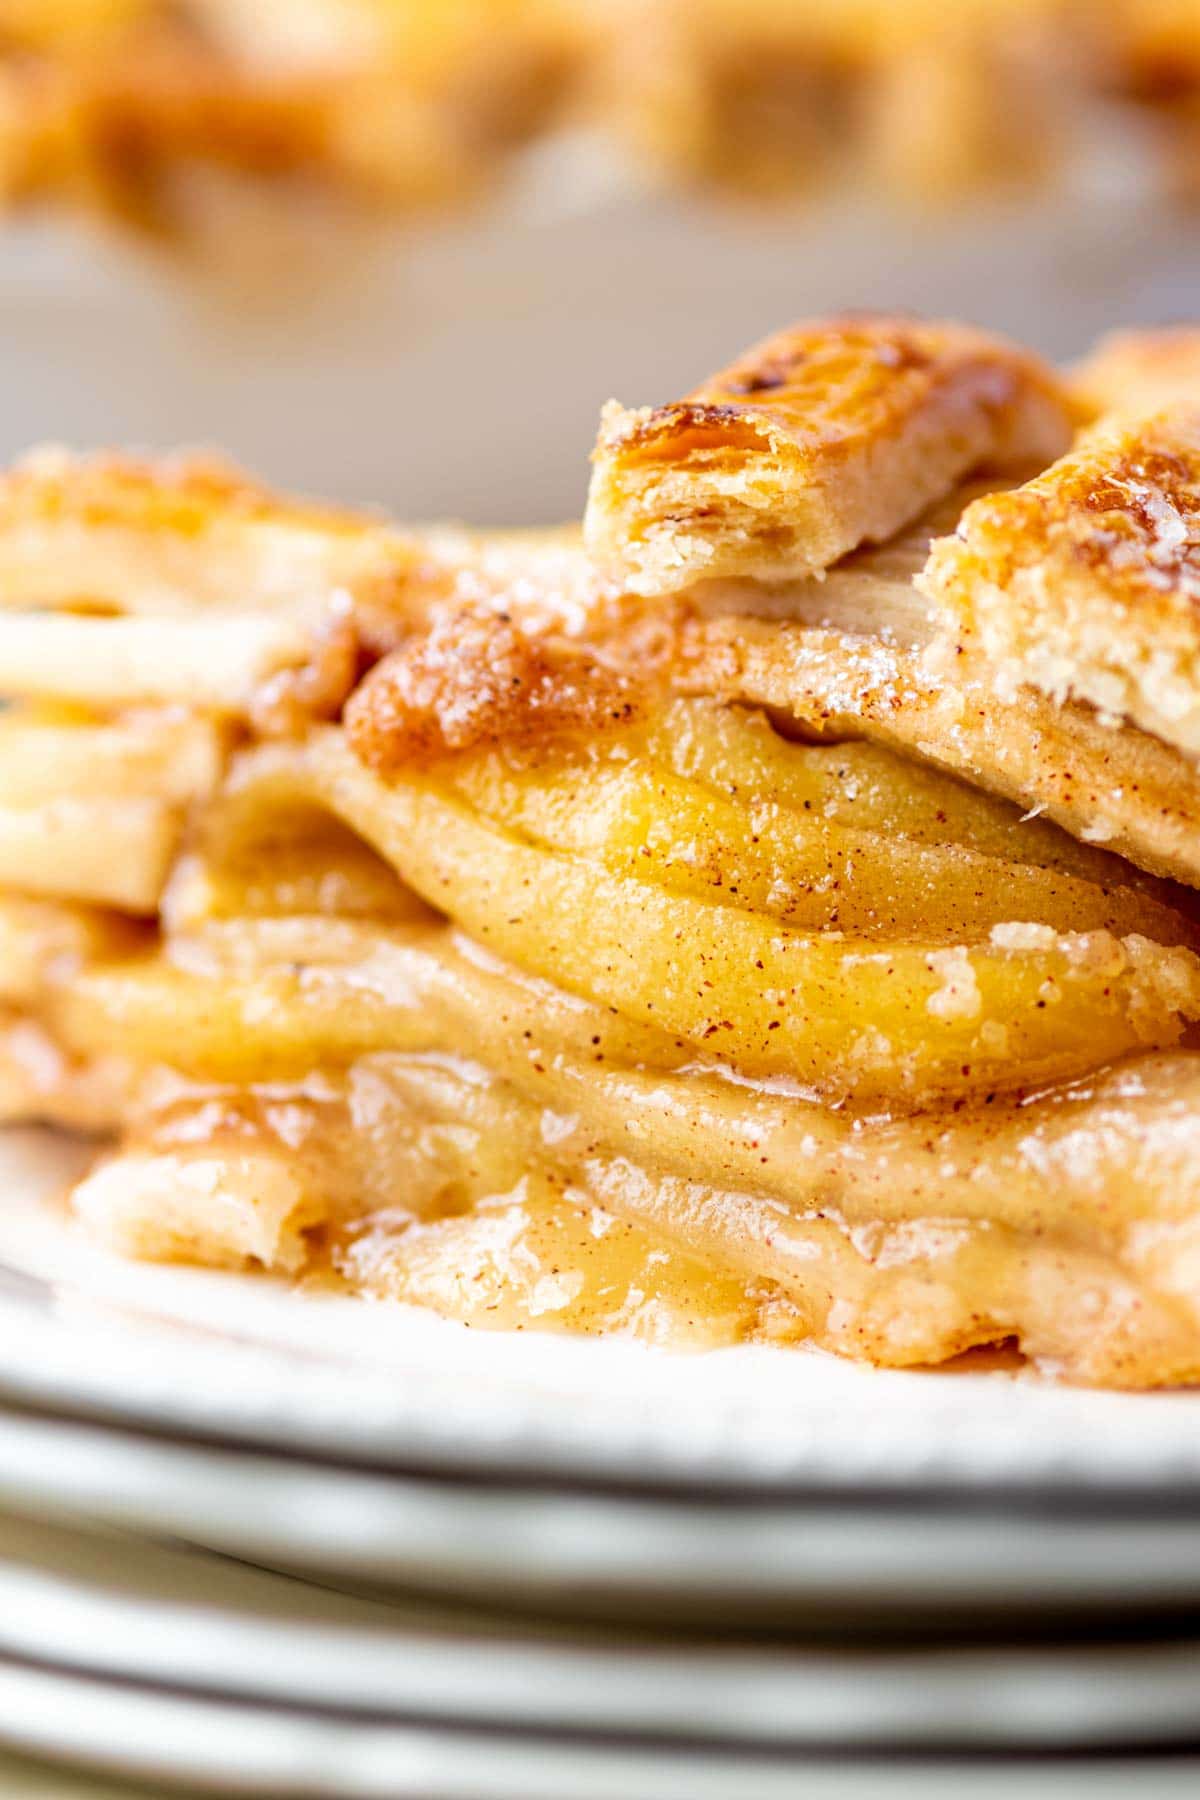
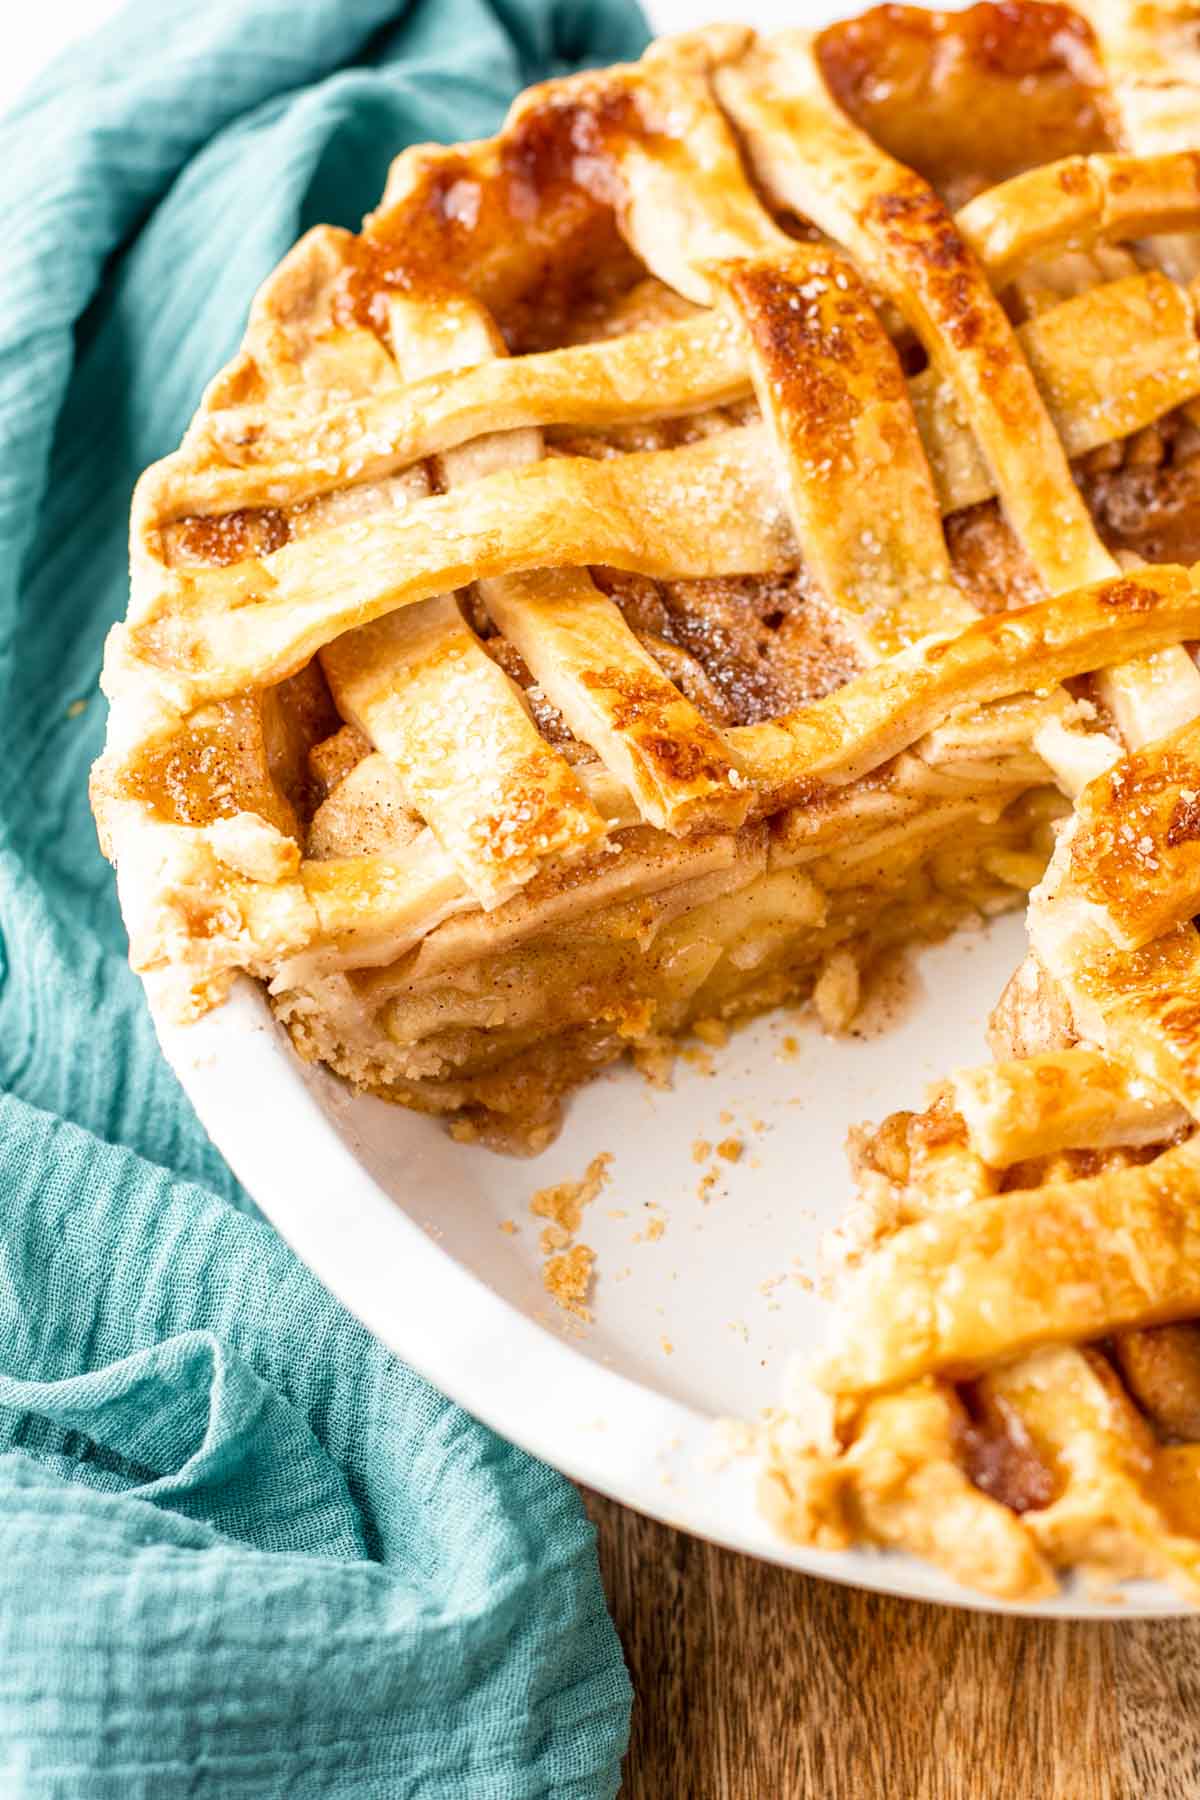
Is there anything better than homemade apple pie with a scoop of vanilla ice cream on top? I mean maybe, but that’s pretty fantastic. It’s even better than apple crumble with fresh whipped cream or even caramel apple nachos with chocolate and caramel drizzles. I’m going to be honest – this apple pie recipe takes a quite a bit of time but a lot of that time is just waiting for the crust to chill and the pie to bake. There’s not a lot of hands on time. And your patience will be rewarded because you guys, this apple pie is amazing. The flaky butter pie crust is better than any store-bought crust and the filling, yeah the filling is just delicious. Plus, pies are so pretty. Whether it’s a no bake pumpkin pie topped with whipped cream and pecans or a Reese’s peanut butter pie topped with mini peanut butter cups – pies are just beautiful to look at and so yummy to eat. Anyway, I hope you enjoy this homemade apple pie. I know we did and will after some Thanksgiving games next week and then again at our 4th of July party next year!
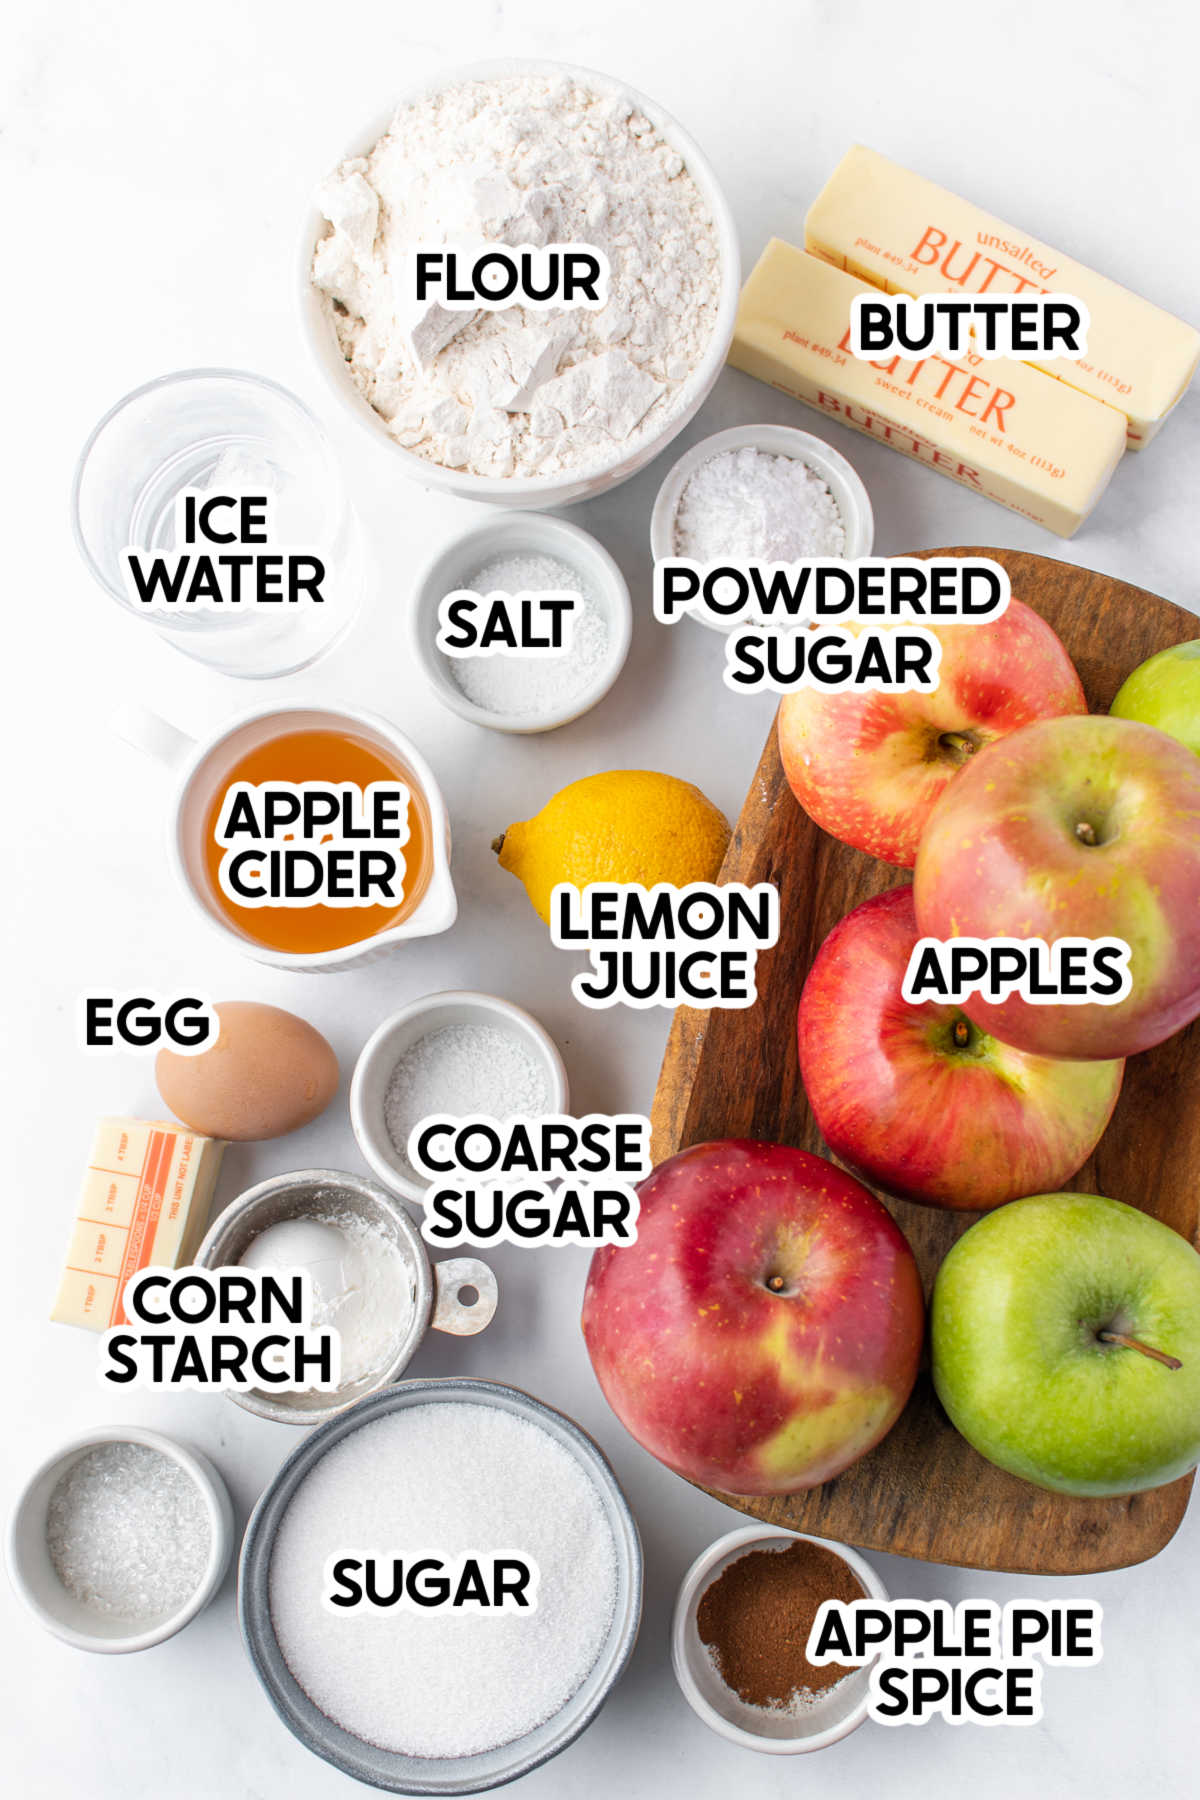
Ingredients
Ingredient Notes
Apples – You need about eight cups of peeled and thinly sliced apples, which is about six apples if you’re using regular size apples, maybe a few more for little guys. Go with a mix of Granny Smith, Gala, and Honey Crisp for the best combination of sweet and tart. Sugar – there are three types of sugar included in this recipe – powdered, coarse, and regular white sugar. The powdered sugar goes in the crust, the coarse sugar gets brushed on the top crust, and the white sugar goes into the pie filling. You definitely need the powdered and regular sugar. If you can’t find it, you can skip the coarse sugar but it definitely makes the top pie crust better! Lemon juice – freshly squeezed is better but if you don’t have a lemon, you can use bottled as well. If you use bottled lemon juice, I recommend a good quality one like Santa Cruz compared to the stuff that tastes fake.Butter – you need butter for both the crust and the filling. The butter for the crust should be VERY COLD so make sure it stays in the fridge until right before use. Cut it into small pieces like you would for this sopapilla cheesecake. Apple Pie Spice – if you can’t find apple pie spice, you can make your own using this recipe. Ice water – I said ice water instead of just cold water because it needs to be icy cold for the crust to blend the way it needs to.
Instructions
Okay so now let’s talk about how to make this homemade apple pie. I’m going to show the basics for the pie crust but if you need more details, read this post on the perfect flaky butter pie crust.
1 – Make your Crust
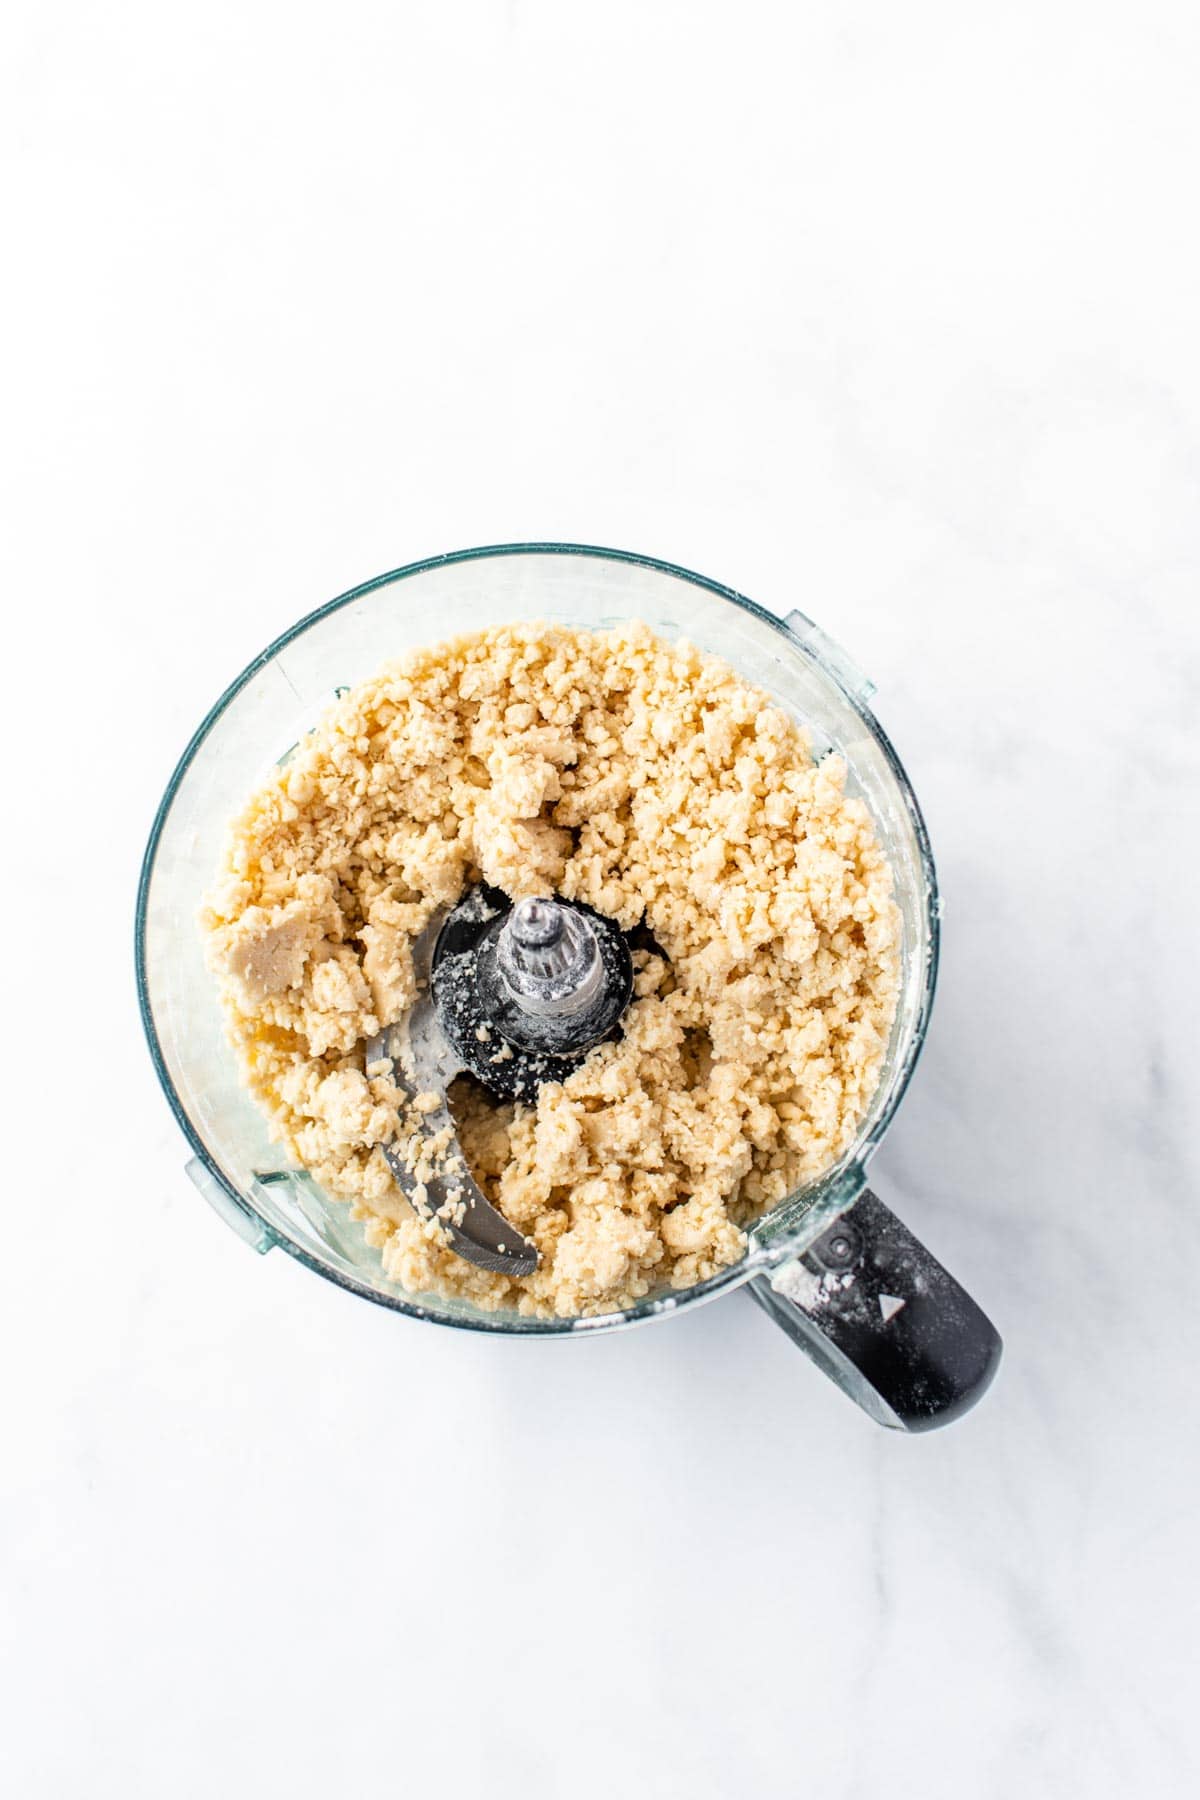
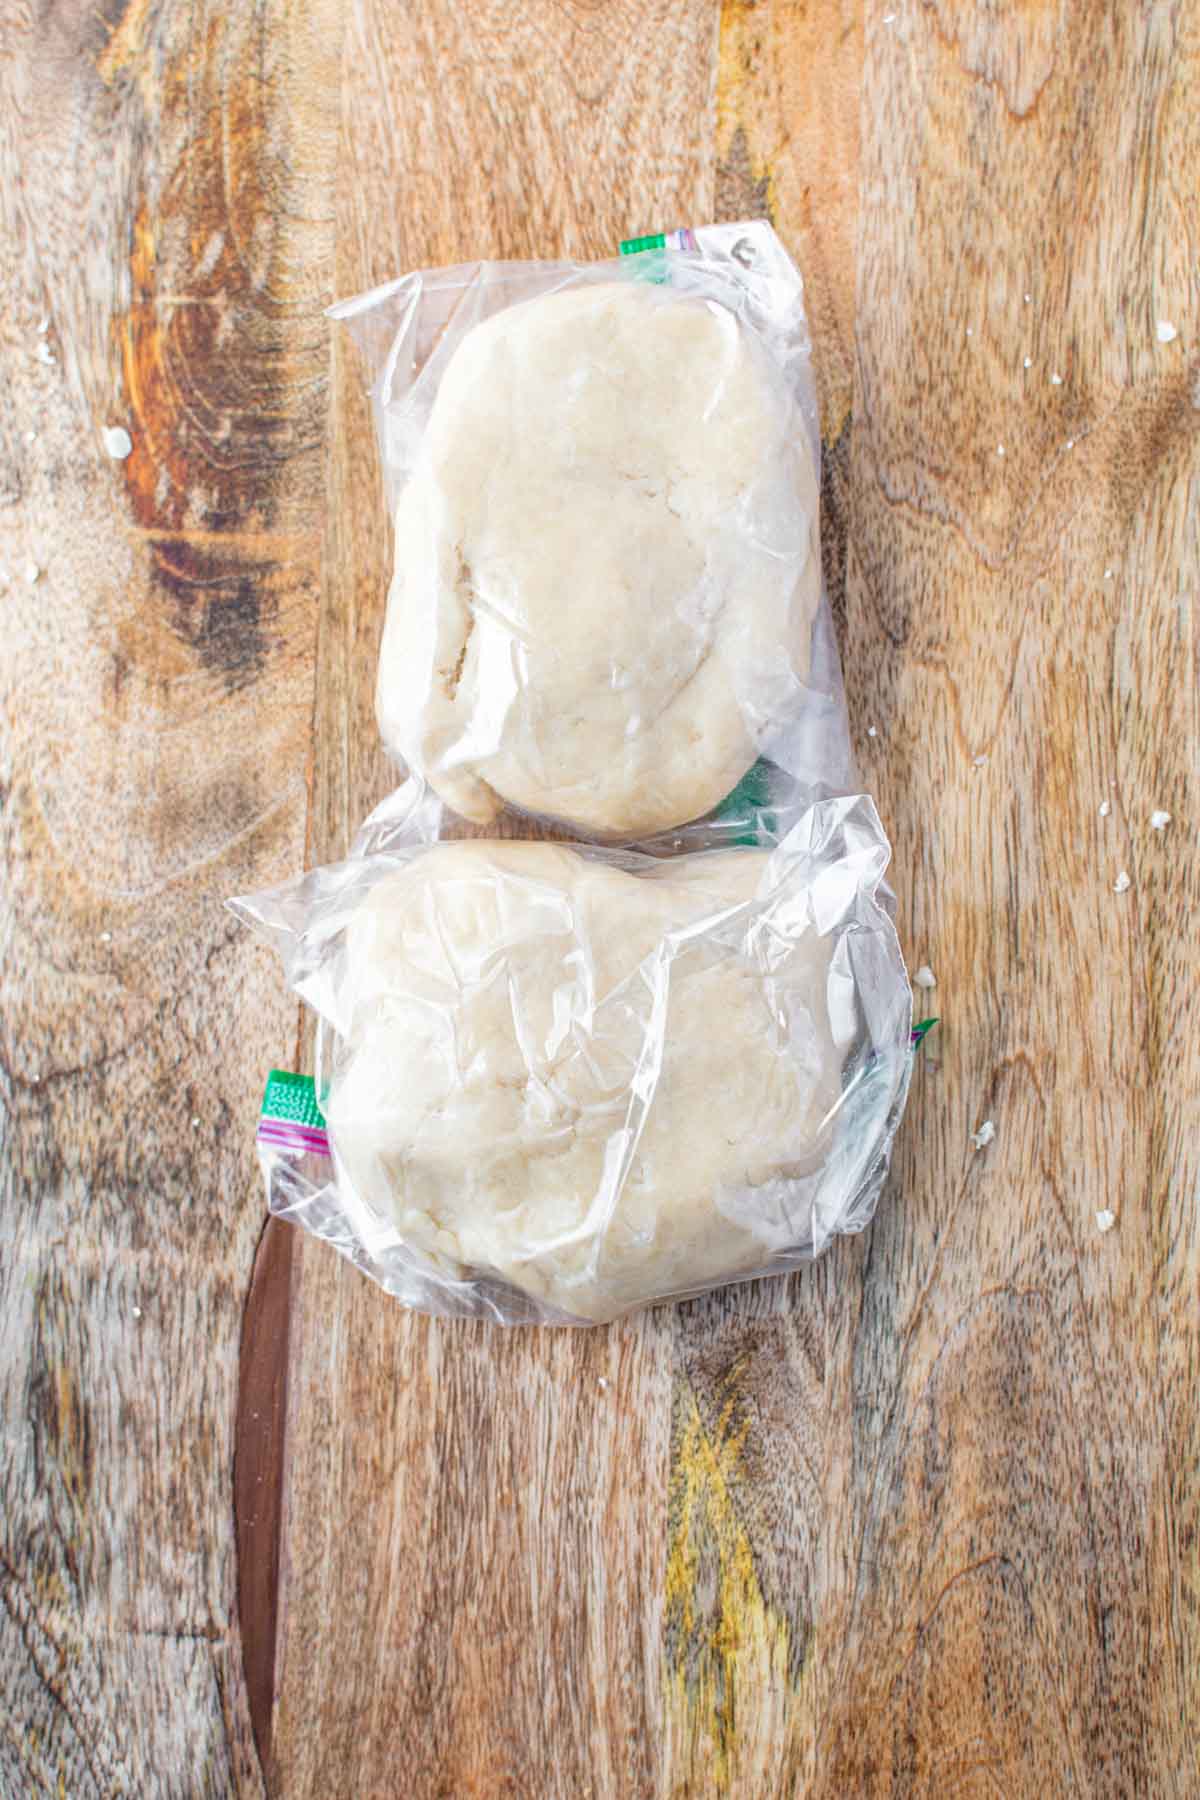
To make the crust, add flour, powdered sugar, and salt in the food processor. Pulse a couple of times just to mix. Add the VERY COLD pieces of butter and pulse about 20 times (don’t just run the processor) so it’s mostly combined but still in small pieces. Gradually add the ICE cold water and pulse regularly. Once you’ve added the water, pinch a piece to see if it stays together. It it does, you’re good to go. If it falls apart, add another small spoonful of water and do the pinch test again. Keep doing this until the crust stays together when pinched. Place the crust mixture onto a piece of wax paper and make a ball. Divide the ball into two pieces and press into a small circle. Wrap each piece in plastic wrap and chill for at least an hour.
2 – Sugar the Apples
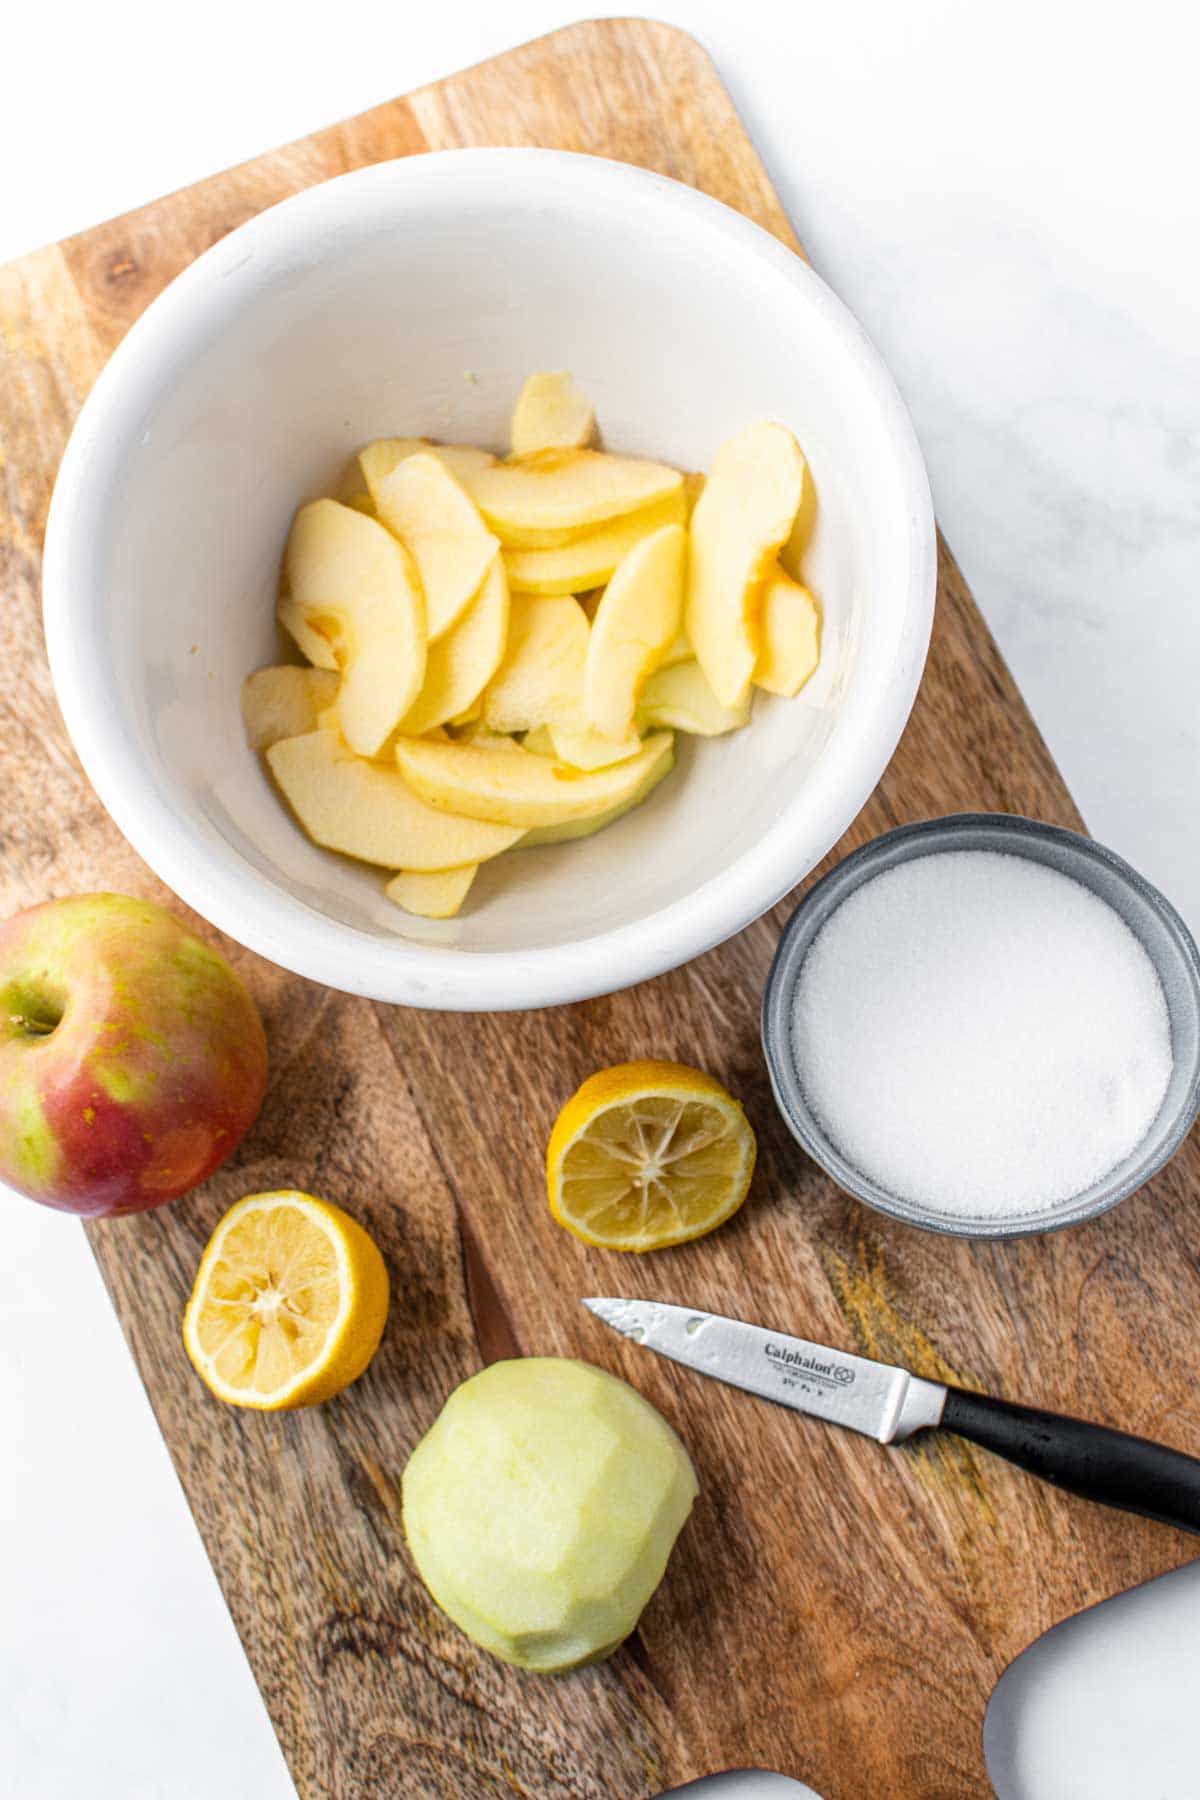
Place thinly sliced apples in a bowl and pour sugar over them, trying to get sugar in between and all around the slices. Squeeze lemon juice over the apples and let them sit for 15 minutes until most of the juice has collected in the bottom of the bowl. Once the juice has collected, you can keep working on the rest of your filling.
3 – Make the Filling
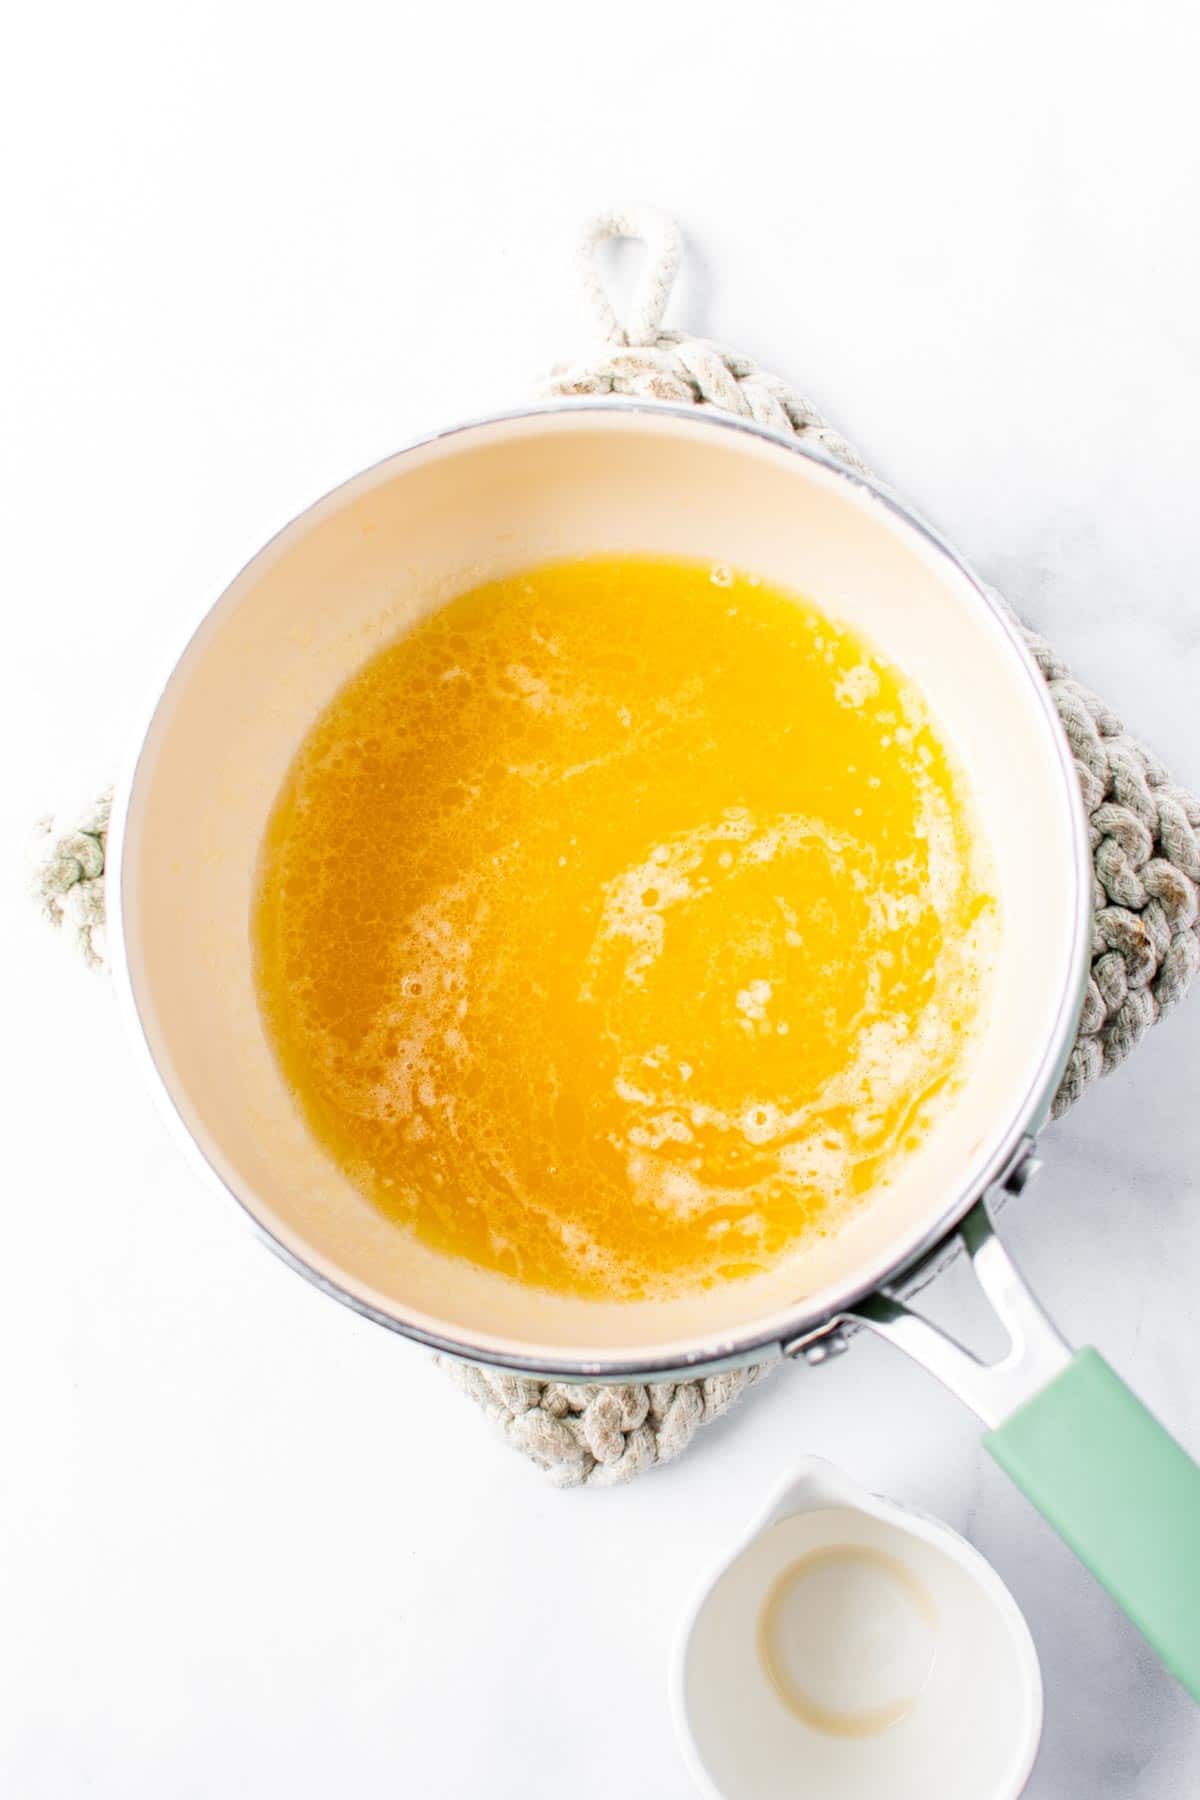
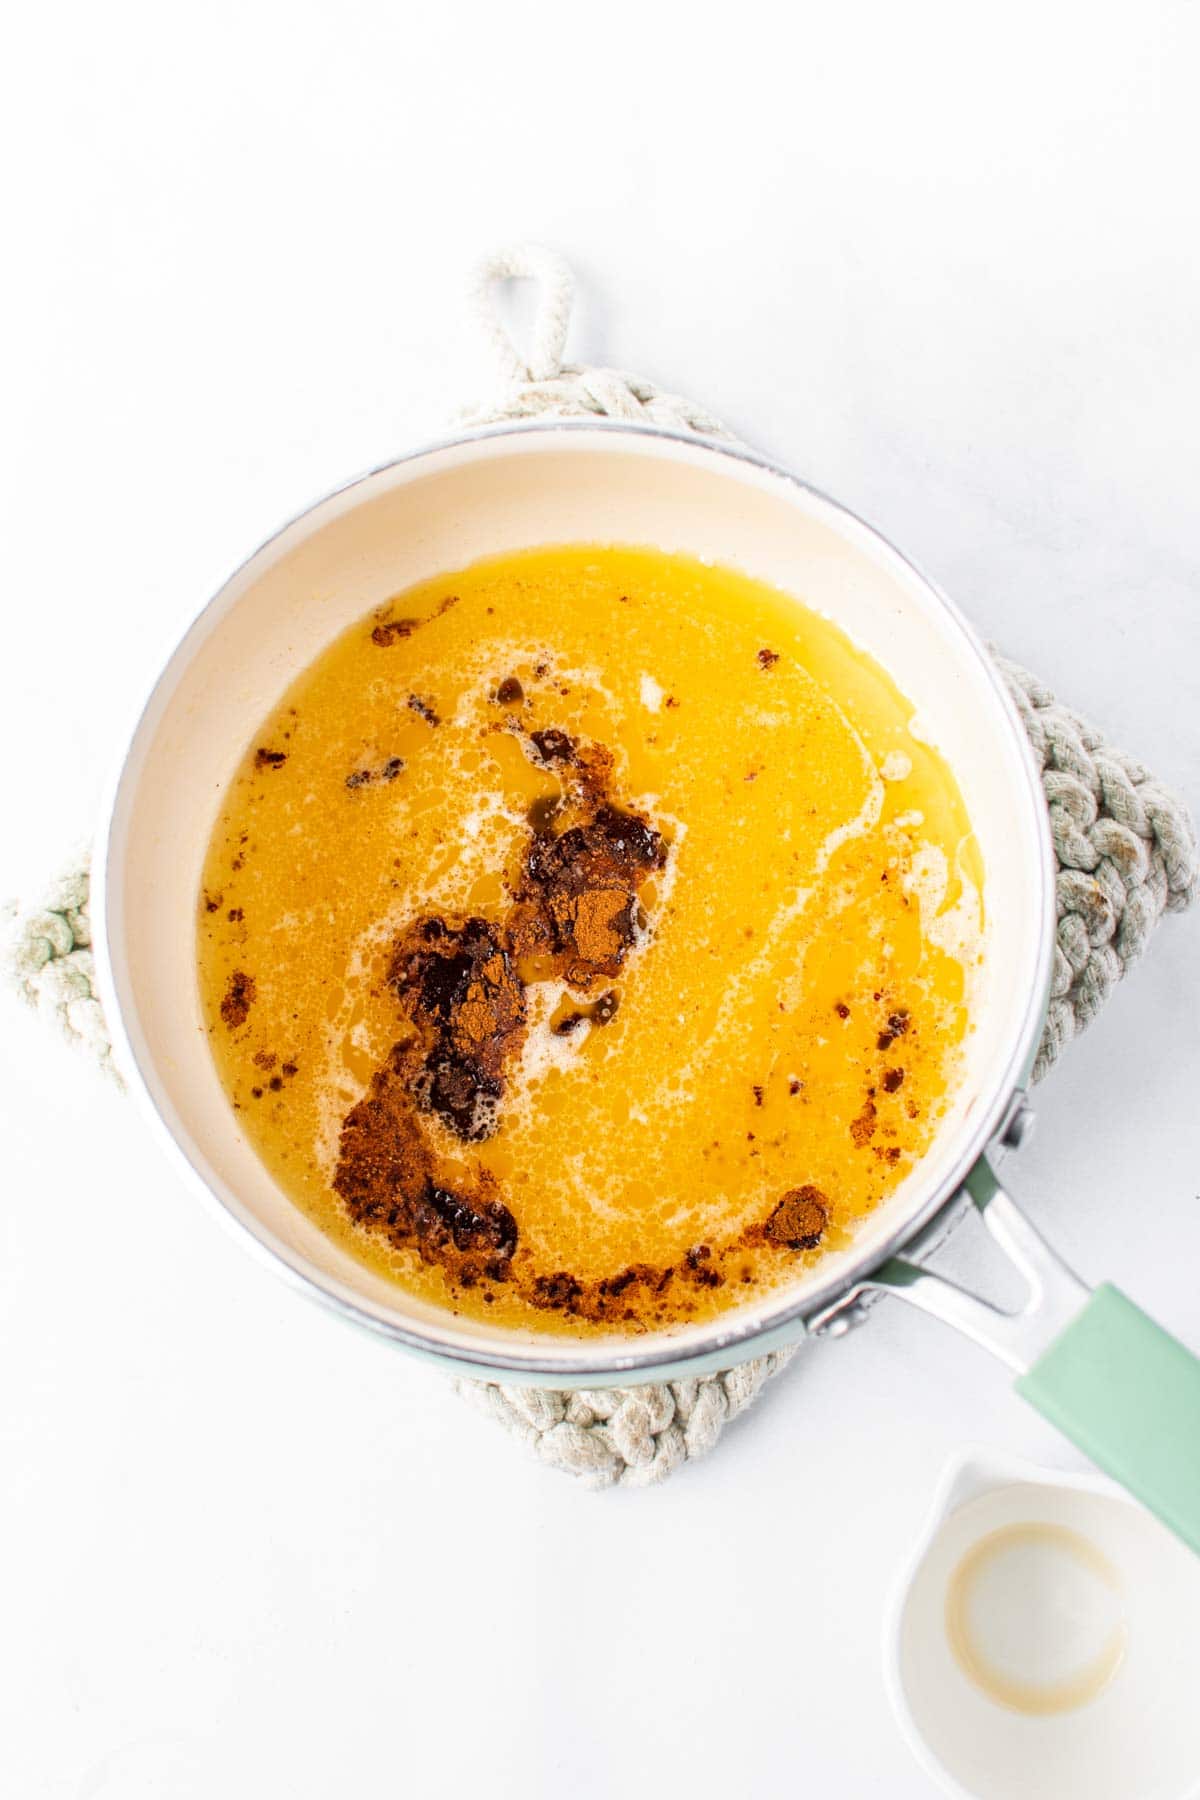
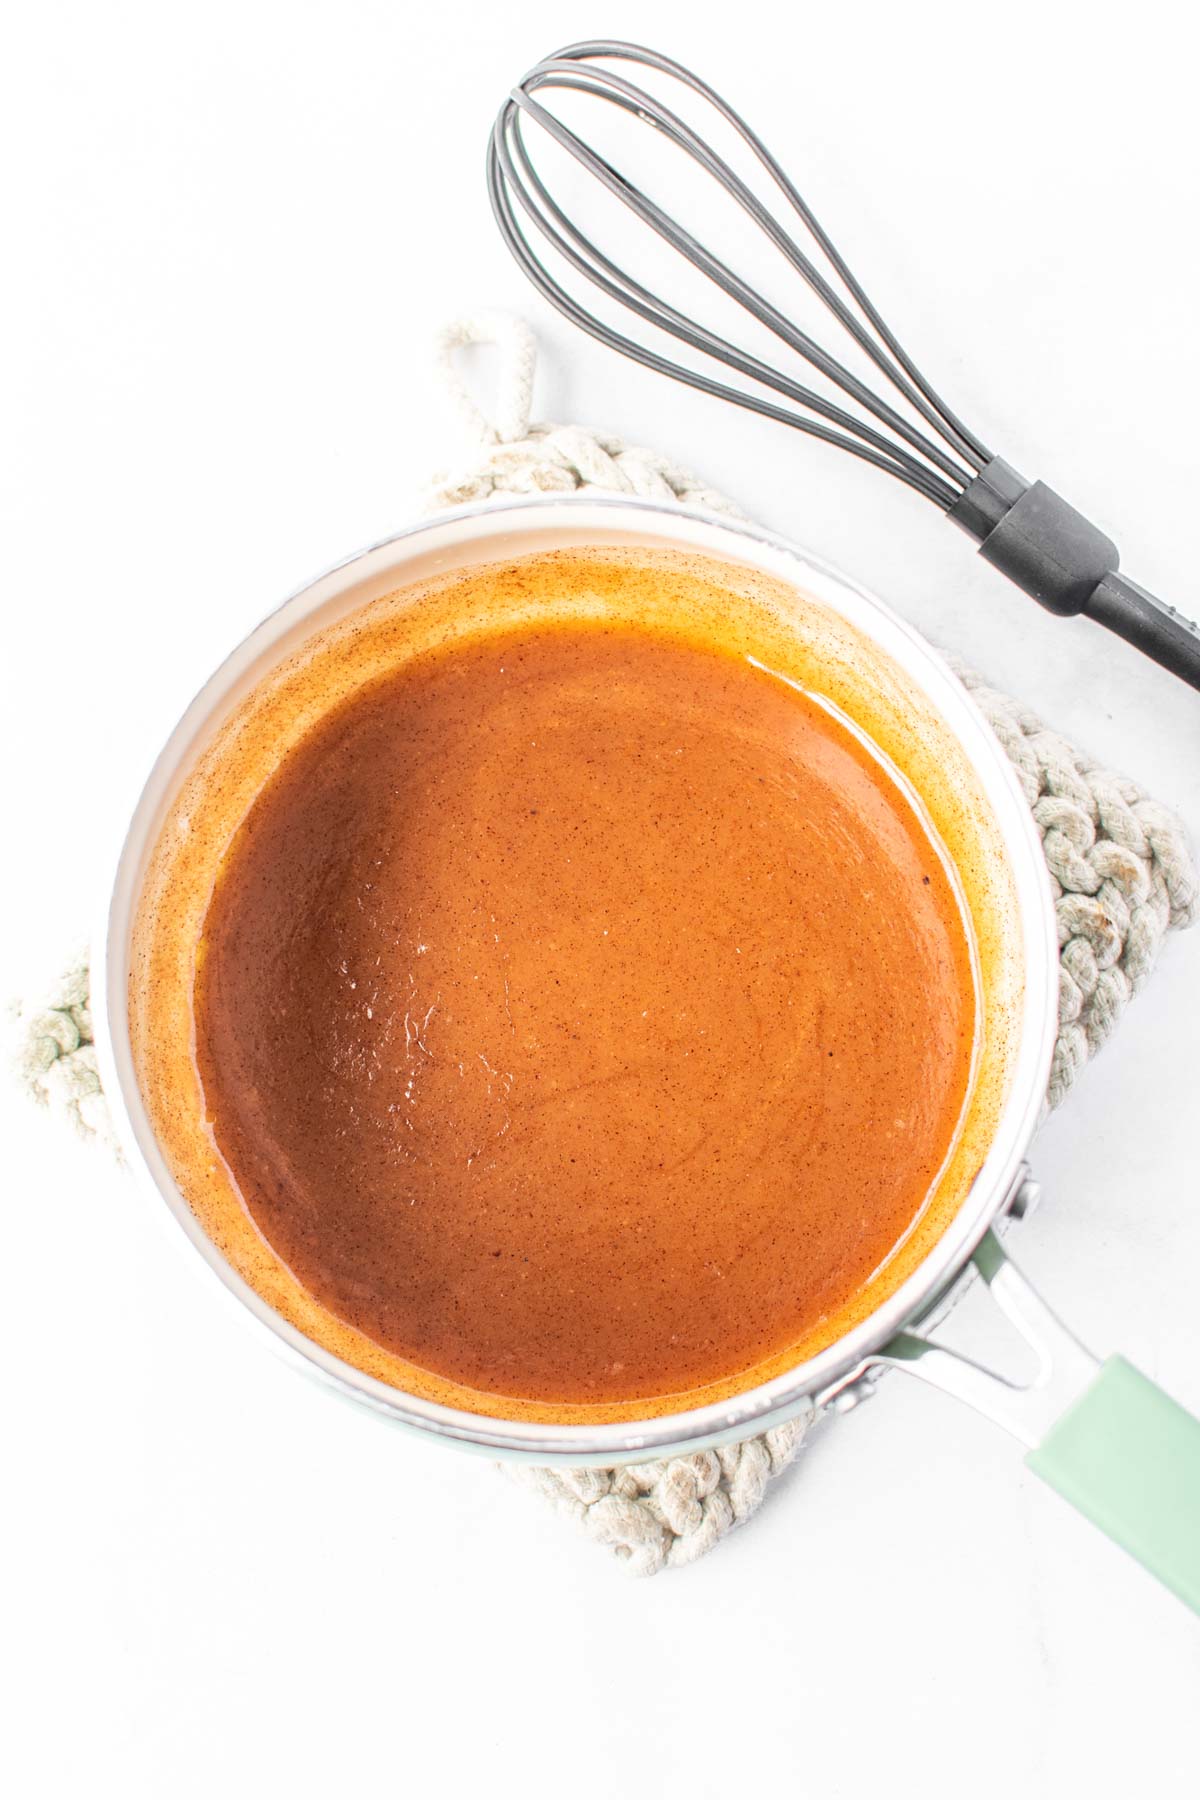
Melt butter in a medium sauce pan then once butter is melted, carefully drain all that juice from the apples and add to the pan. Combine the apple cider, cornstarch, apple pie spice, and salt in a small bowl with a whisk. Add the apple cider mixture to the sauce and use a whisk to stir the mixture together, stirring continually. Remove the filling from heat as soon as it starts to thicken. You don’t want it to get too thick or start to burn.
4 – Make Your Homemade Apple Pie
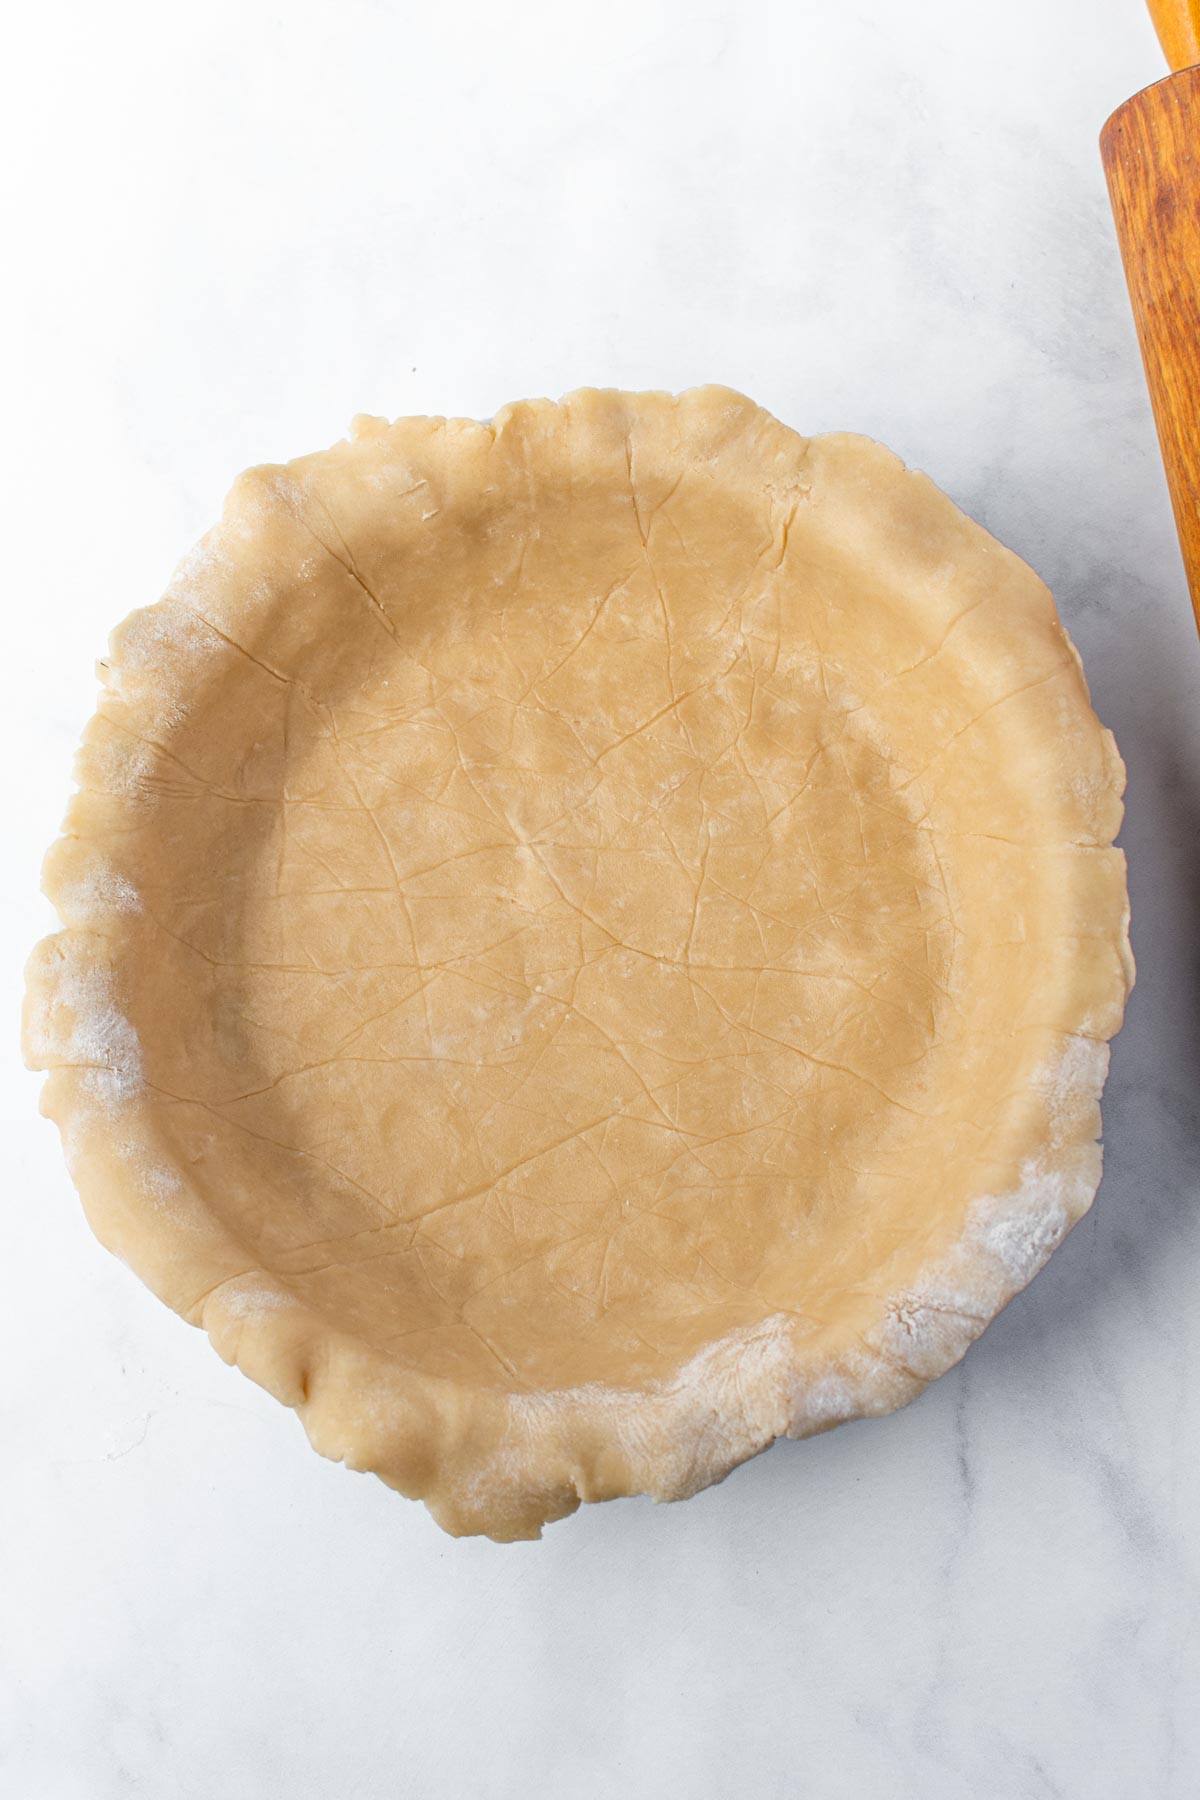
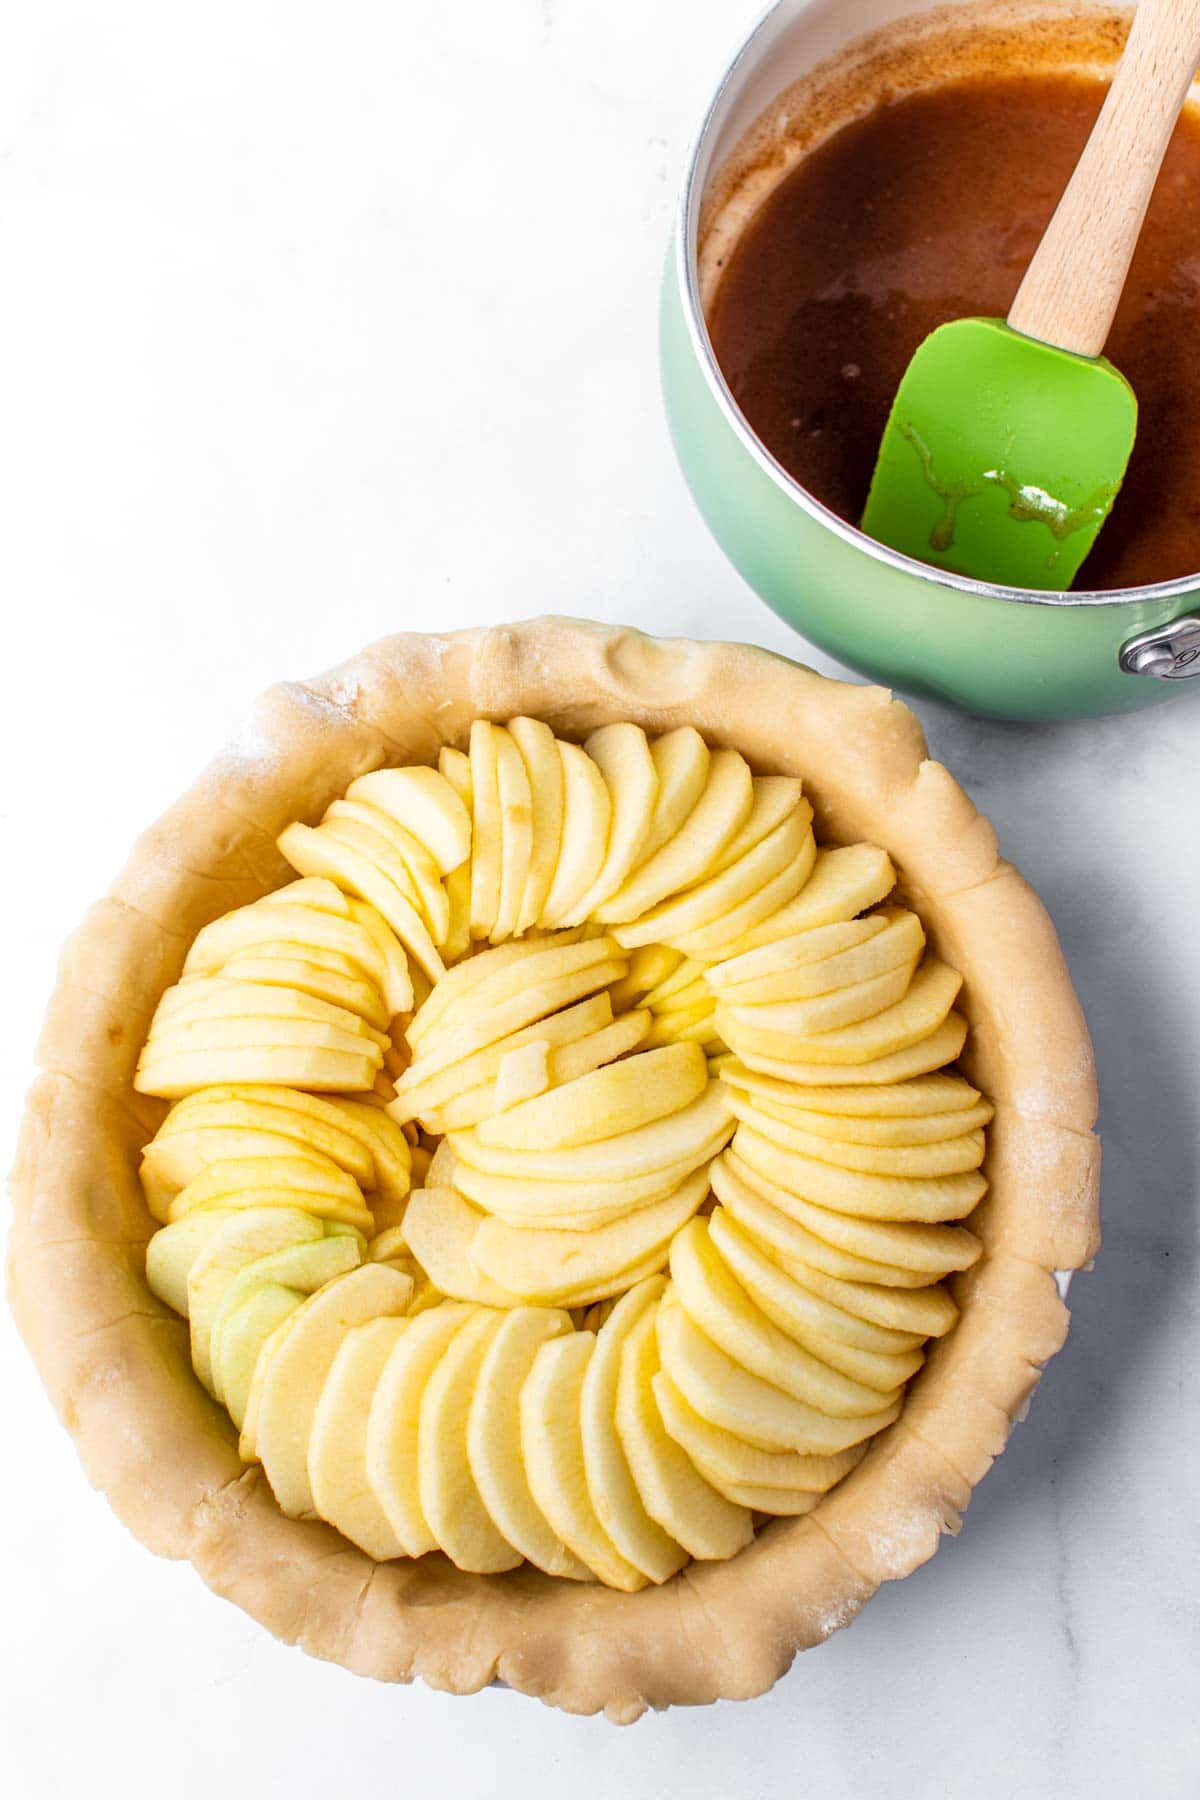
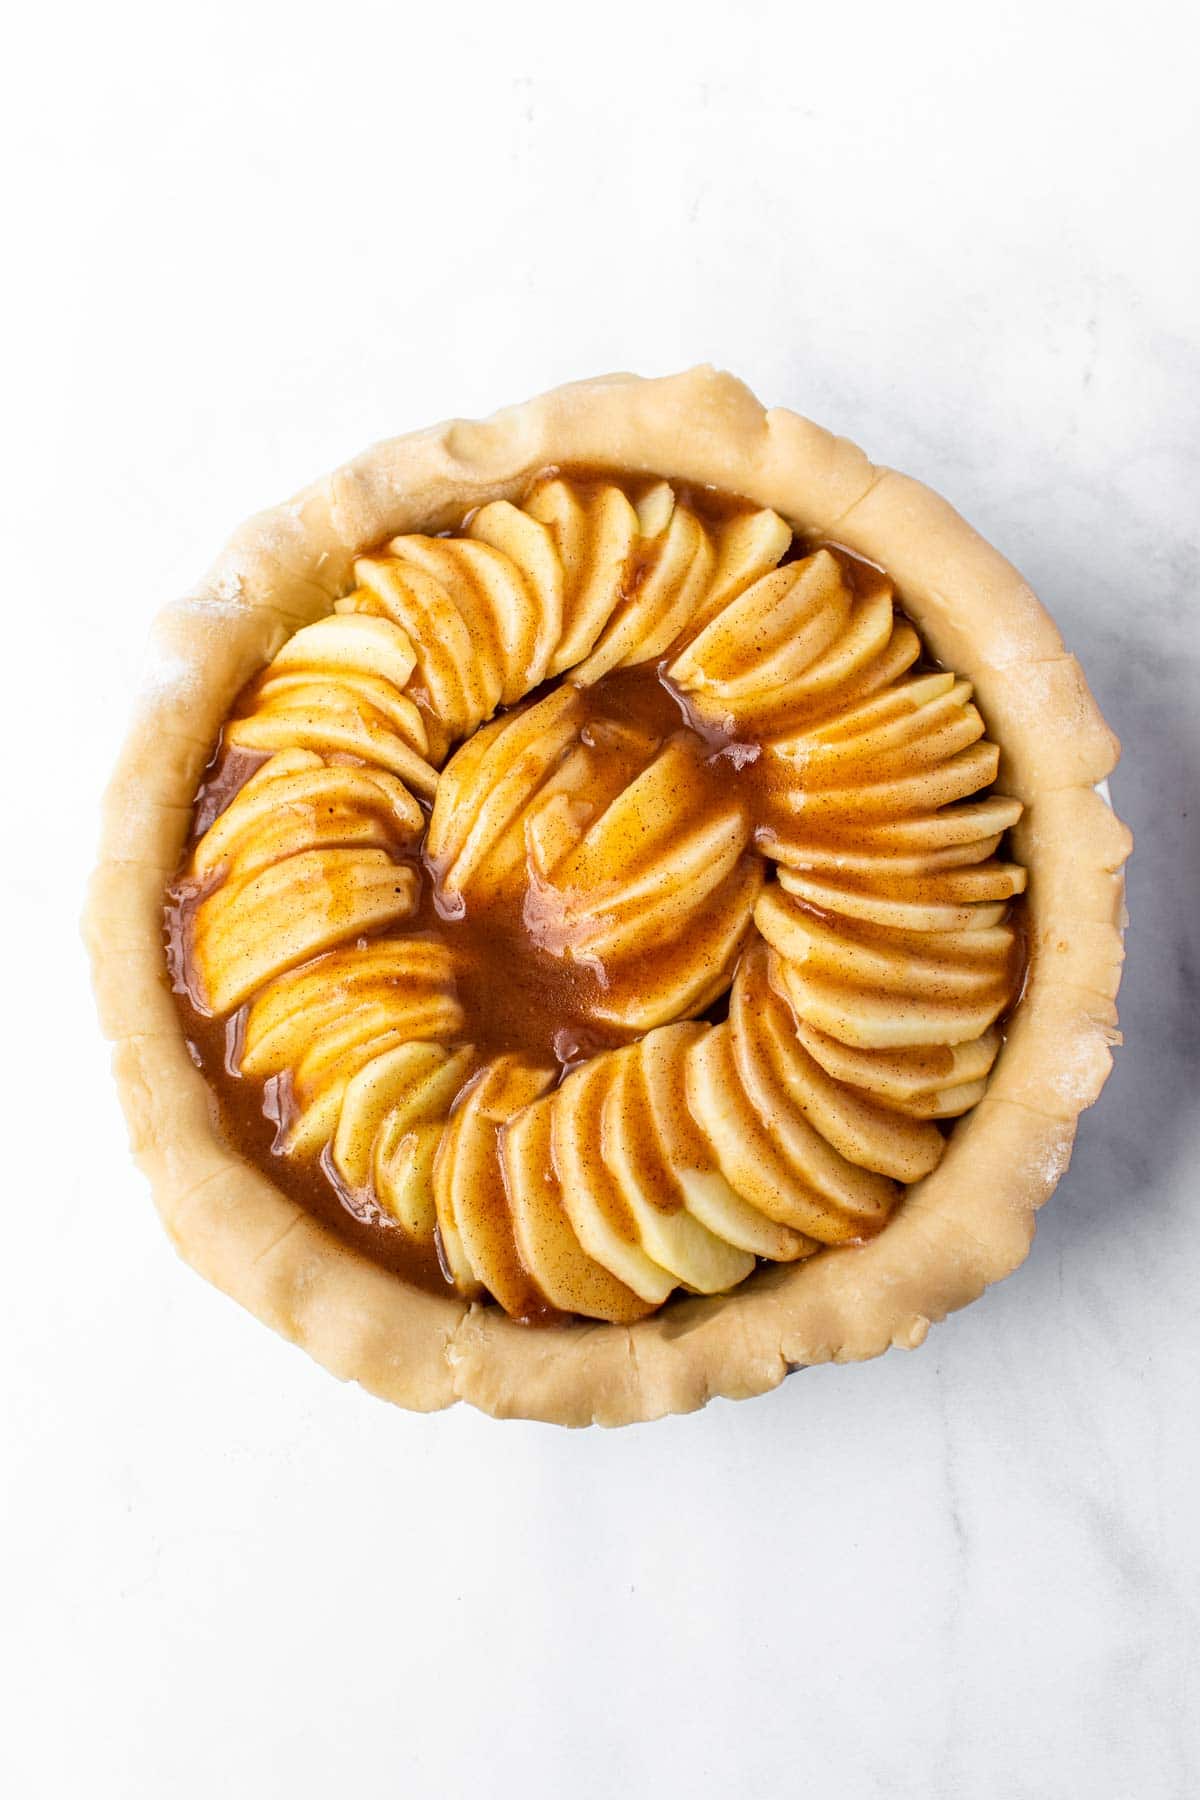
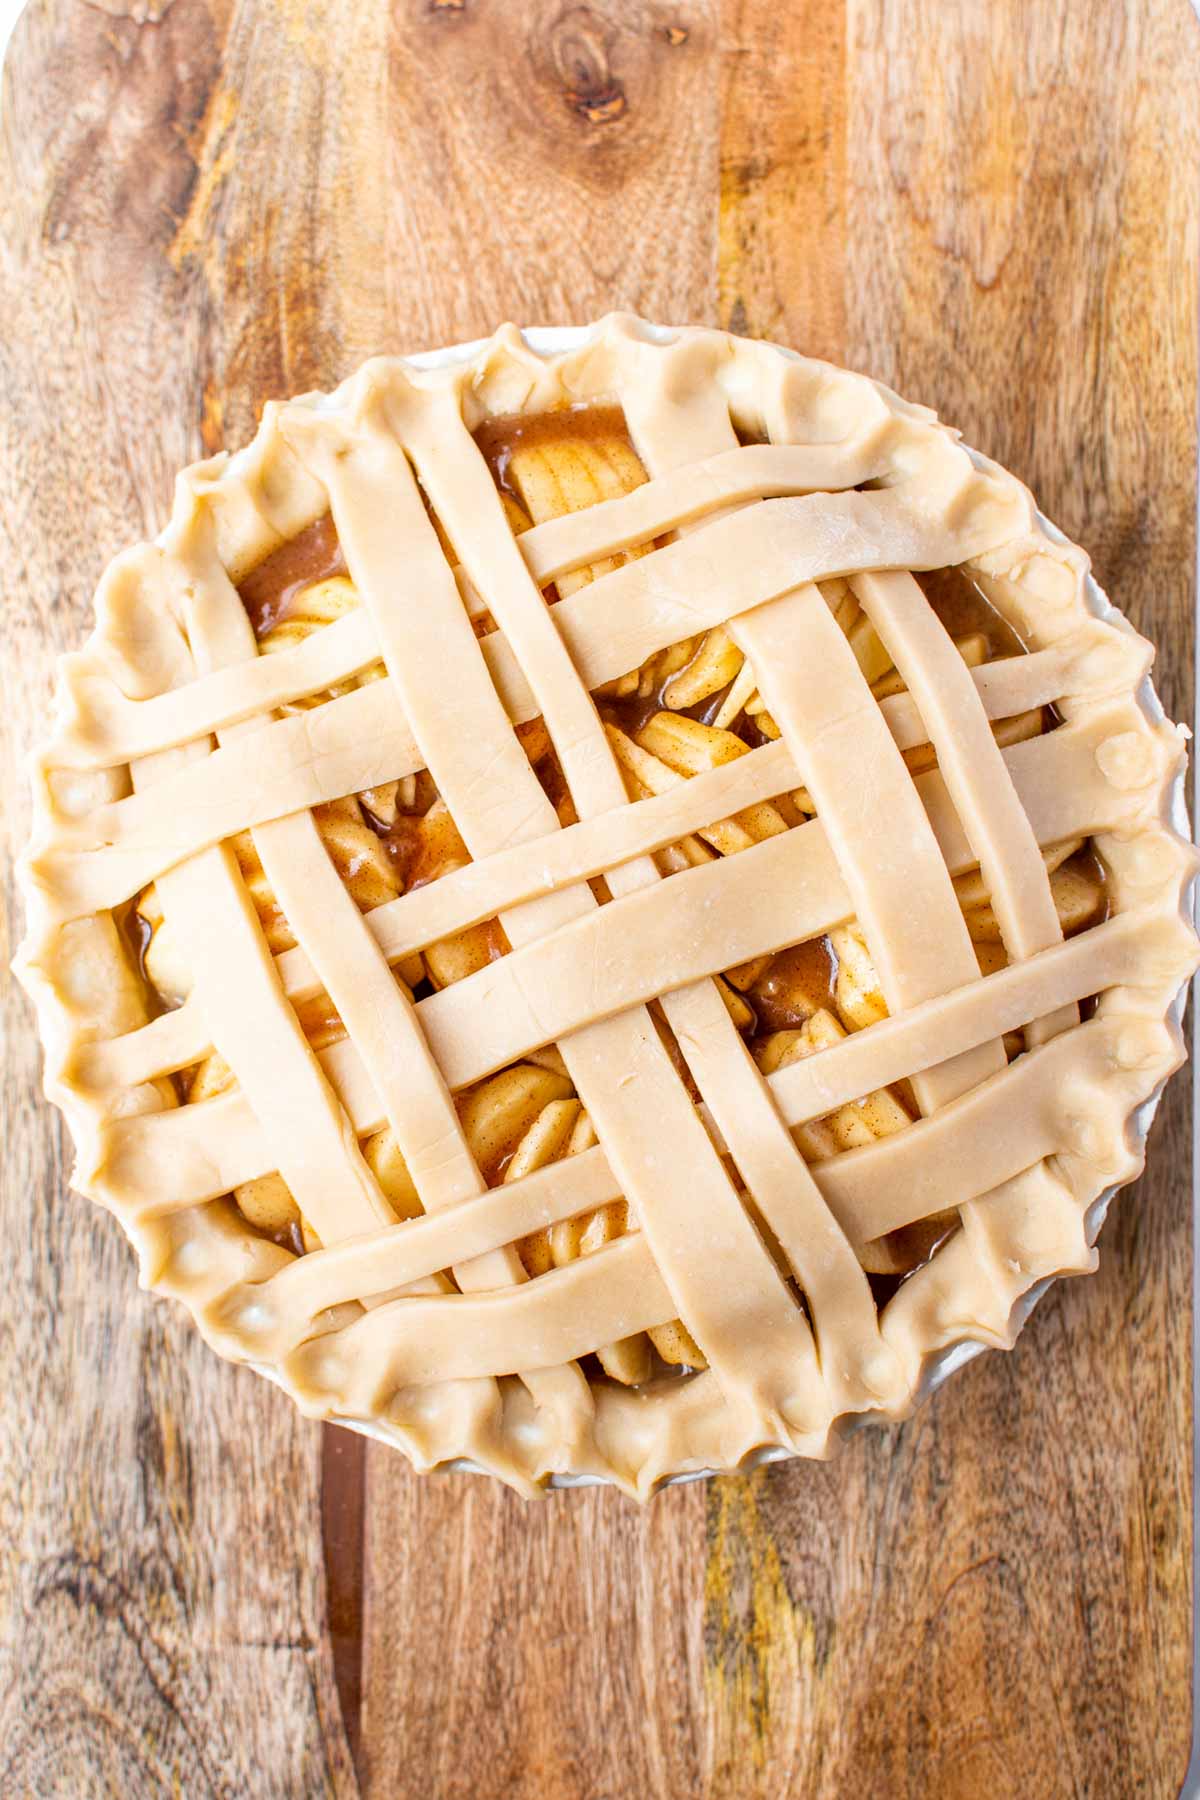
Spray a pie pan with non-stick spray. When you’re completely ready to put your pie together, remove the pie crust dough from the oven. Lightly flour a piece of wax paper and place one of your pie crust circles on the flour. Place another piece of wax paper on top and press down. Use a rolling pin to roll out the crust and make a flat round shape. You want it to be larger than your pie pan. Gently pull the top piece of wax paper off and place the pie crust in the pie pan (you’ll still have the bottom wax paper on it). Carefully pull the bottom piece of pie crust off so you just have pie crust in the pan. If the pie crust tears a bit, just press it together. Make sure the pie crust fits snug into the pie pan and overlaps the top edge of the pan – don’t cut off the excess! Place the apples in the pie – they’ll likely dome a bit above the top but should settle while baking. Pour thickened sauce around the apples, trying your best to keep the sauce in the actual pie crust, not overflowing over. Remove the second pie crust and roll out with wax paper like you did the first. Use the pie crust to cover and decorate the top of the homemade apple pie however you’d like – cut strips, do a basket weave, cut shapes, or use any of these fun ideas. Cut off any excess crust around the outside edge of the pie pan.
5 – Chill
This piece gets its very own step because most people will want to skip it, and it’s super important for a flaky pie crust! Cover the entire pie with tinfoil and and refrigerate for at least 30 minutes, overnight if you’d like to make this the day before you’e serving.
6 – Bake
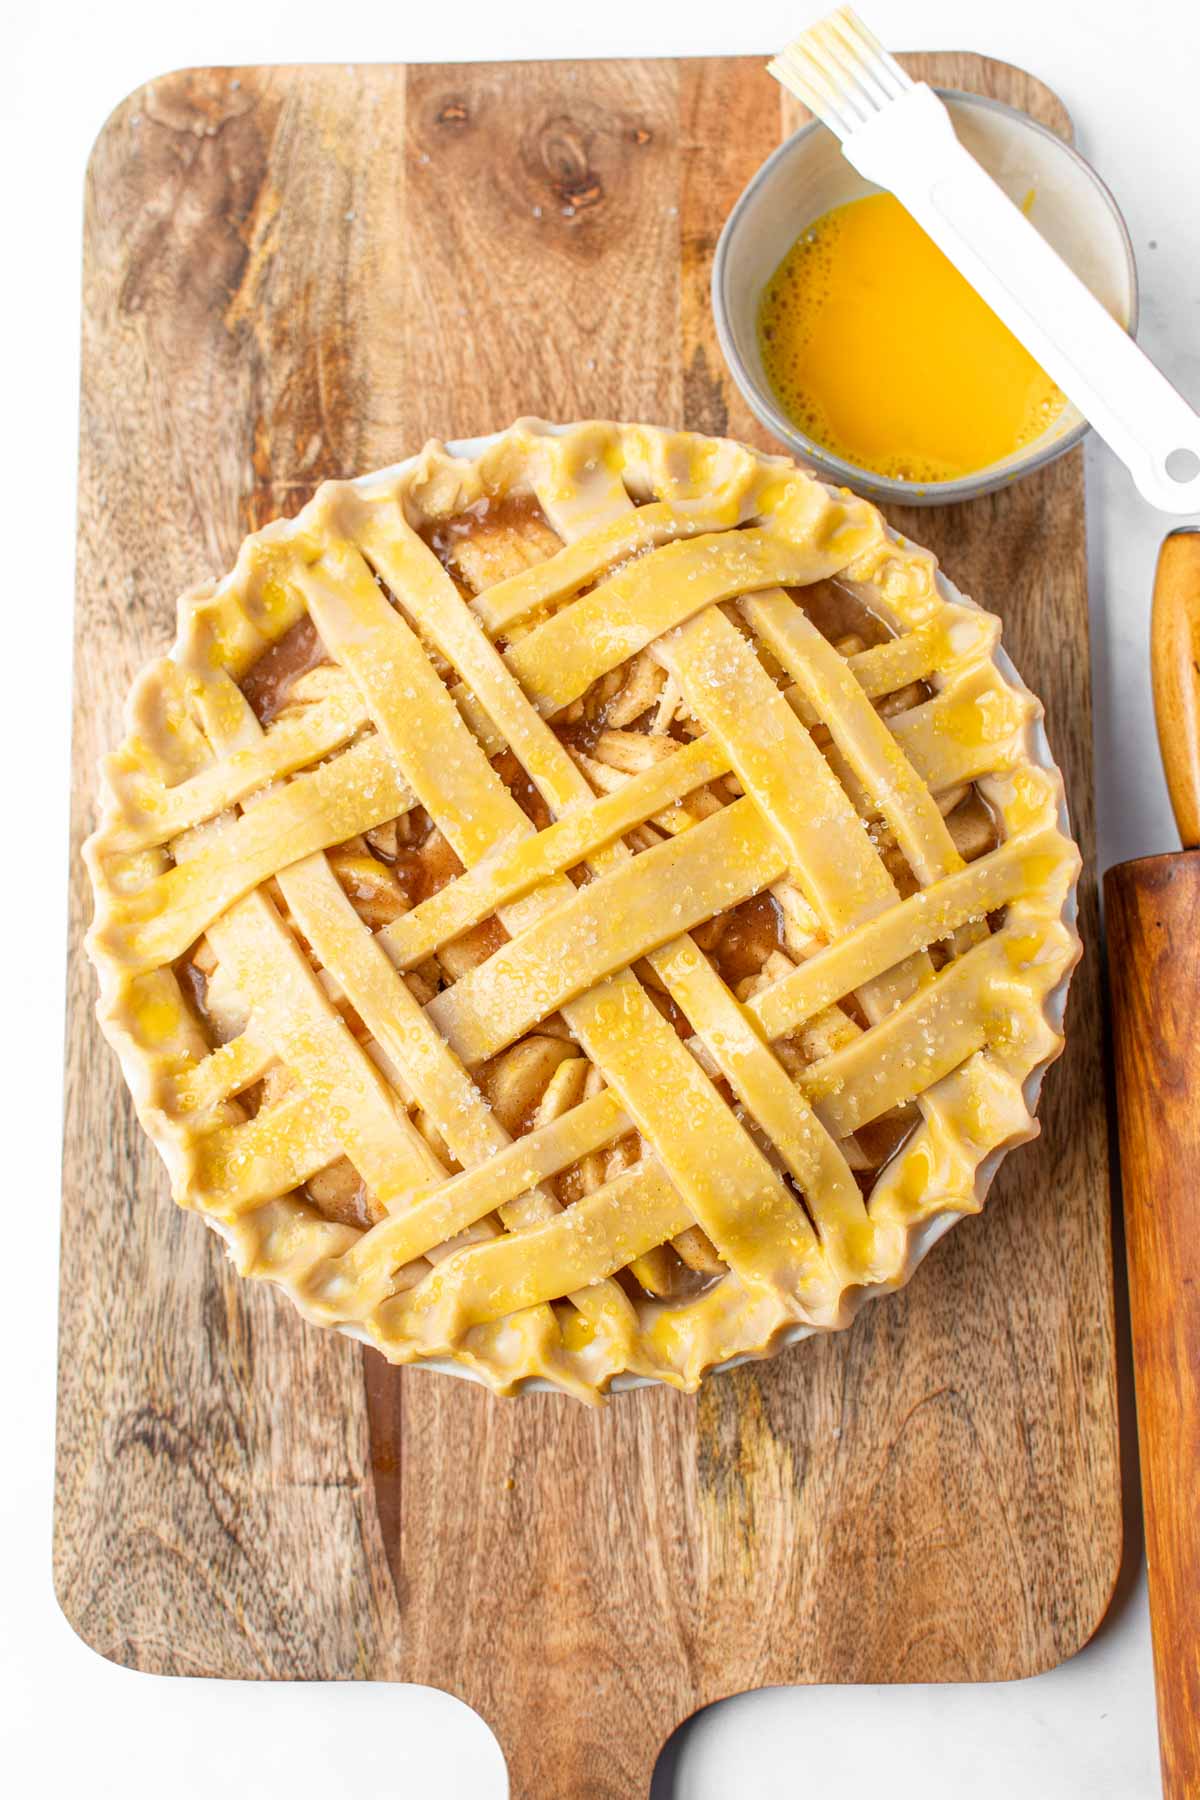
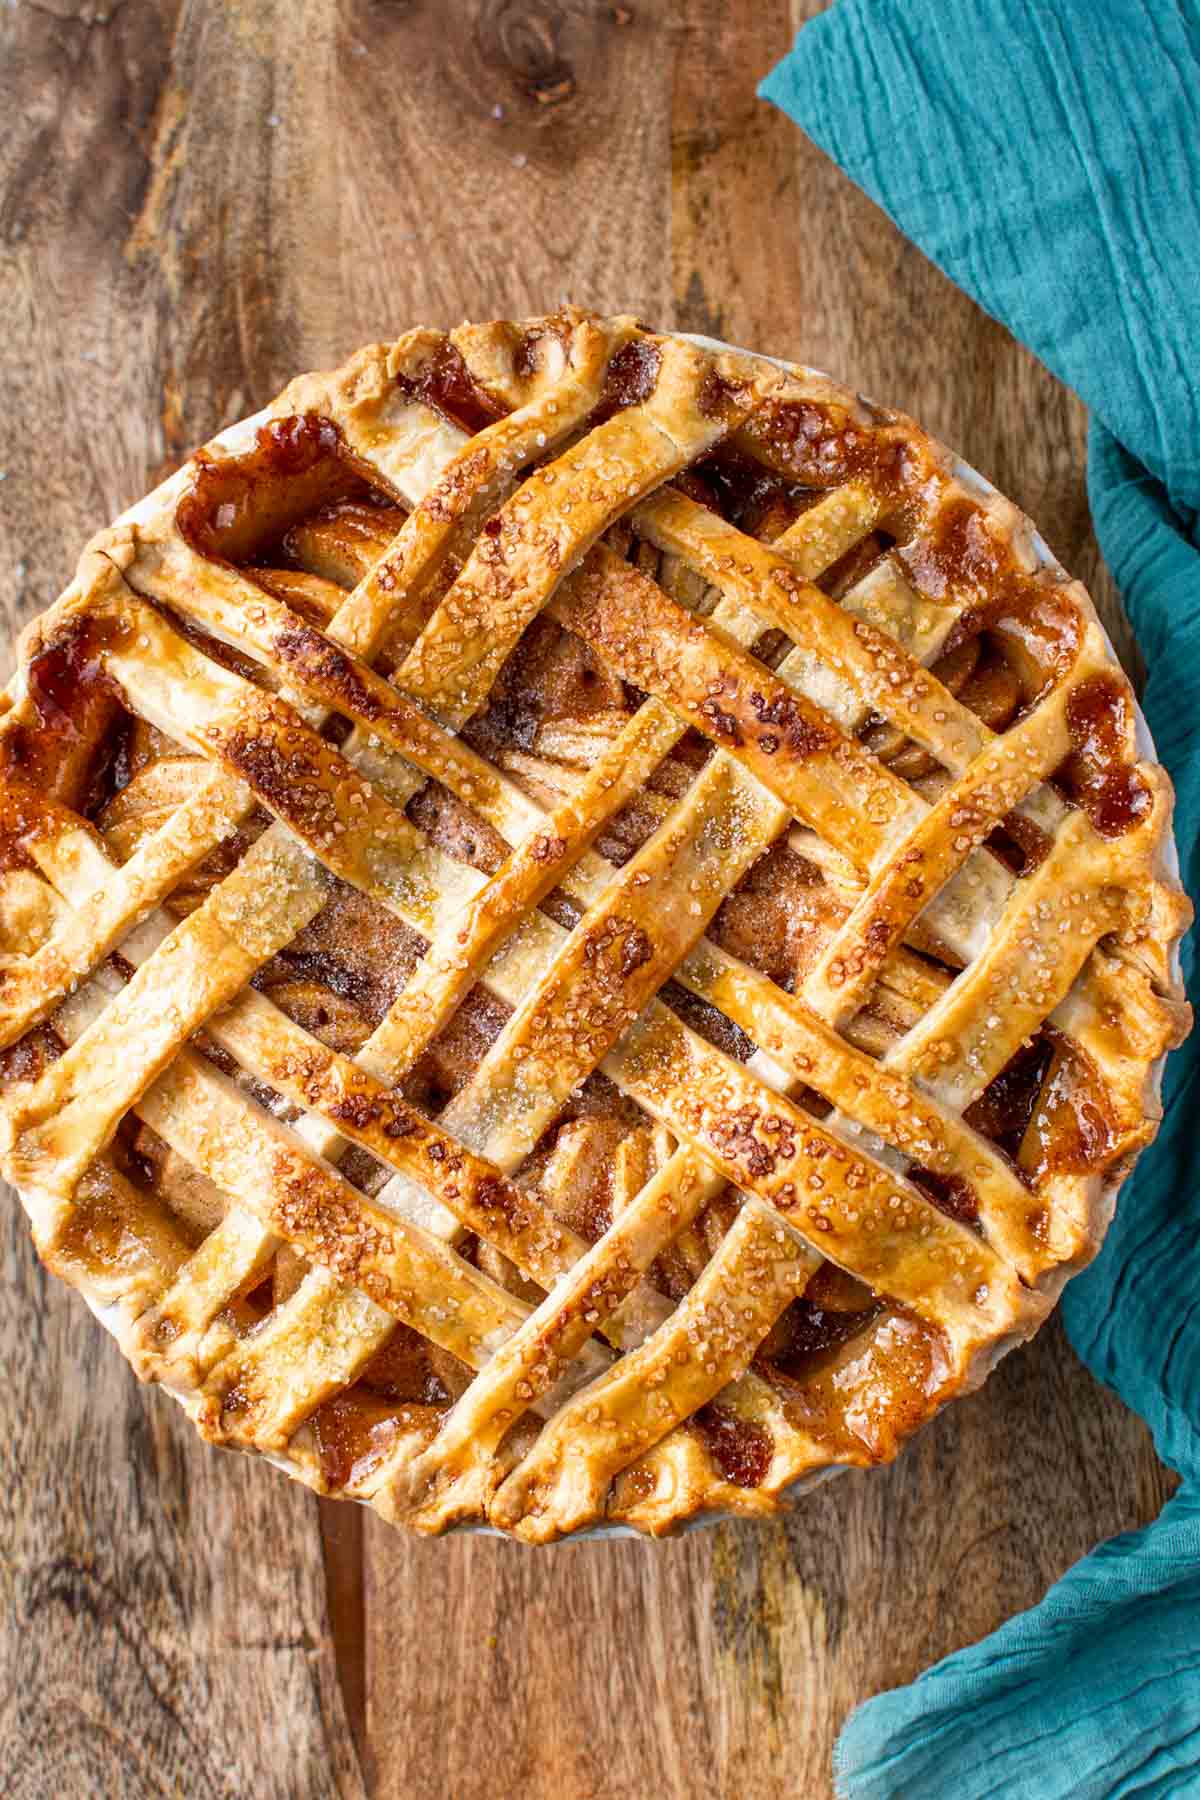
Remove the foil, saving it for later. Brush the top of the pie crust with a beaten egg and sprinkle with coarse sugar. Place in an oven that’s been preheated to 425 degrees to 20 minutes. Turn down the oven to 350 degrees then use the tinfoil to cover the pie back up. Bake for another 40-50 minutes, checking occasionally. The pie will be done when the top is golden brown and the juices inside the middle have been bubbling for at least five minutes. Remove the pie from the oven and let sit for at least 30 minutes to let the juices thicken.
7 – Enjoy
Serve sliced with fresh vanilla ice cream, homemade whipped cream, or fresh caramel sauce. And make sure to enjoy what you just created!
Expert Tips
Sprinkle apples with sugar and let them sit for 10-20 minutes to prevent the apples from getting runny in the pie. Allowing them to sit helps the juice come out of the apples (and that juice is used in the pie!). Don’t remove the pie from the oven until you see the MIDDLE of the pie bubbling for five minutes. Even if the outside edges are bubbling and the juices are beginning to run out, the pie is not done until the middle bubbles for five minutes. Use a variety of apples instead of just one kind for a good combination of sweet and tart in the pie filling. Make sure to check out my flaky pie crust post for more tips specific to the perfect pie crust!
More Easy Desserts
Striped delightChocolate brownie cakeSopapilla cheesecake barsEasy peach cakeS’mores barsSnickers poke cake
