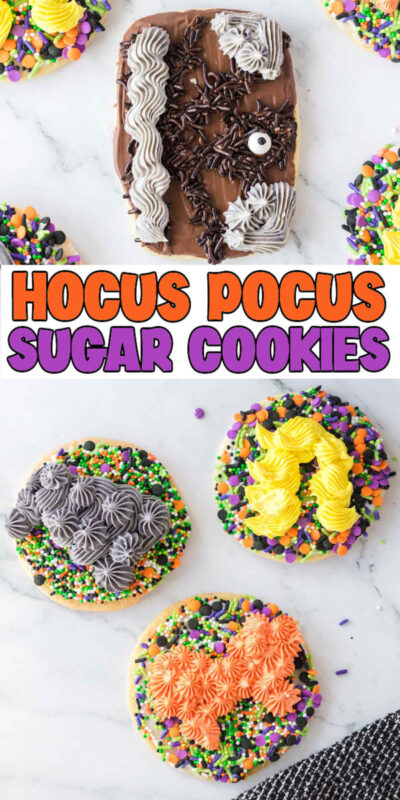
Only one week until Hocus Pocus 2 drops on Disney Plus, and I cannot wait to watch with my family! I already mentioned this yesterday when I shared these fun Hocus Pocus themed Halloween bookmarks, but I’ll be sharing a handful of Hocus Pocus themed ideas over the next few days to celebrate! We were originally going to be on a Halloween cruise on the Disney Wish for the movie release, which would’ve been amazing, but plans changed so now we’ll have to watch it with everyone else on Disney Plus! These Hocus Pocus sugar cookies are perfect for Halloween season because well pretty sure the Sanderson Sisters are everyone’s favorite witches – or at least they’re mine! It’s definitely one of the favorite Halloween movie choices out there even if some people think it’s a bit over the top. I mean it was from years and years ago when everyone was over the top! So let’s get to making these adorable Hocus Pocus cookies so you can enjoy them as much as I do!
Why You’ll Love This Recipe
No custom cookie cutters required – unlike a lot of the themed cookies you’ll see out there, these ones are made with just simple shape cookie cutters instead of ones that are shaped by the characters. That makes them SO much easier to make and you can make them right now instead of waiting on Hocus Pocus cookie cutters. No chill recipe – since this recipe starts with store-bought sugar cookie dough, there’s no need to chill it before you cut and bake! You really could have these cookies ready to eat in less than 30 minutes, especially if you’re a cookie decorating pro! Cute – everyone knows the Sanderson Sisters by their iconic hair and these fun Halloween cookies use that to turn them into the perfect cookies for a Hocus Pocus themed Halloween party!
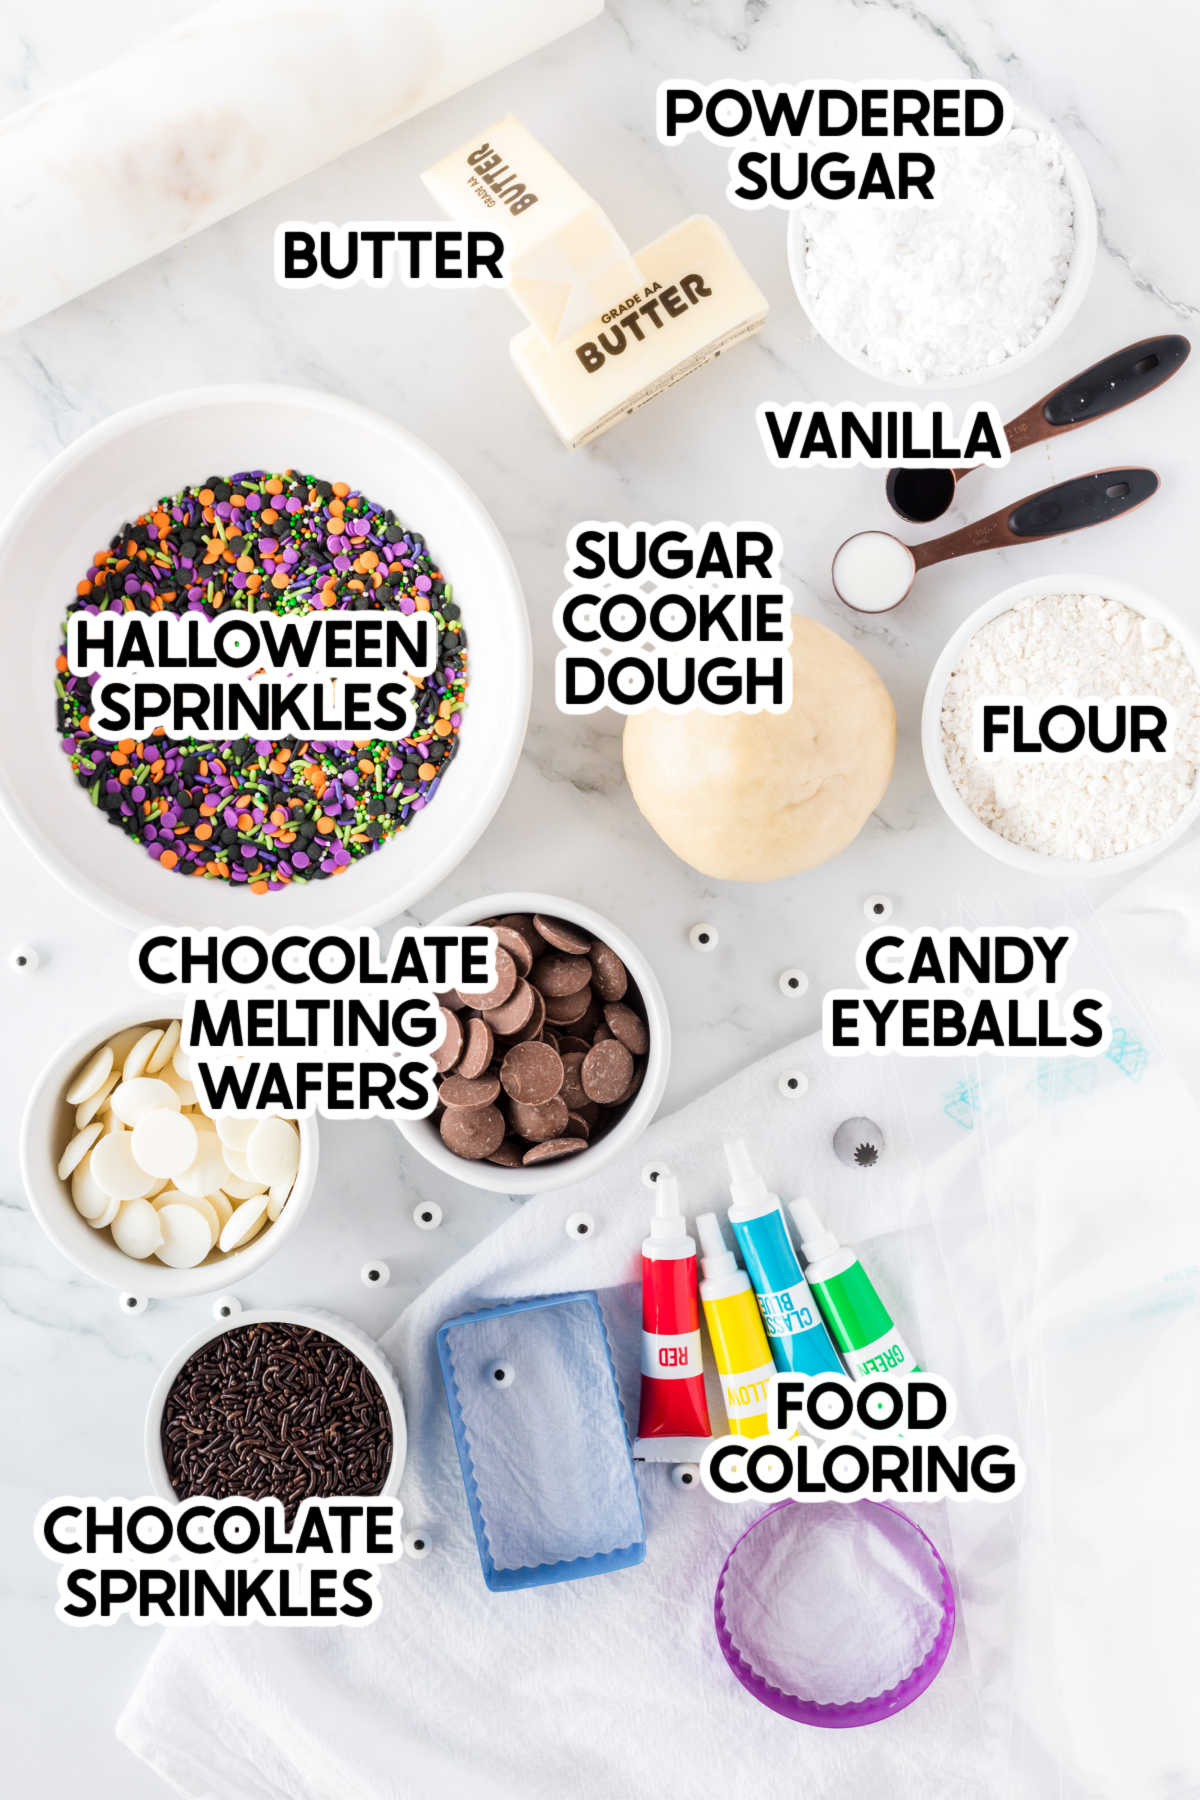
Ingredients
Ingredient Notes
To make these cookies, you’ll also want to have these items on hand. If you ever decorate cookies or cakes, these are probably already in your pantry but if not, I’ve included links to them for quick purchase!
Piping bags – or use zipper top bags with the tip cut offStar Piping Tip – I used Wilton #32 Circle and rectangle cookie cutters
How to Make Hocus Pocus Cookies
This recipe is super simple – you’re just going to bake your cookies, make the buttercream, and decorate! I’ve included step by step instructions to help out with the decorating but keep in mind – they don’t have to be perfect! If people can tell what it is, it’s good enough!
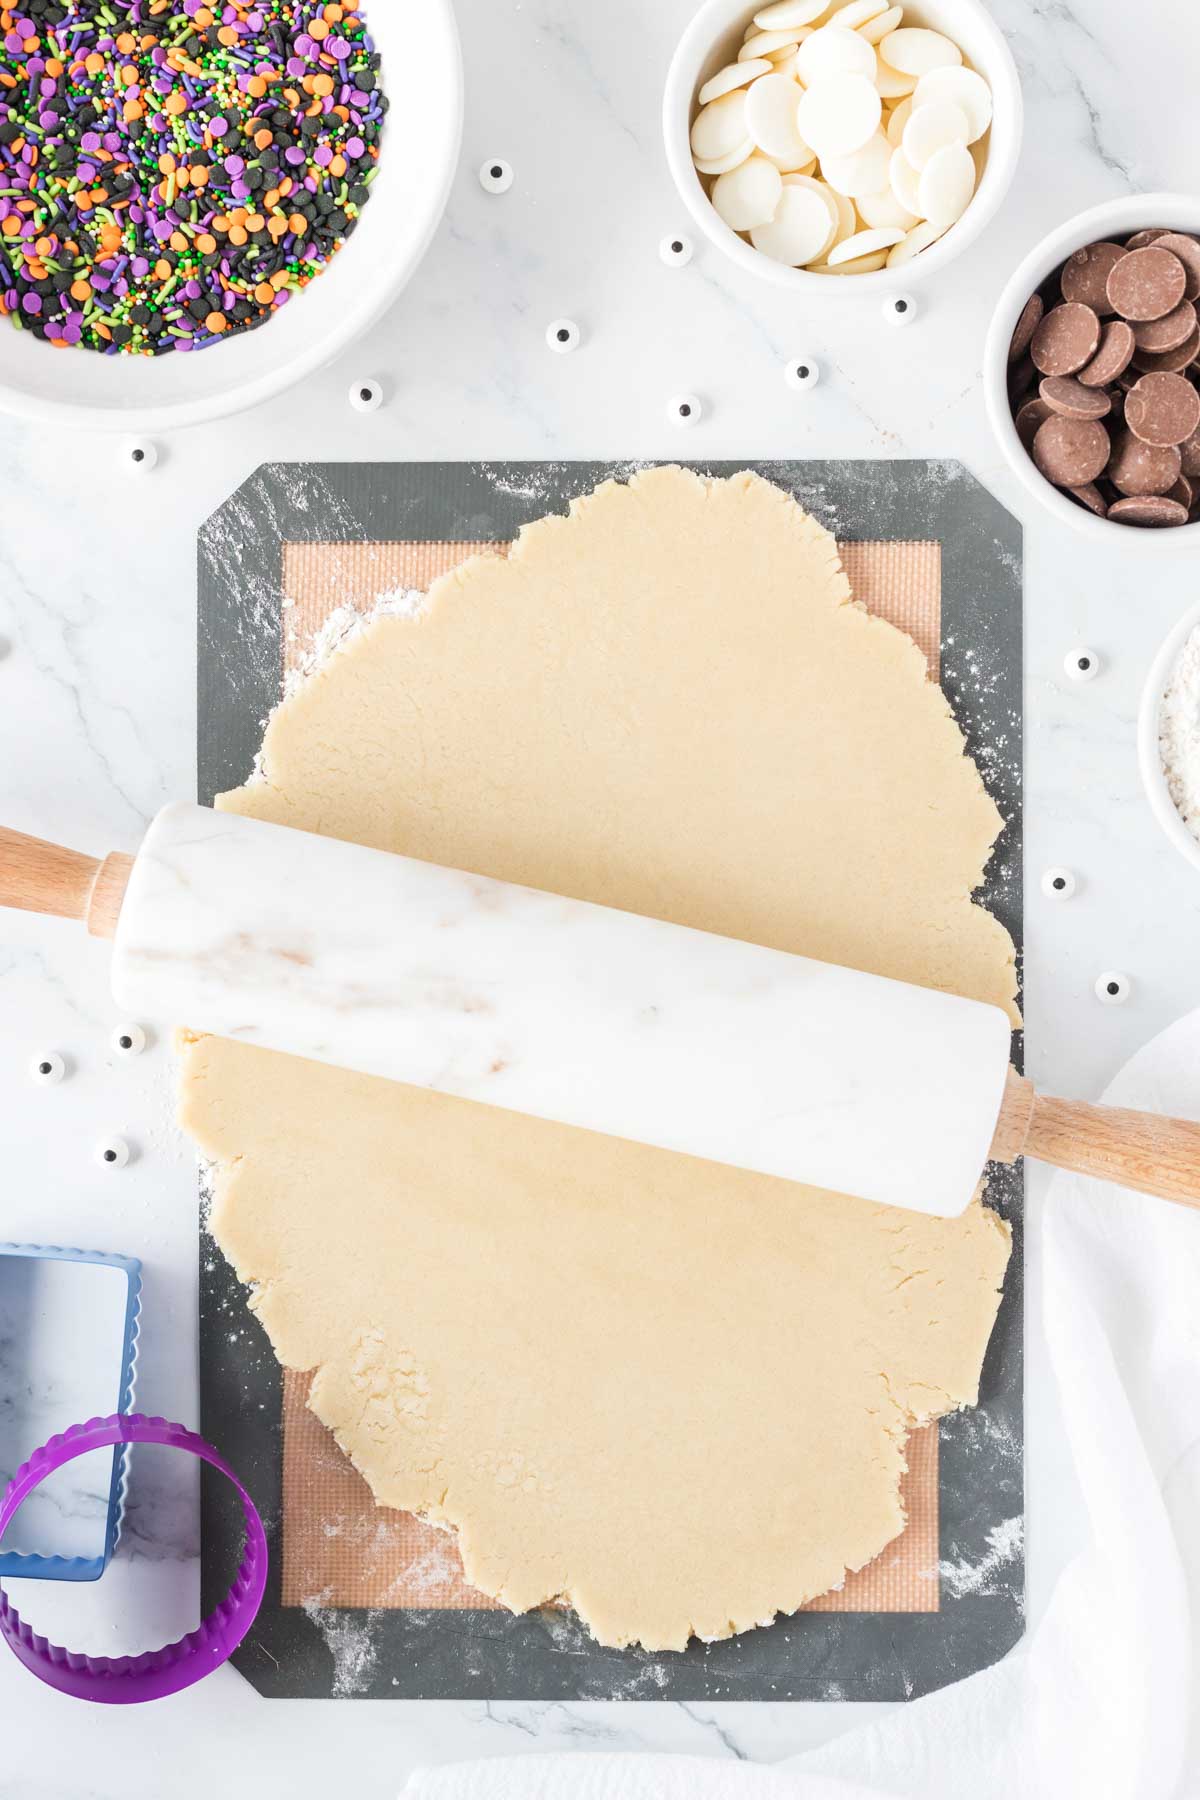
1 – Make the Sugar Cookies
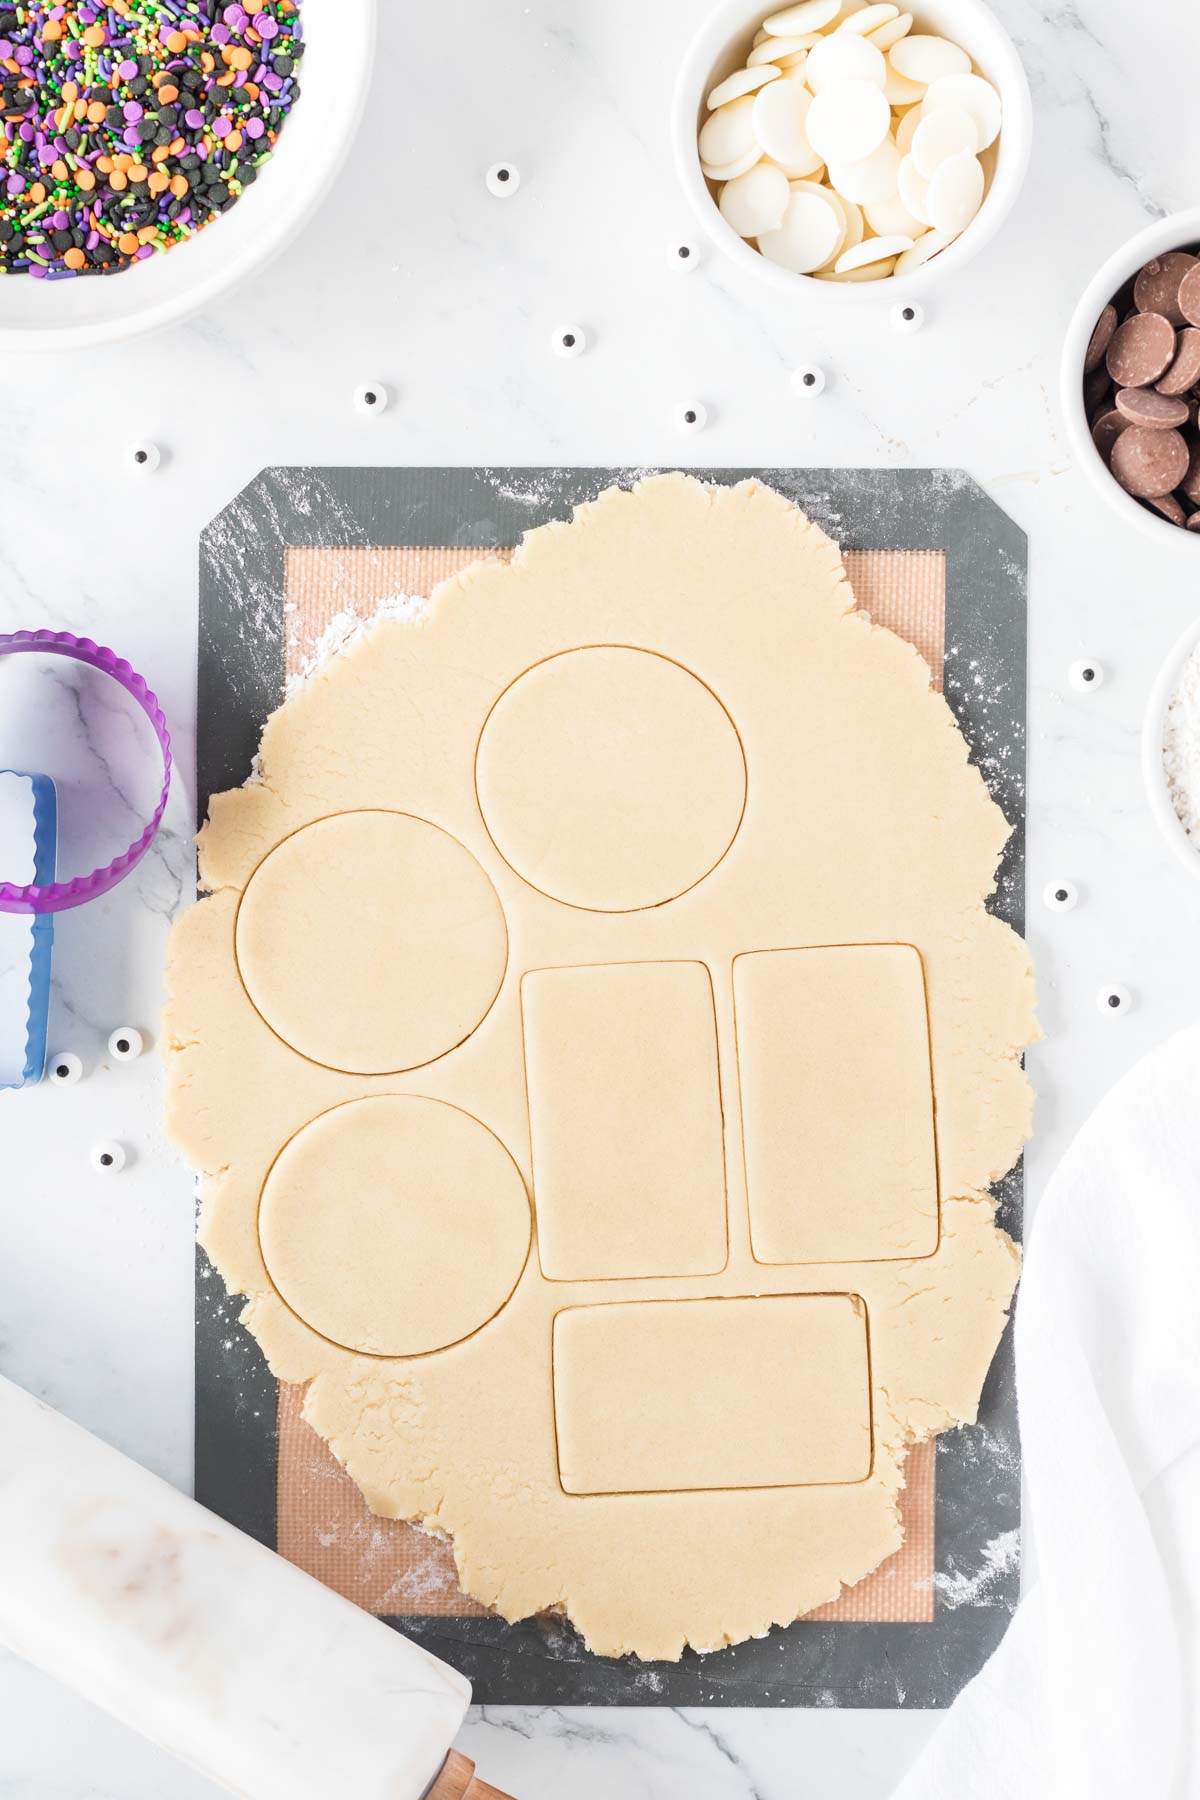
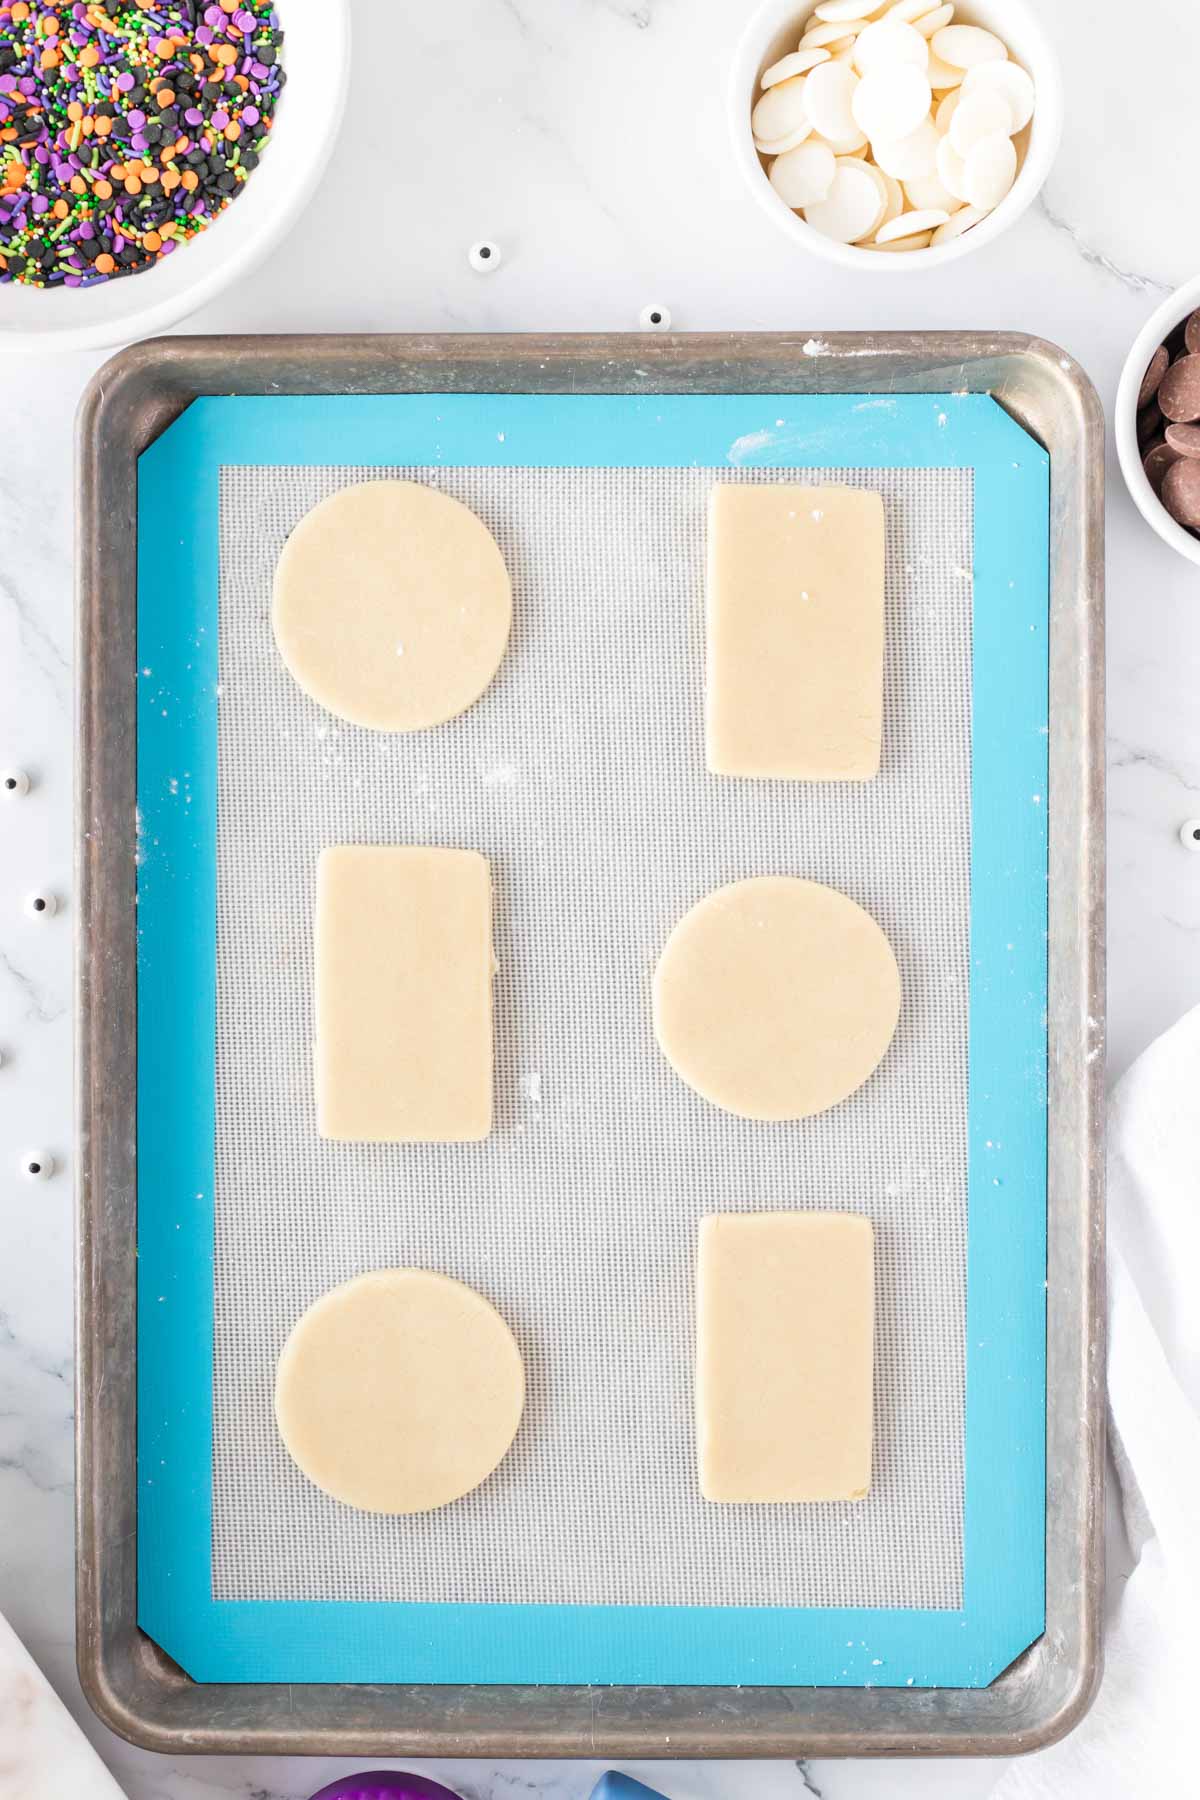
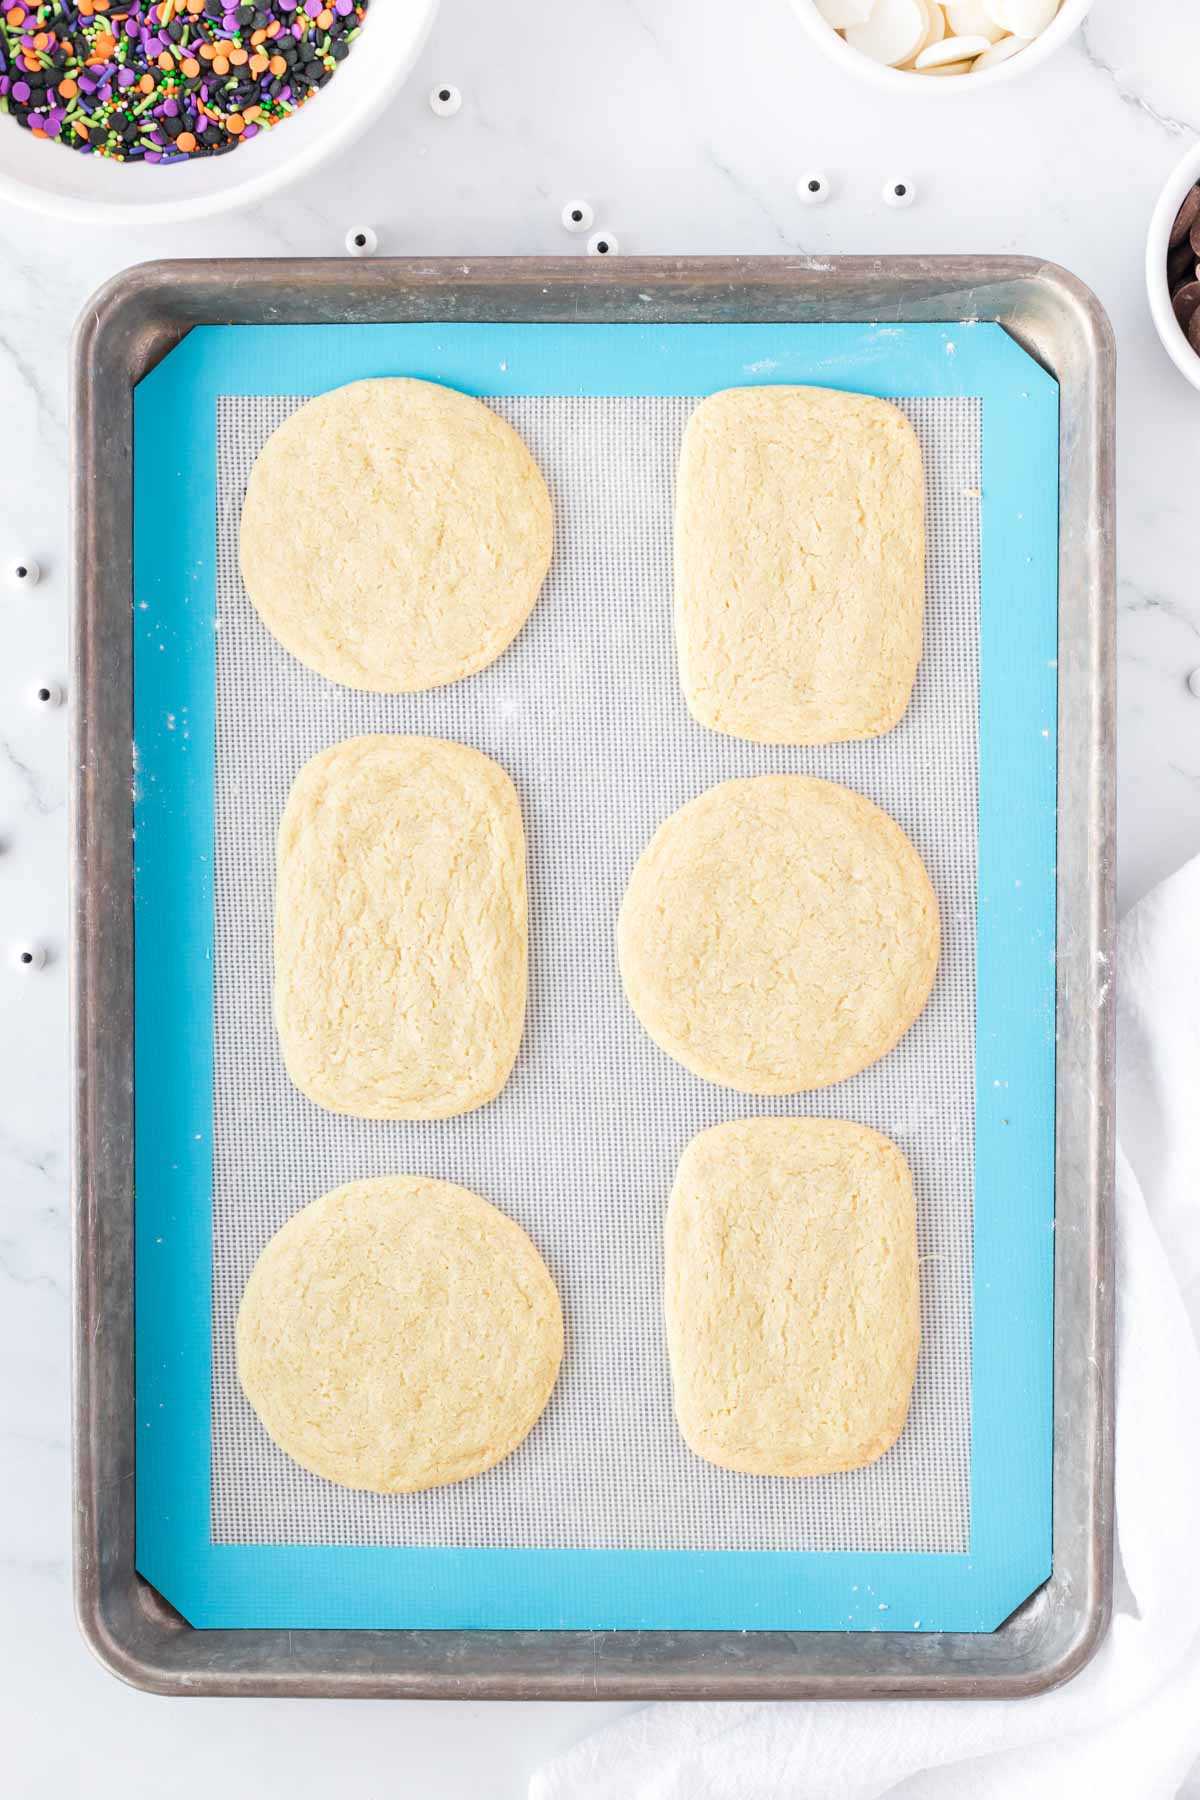
Start off by rolling out and cutting your sugar cookies into circles and rectangles. If you’re using store-bought cookie dough, I typically like to add a little extra flour (about 1/4 cup) to the dough to make it easier to cut out! If you’re using a regular cut out sugar cookie dough, you can just make it and roll it like the recipe recommends! I like to make the cookies about 1/4 inch thick, but again just do whatever your recipe recommends if it’s a recipe and not store-bought. Once the dough is rolled out, cut the cookies using the circle and rectangular cookie cutters. I recommend doing 3x as many circles as rectangles so you have one of each of the sisters for each of the spellbook cookies. Place the cut out cookies on a baking sheet lined with parchment paper or a silicone baking mat, with a little room in between so they can expand. You’ll likely need multiple cookie sheets filled with cookies, or you can wait and roll the next set after the first one bakes. Then bake according to the package or recipe directions. I always like to err on the side of baking the cookies less than more because sugar cookies tend to get hard when over baked. If the cookies are golden brown on the outside, you probably baked them too long.
2 – Make the Buttercream
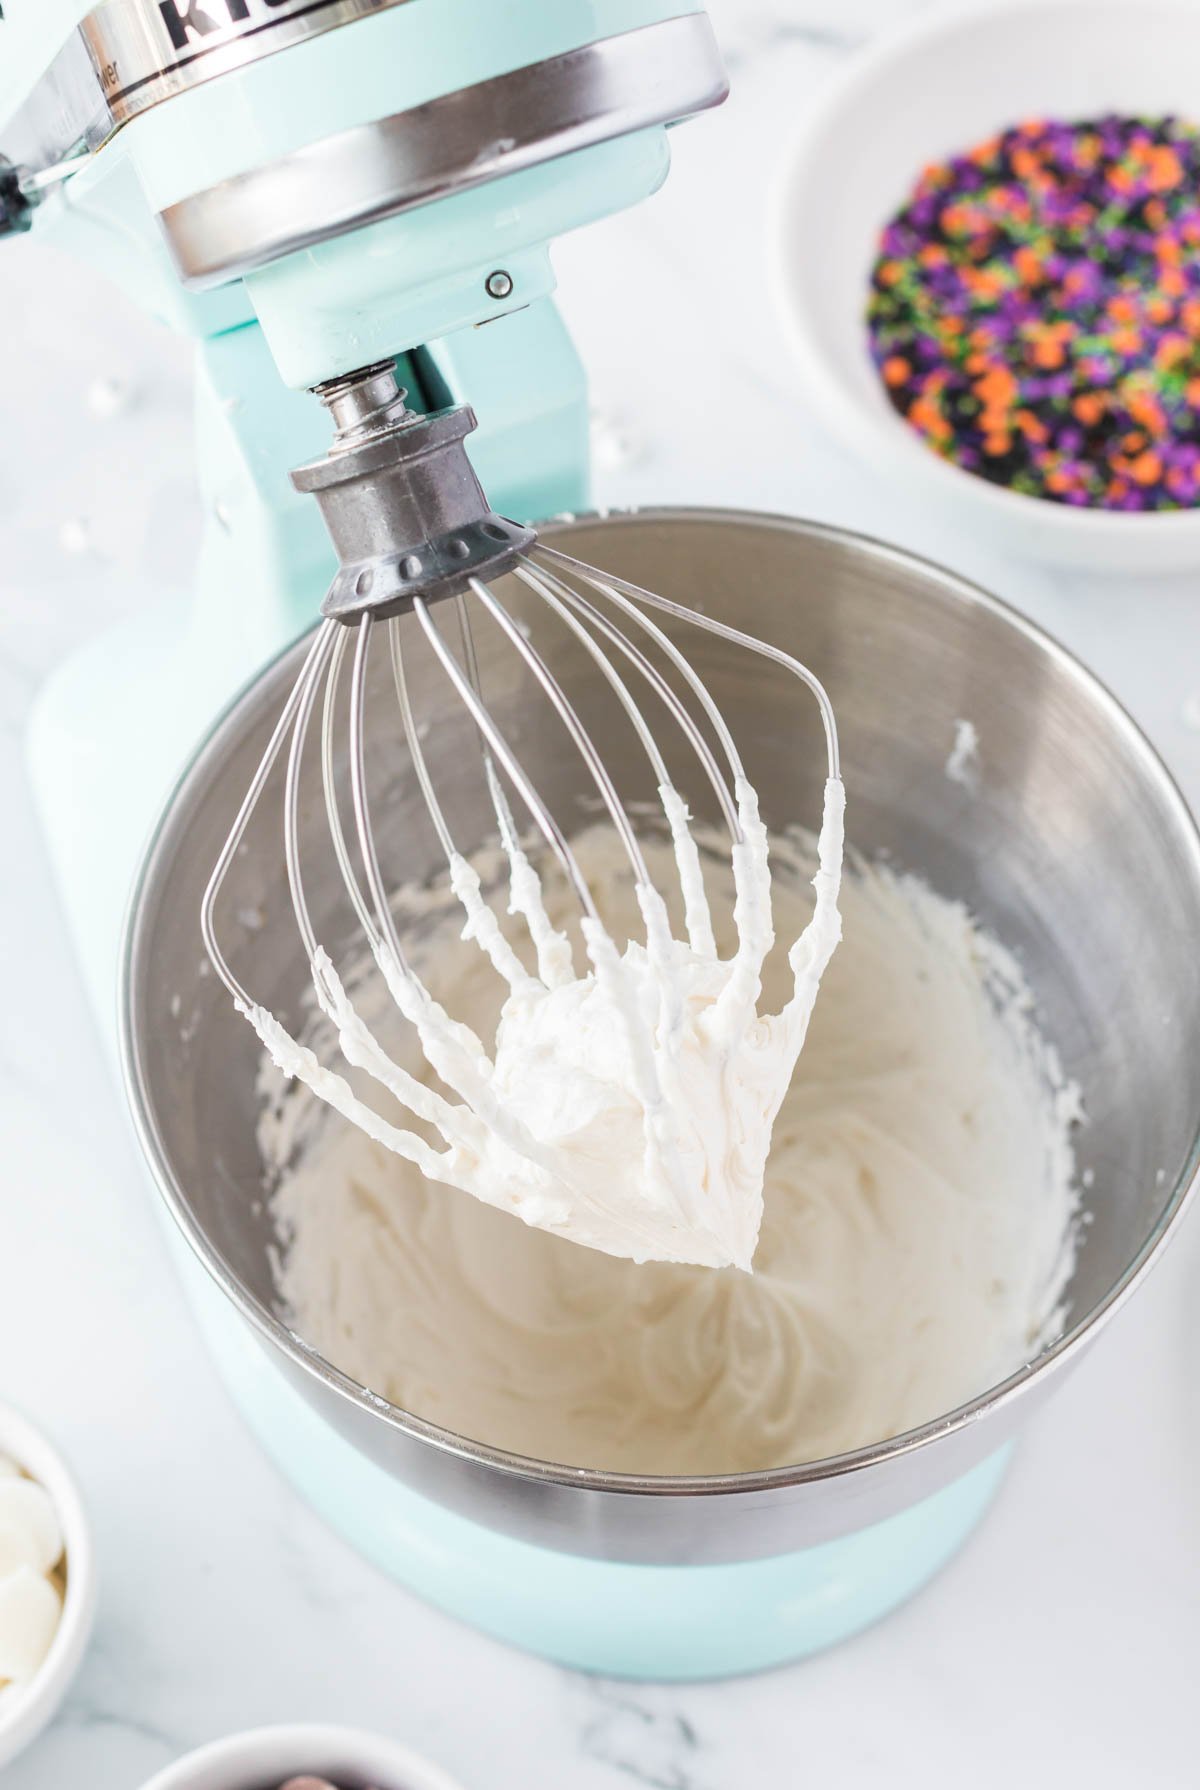
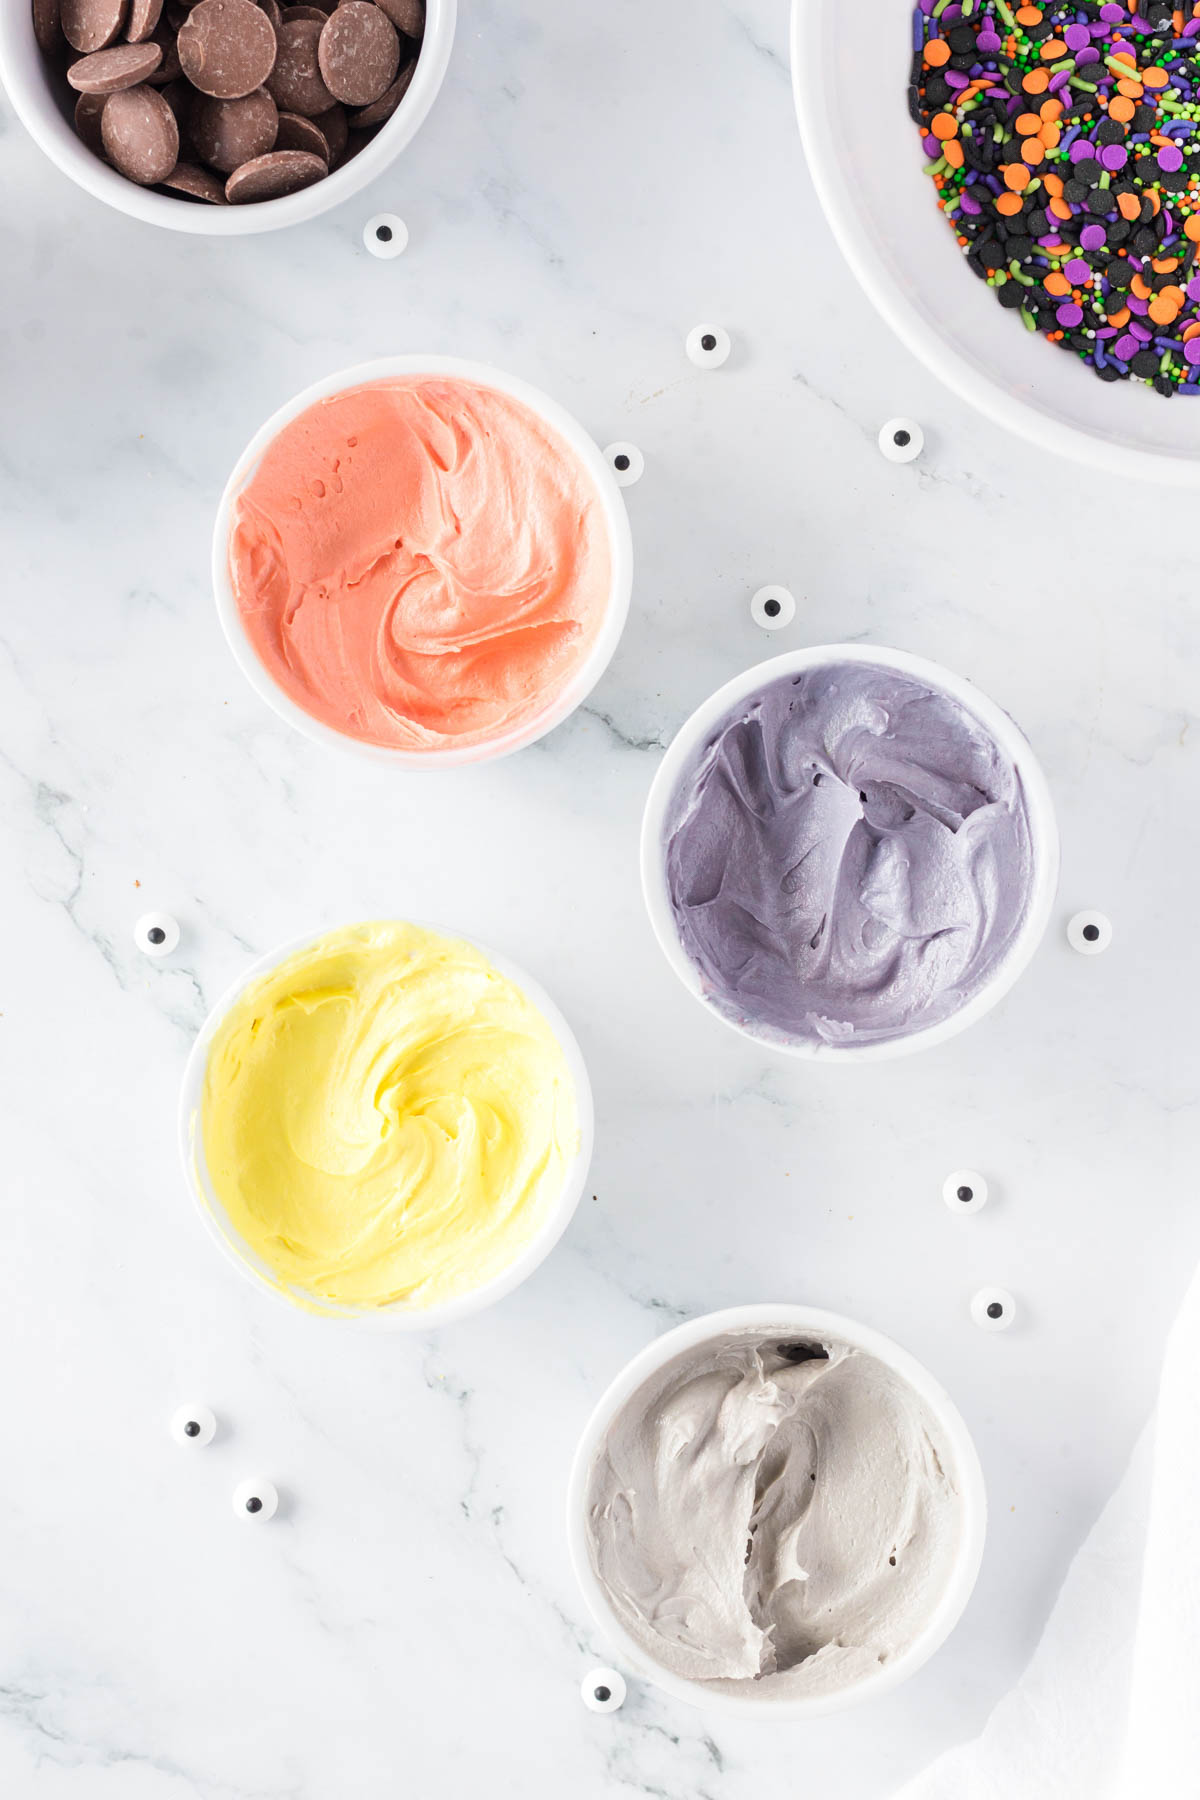
Add the softened butter and vanilla extract into a large bowl and whisk together until smooth. I typically like to do this with an electric mixer with a standing mixer to get it really smooth, but you could do it by hand as well! Once smooth, add in the powdered sugar 1/2 cup at a time, tasting after you mix in each 1/2 cup. Continue adding powdered sugar until the buttercream is sweet enough for you, typically somewhere between 2-3 cups total. Mix together until smooth. Now grab a small bowl for each of the colors, four in total. Divide the buttercream between the small bowls Use food coloring to transform the buttercream into the colored buttercream you’re looking for. Here are the measurements that I used to get these colors but food coloring is temperamental so use as much as you need to get the different colors you want.
Orange (Winnifred) – two drops of red and two drops of yellow Yellow (Sarah) – three drops of yellow food coloring Purple (Mary) – two drops of red and two drops of blueGray (Spelbook) – add two drops of red, two blue, two green, and two yellow.
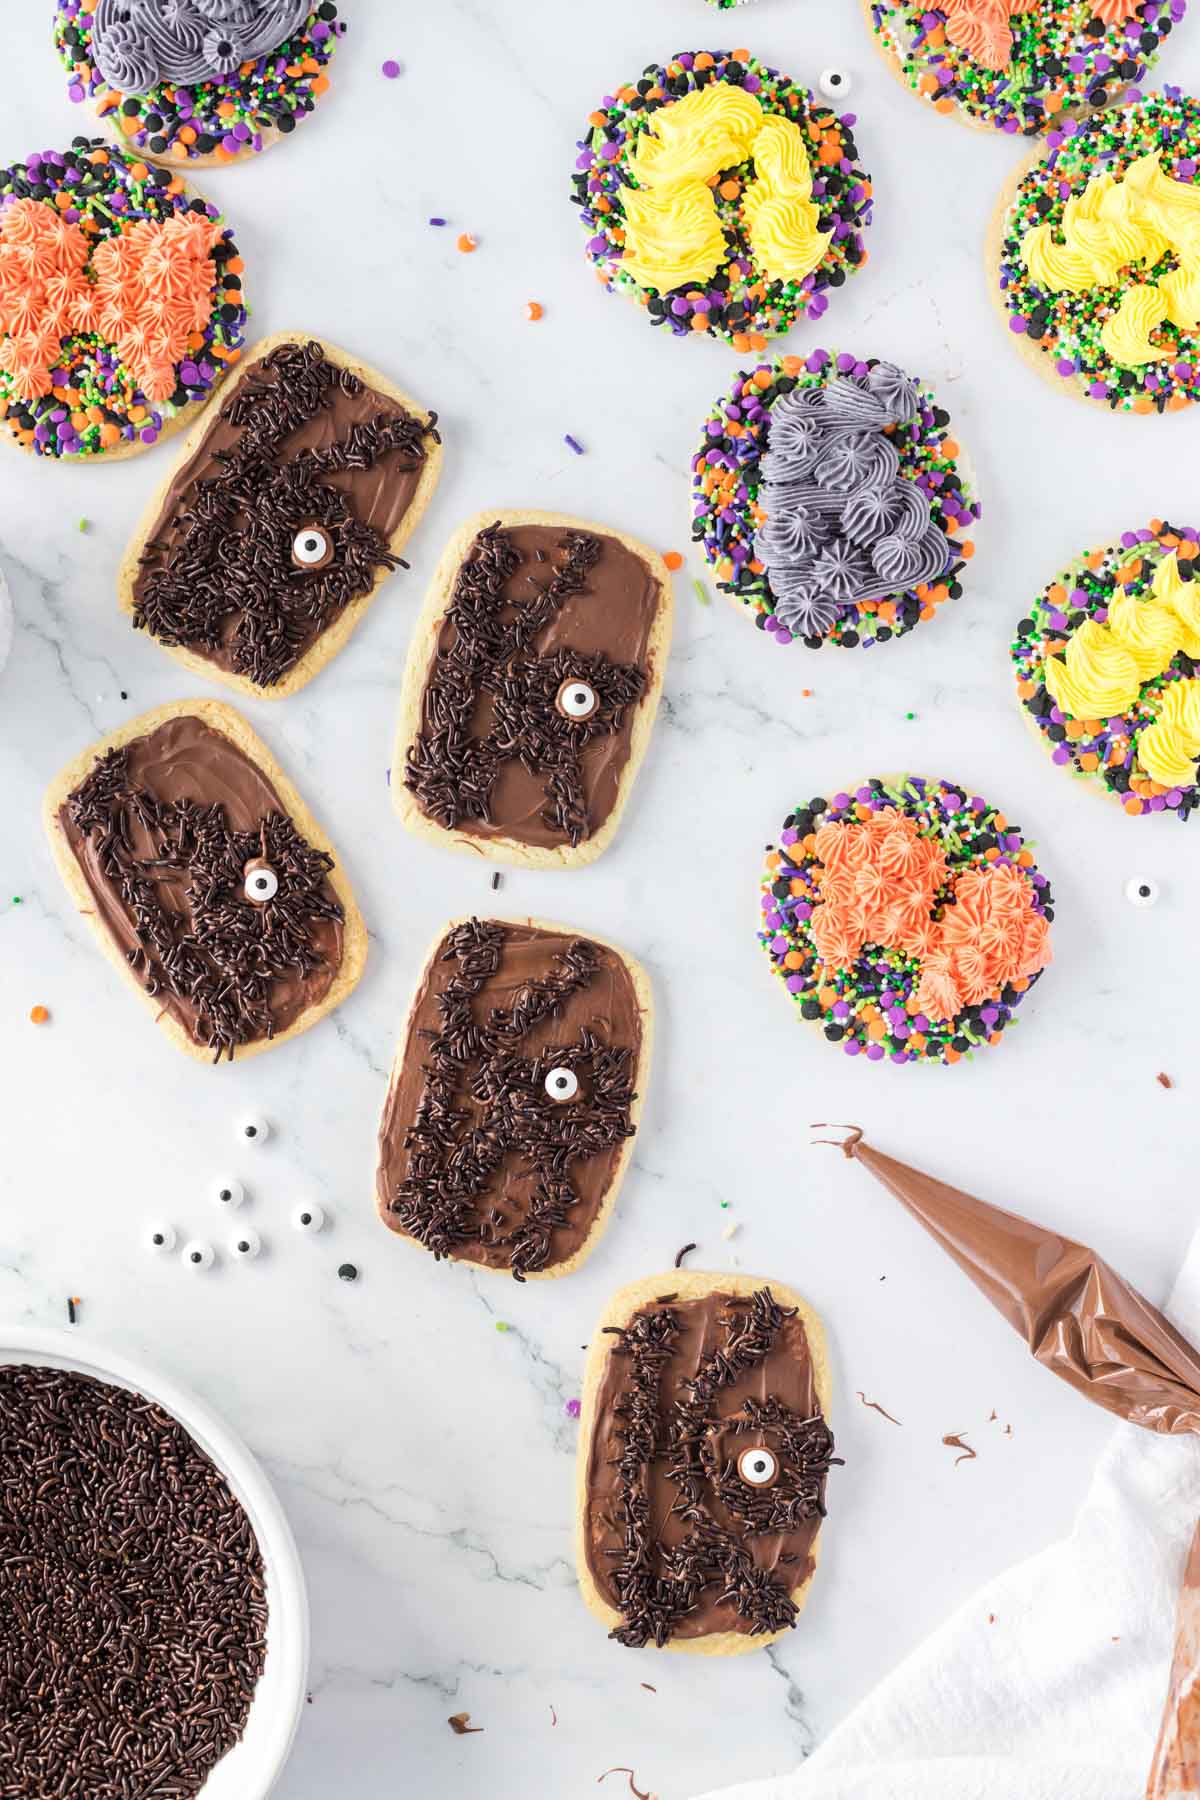
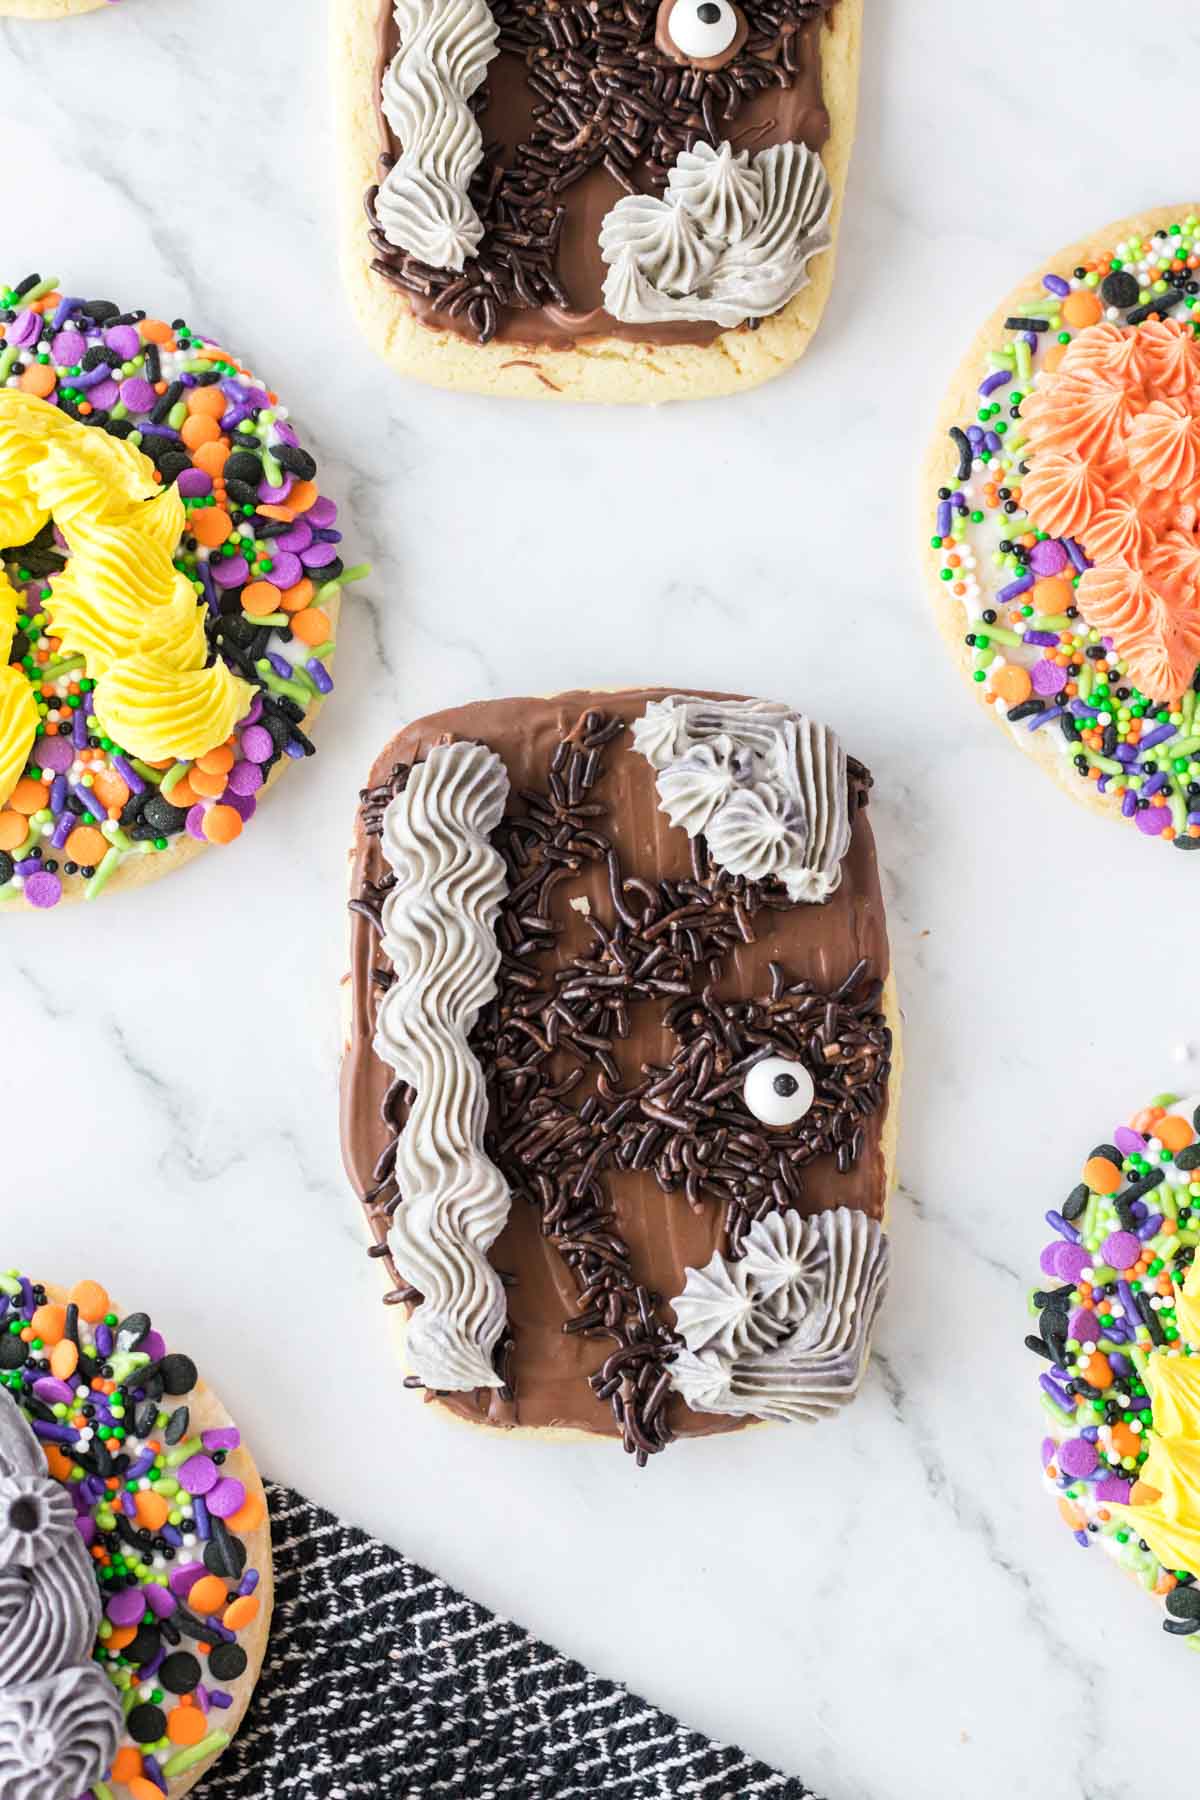
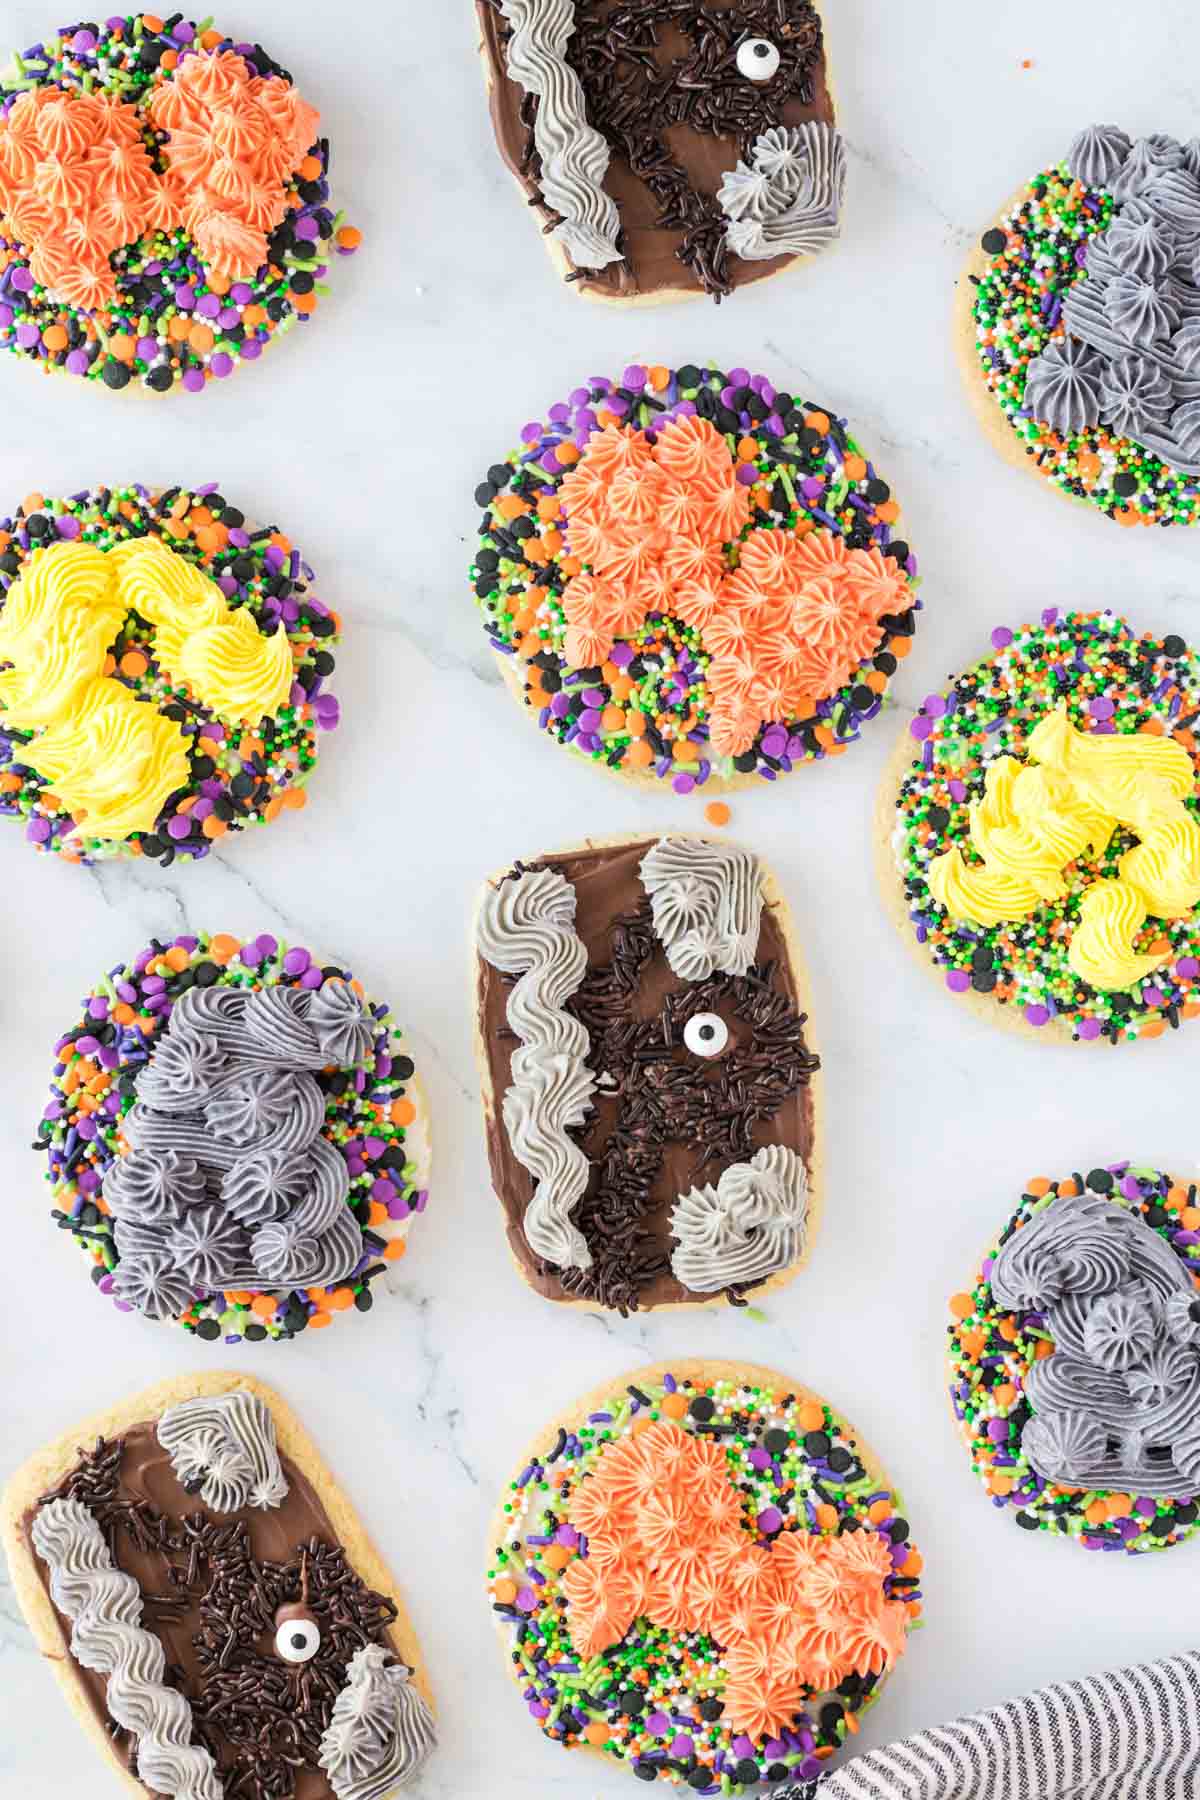
3 – Decorate the Cookies
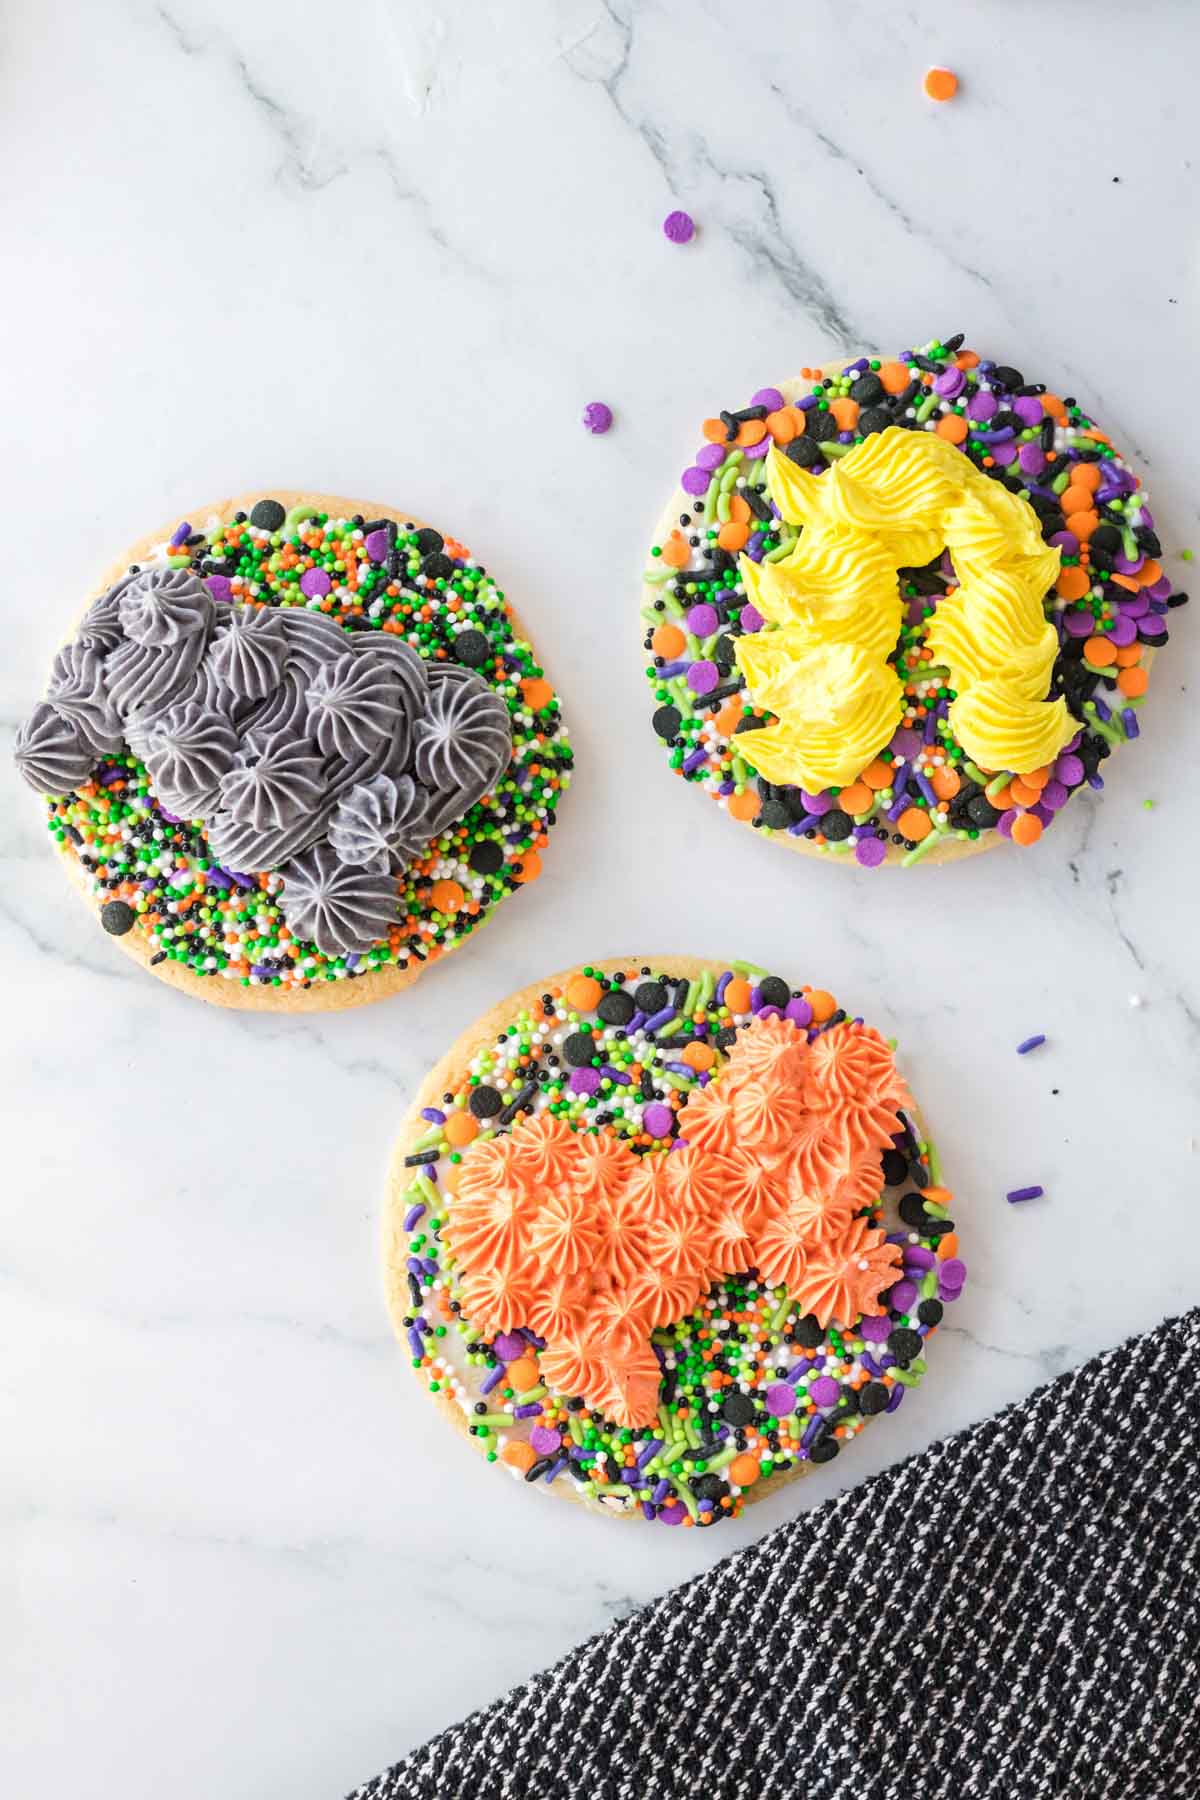
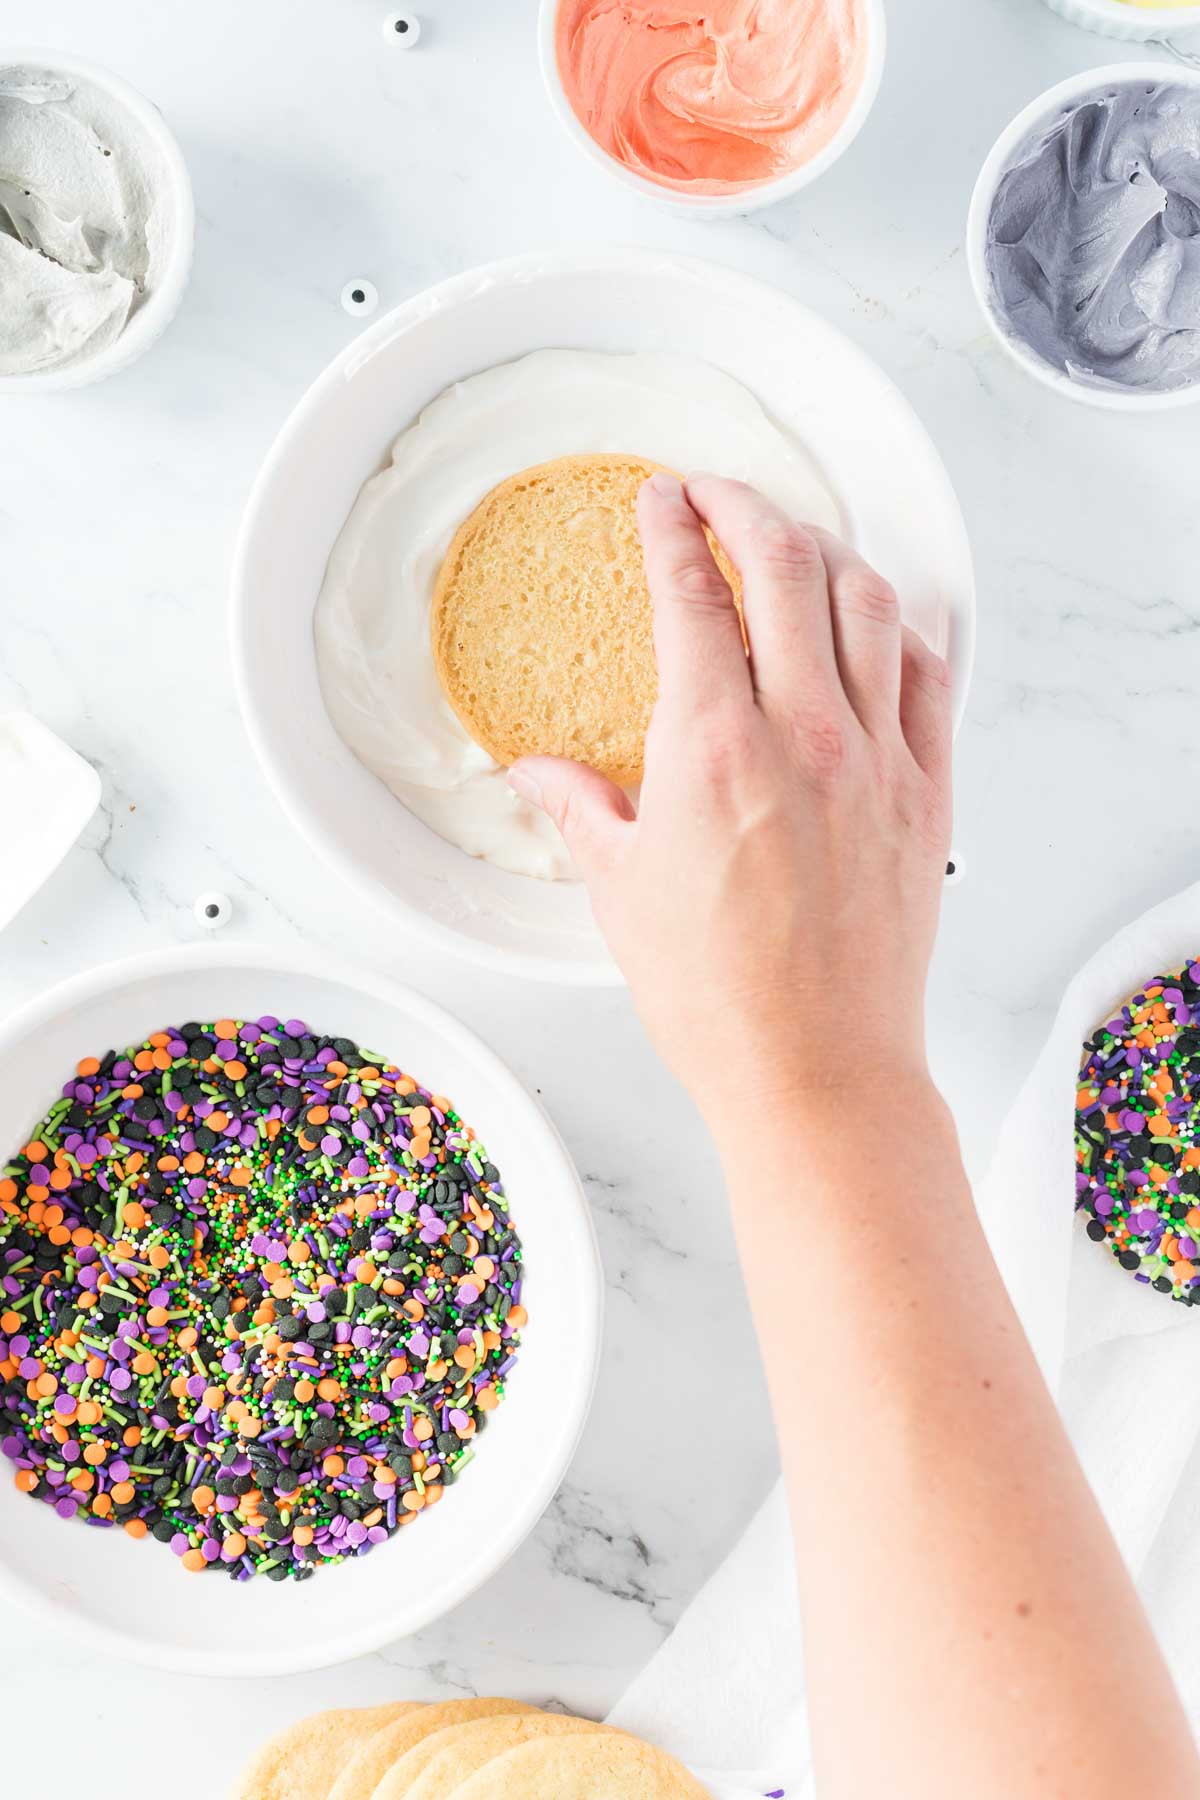
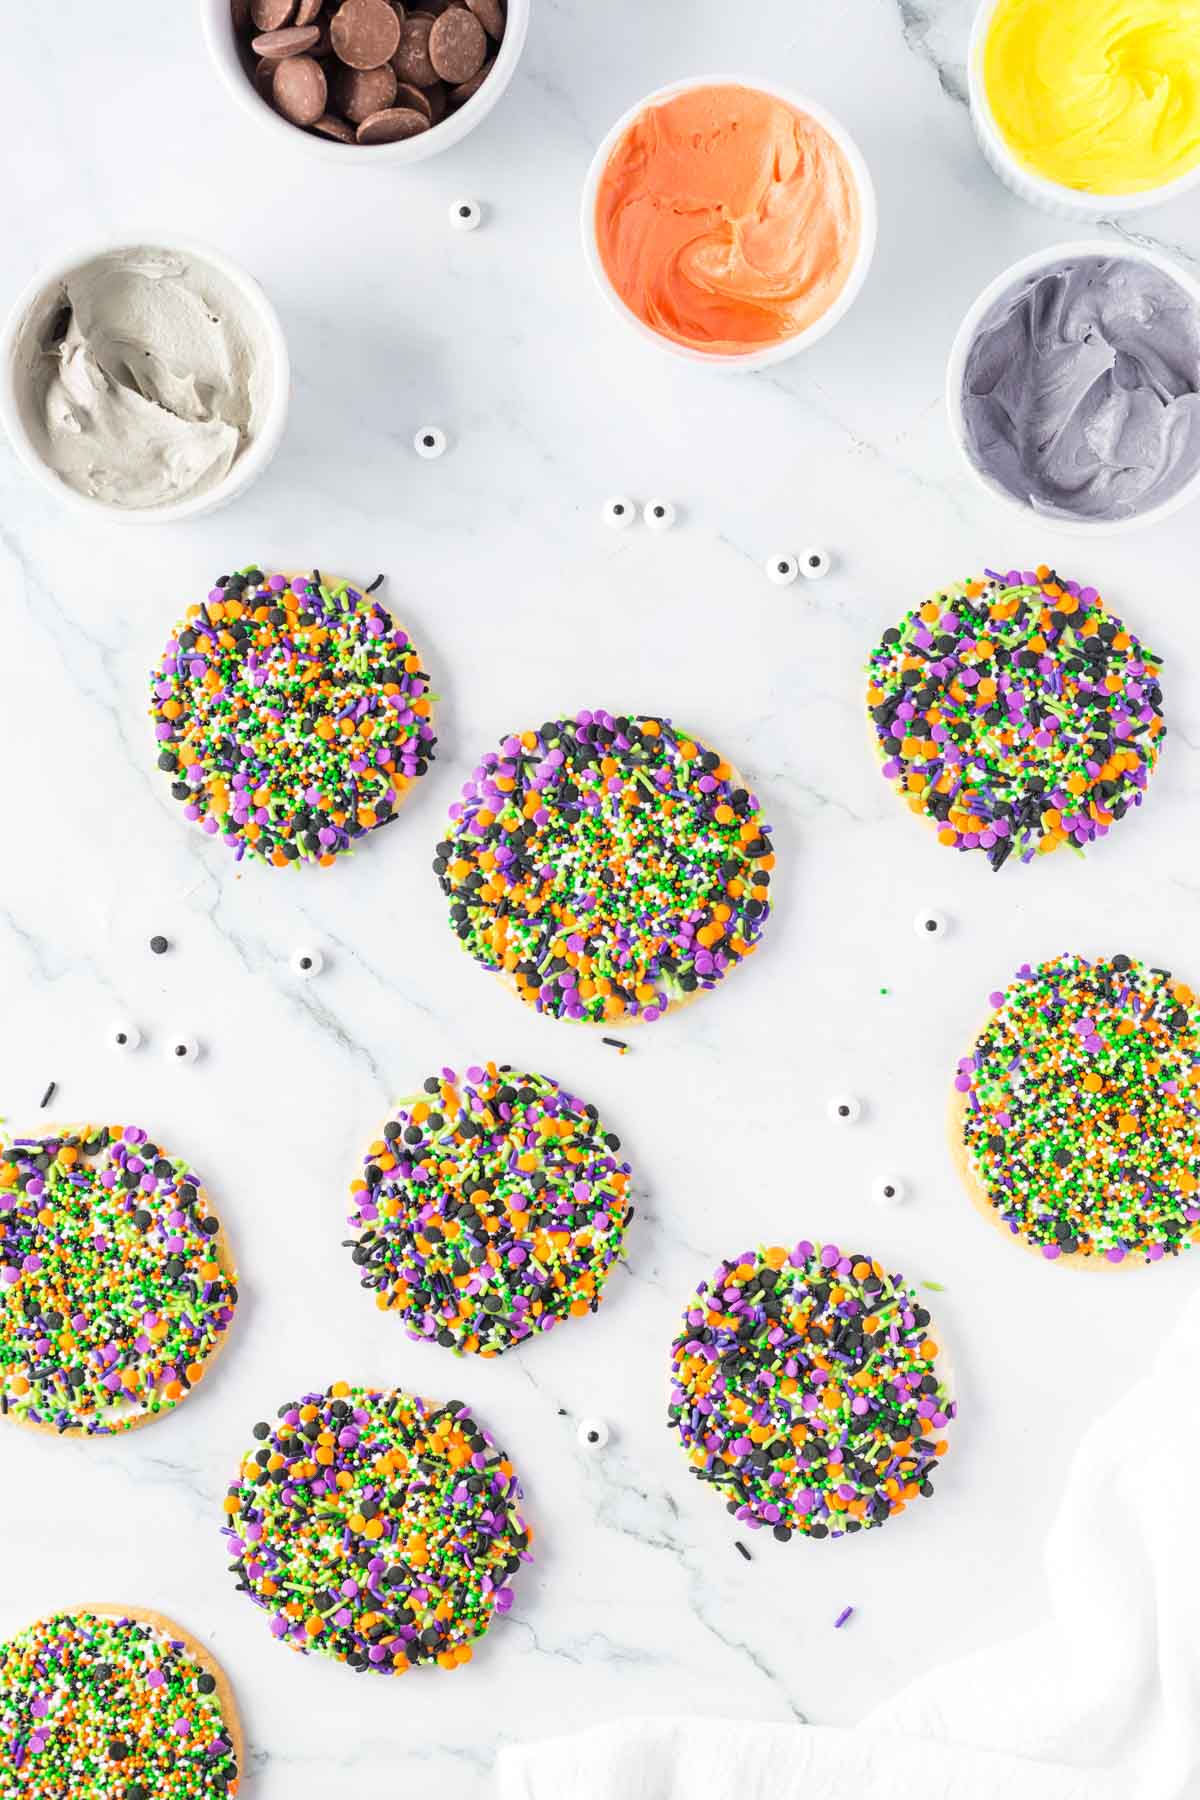
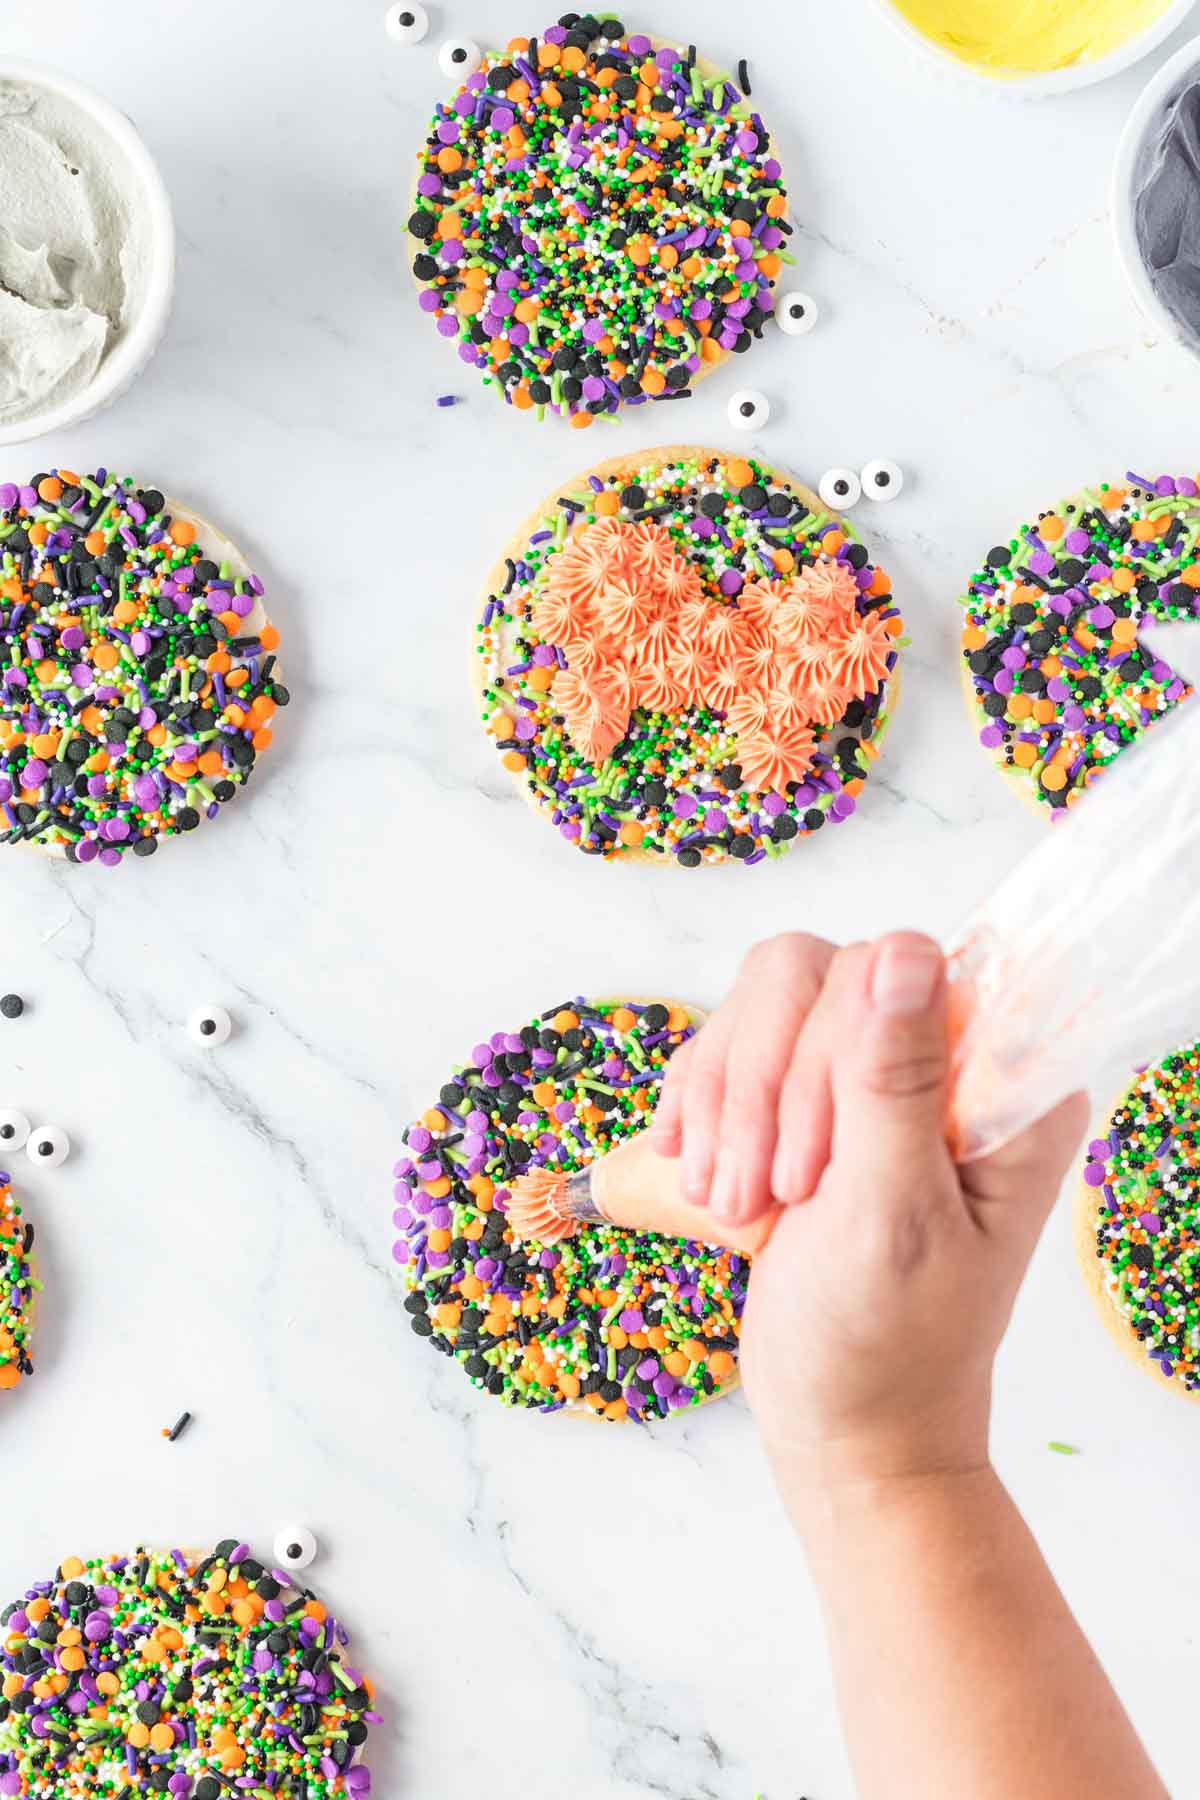
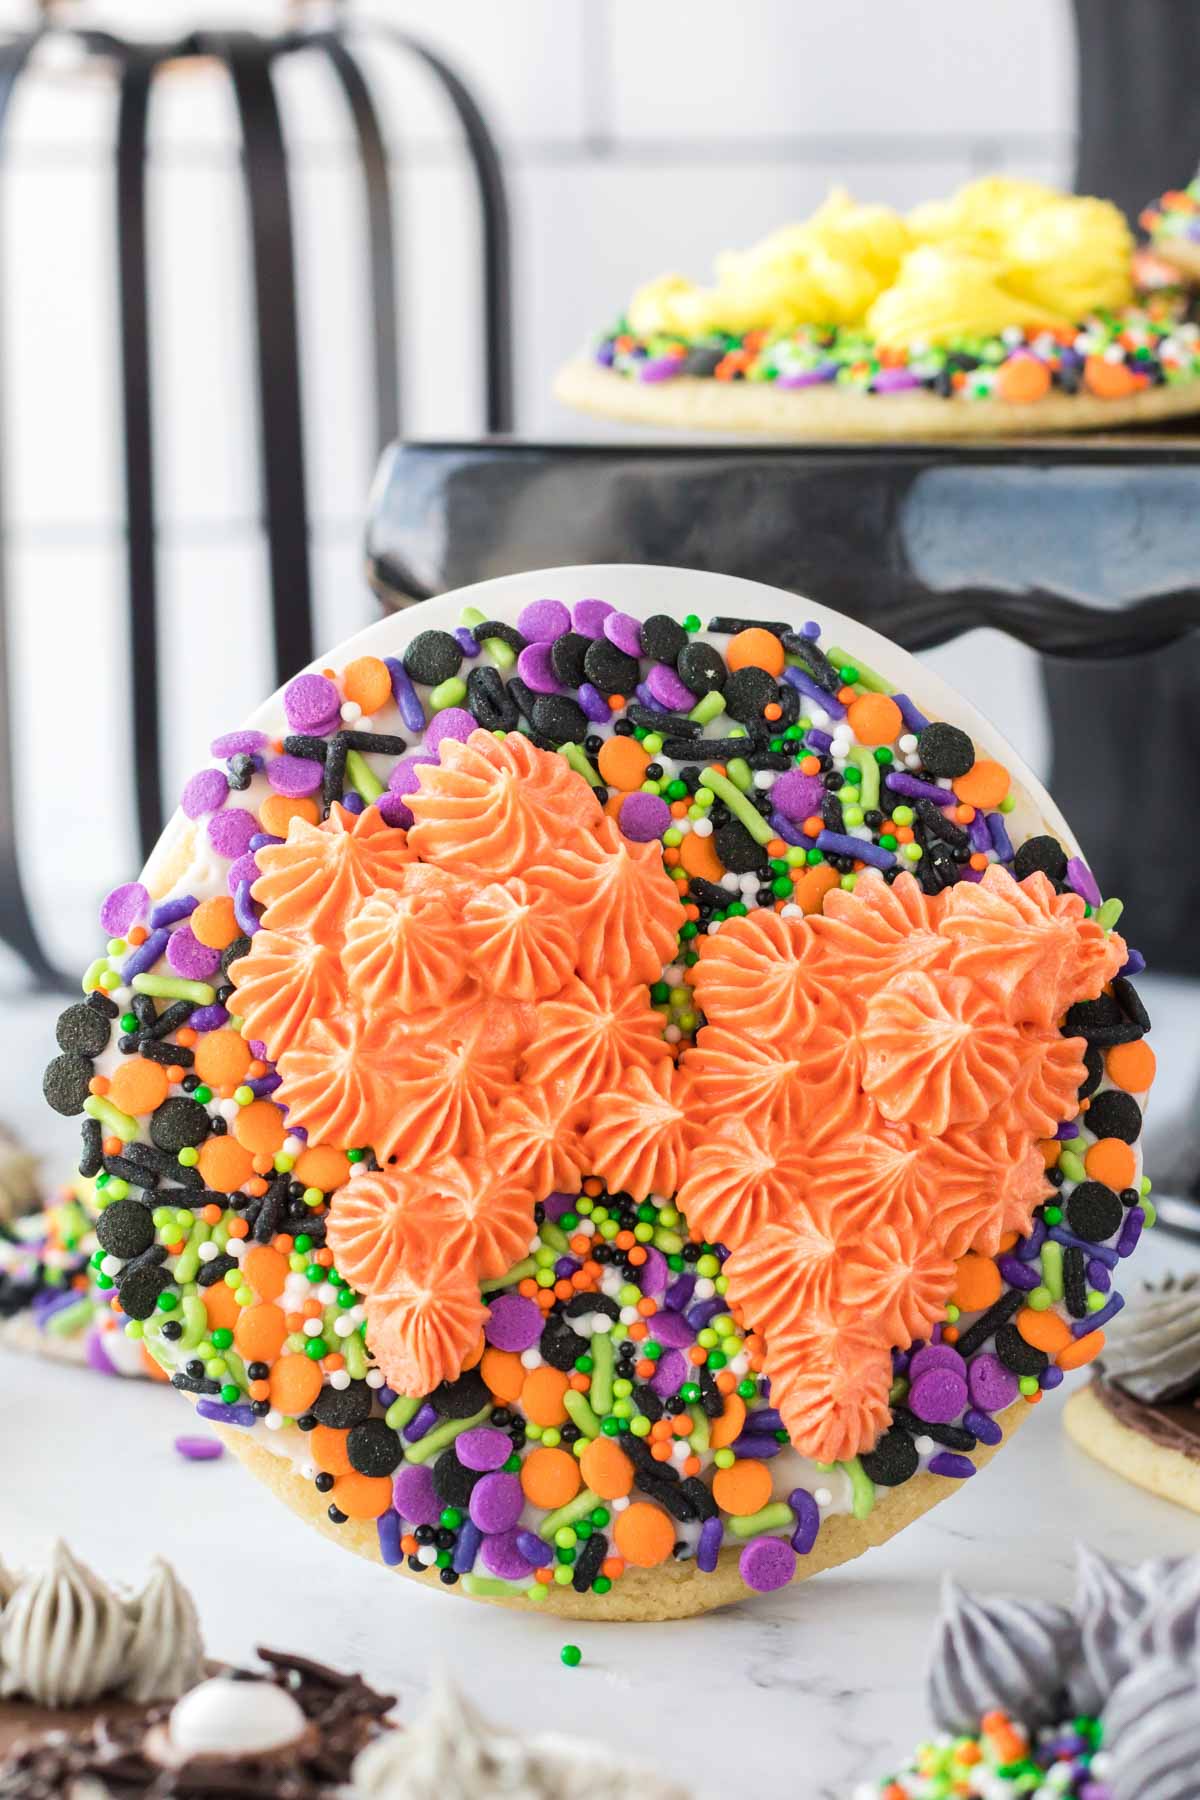
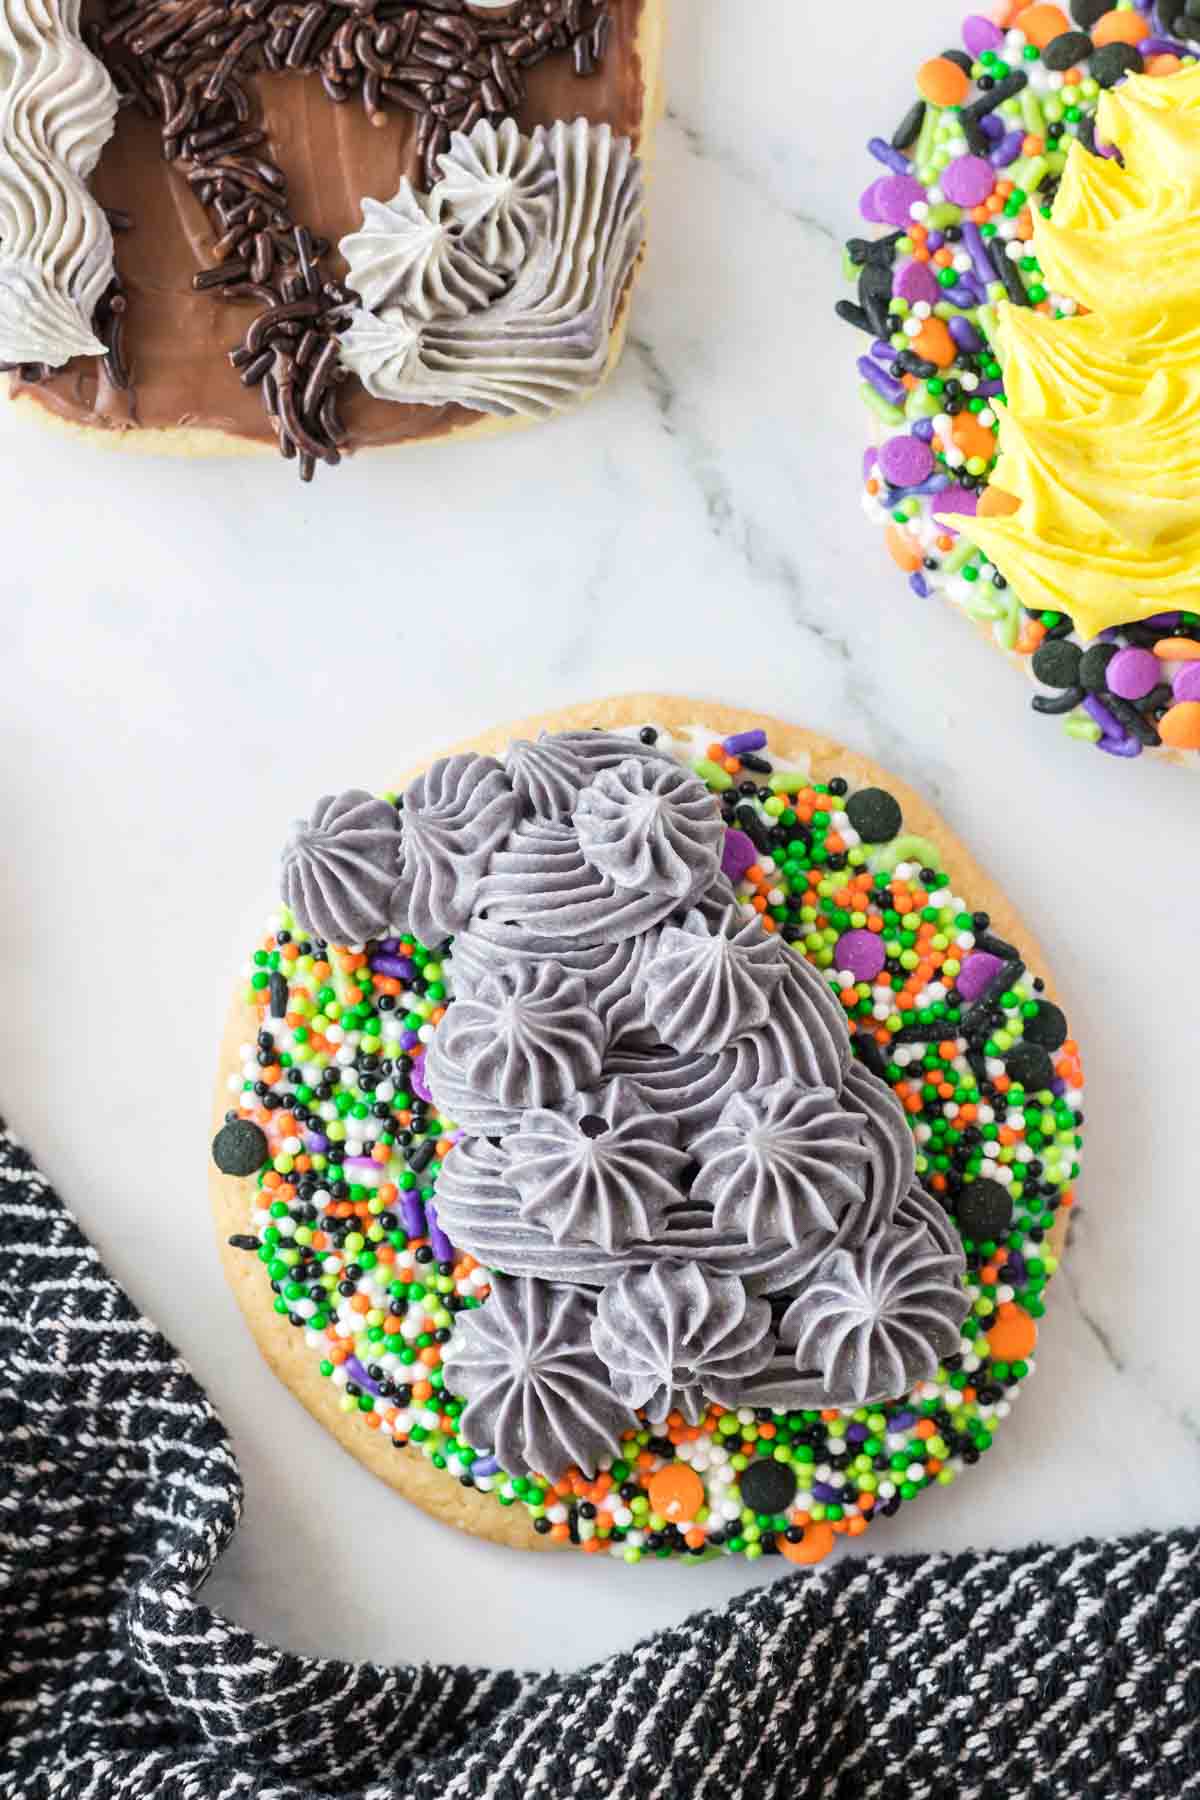
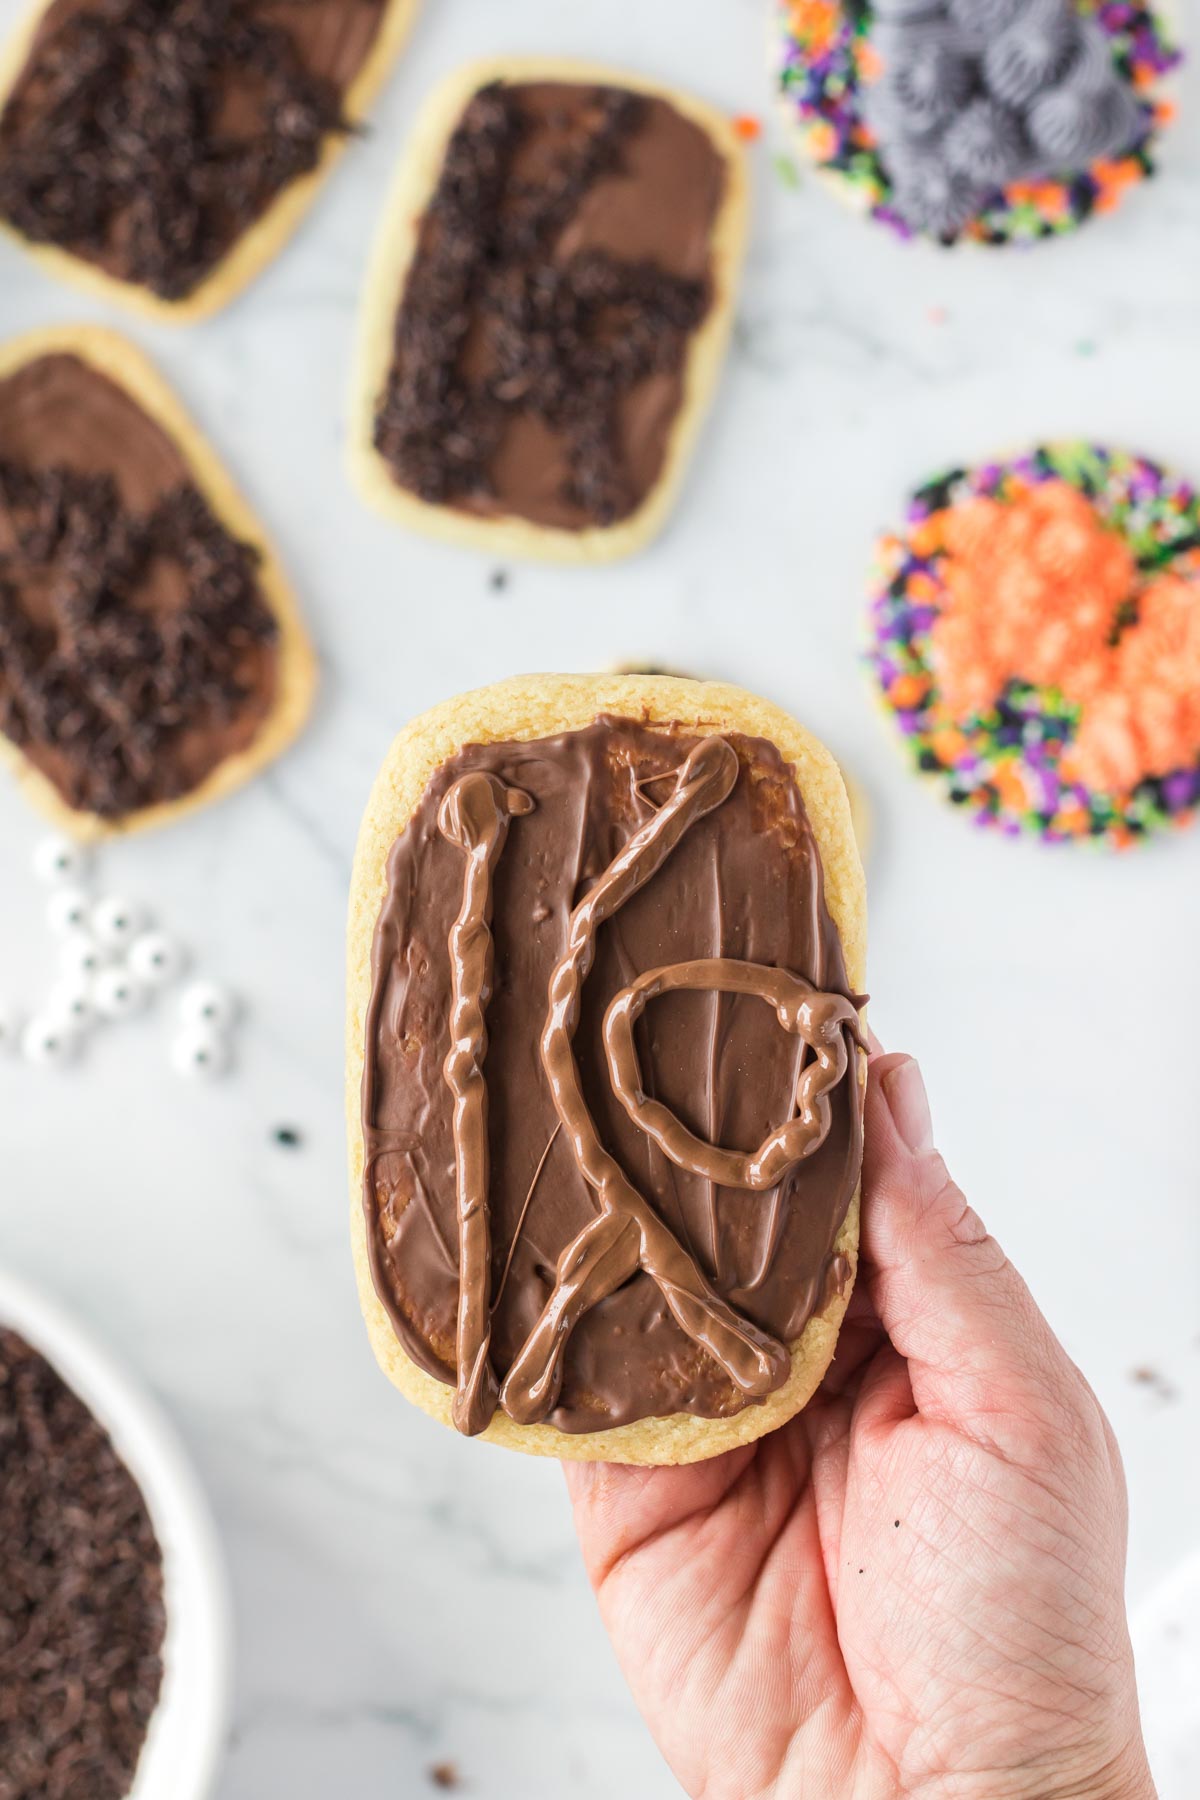
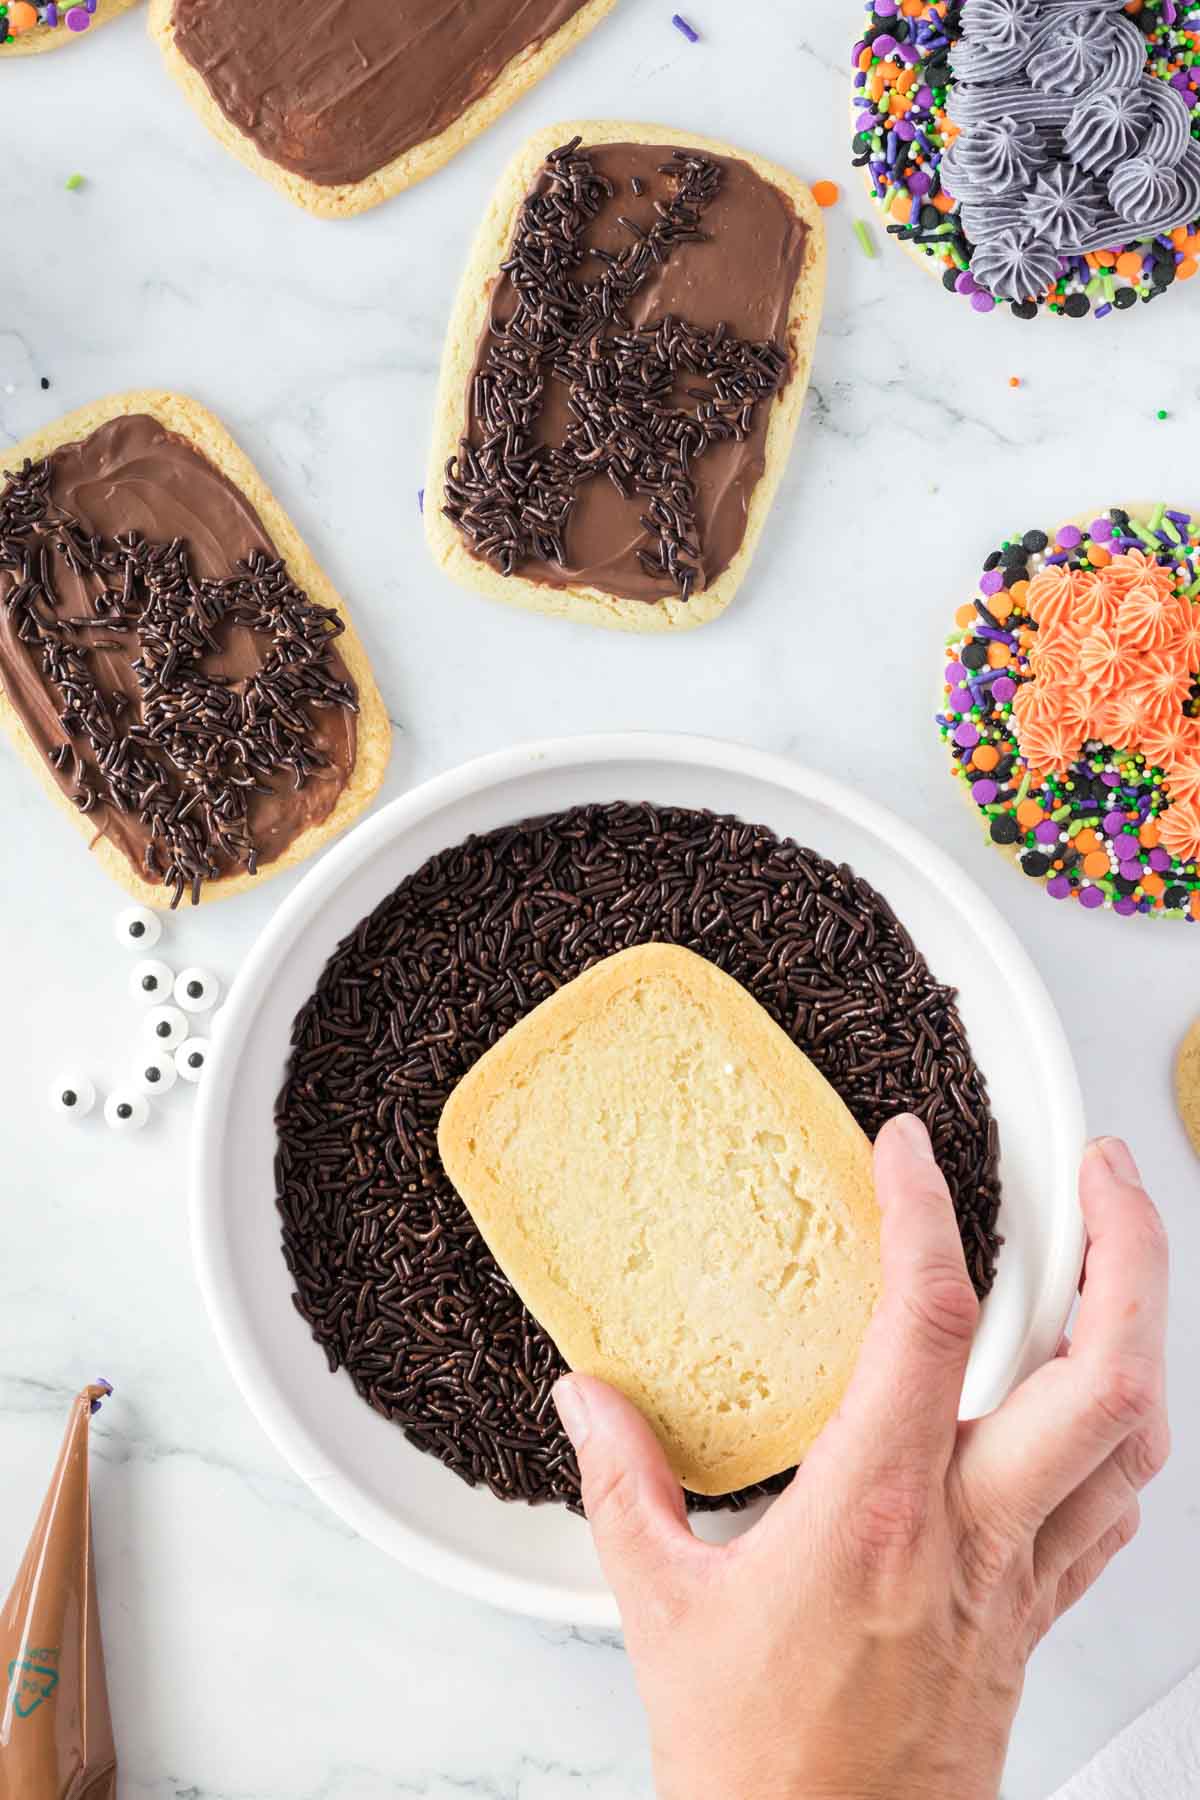
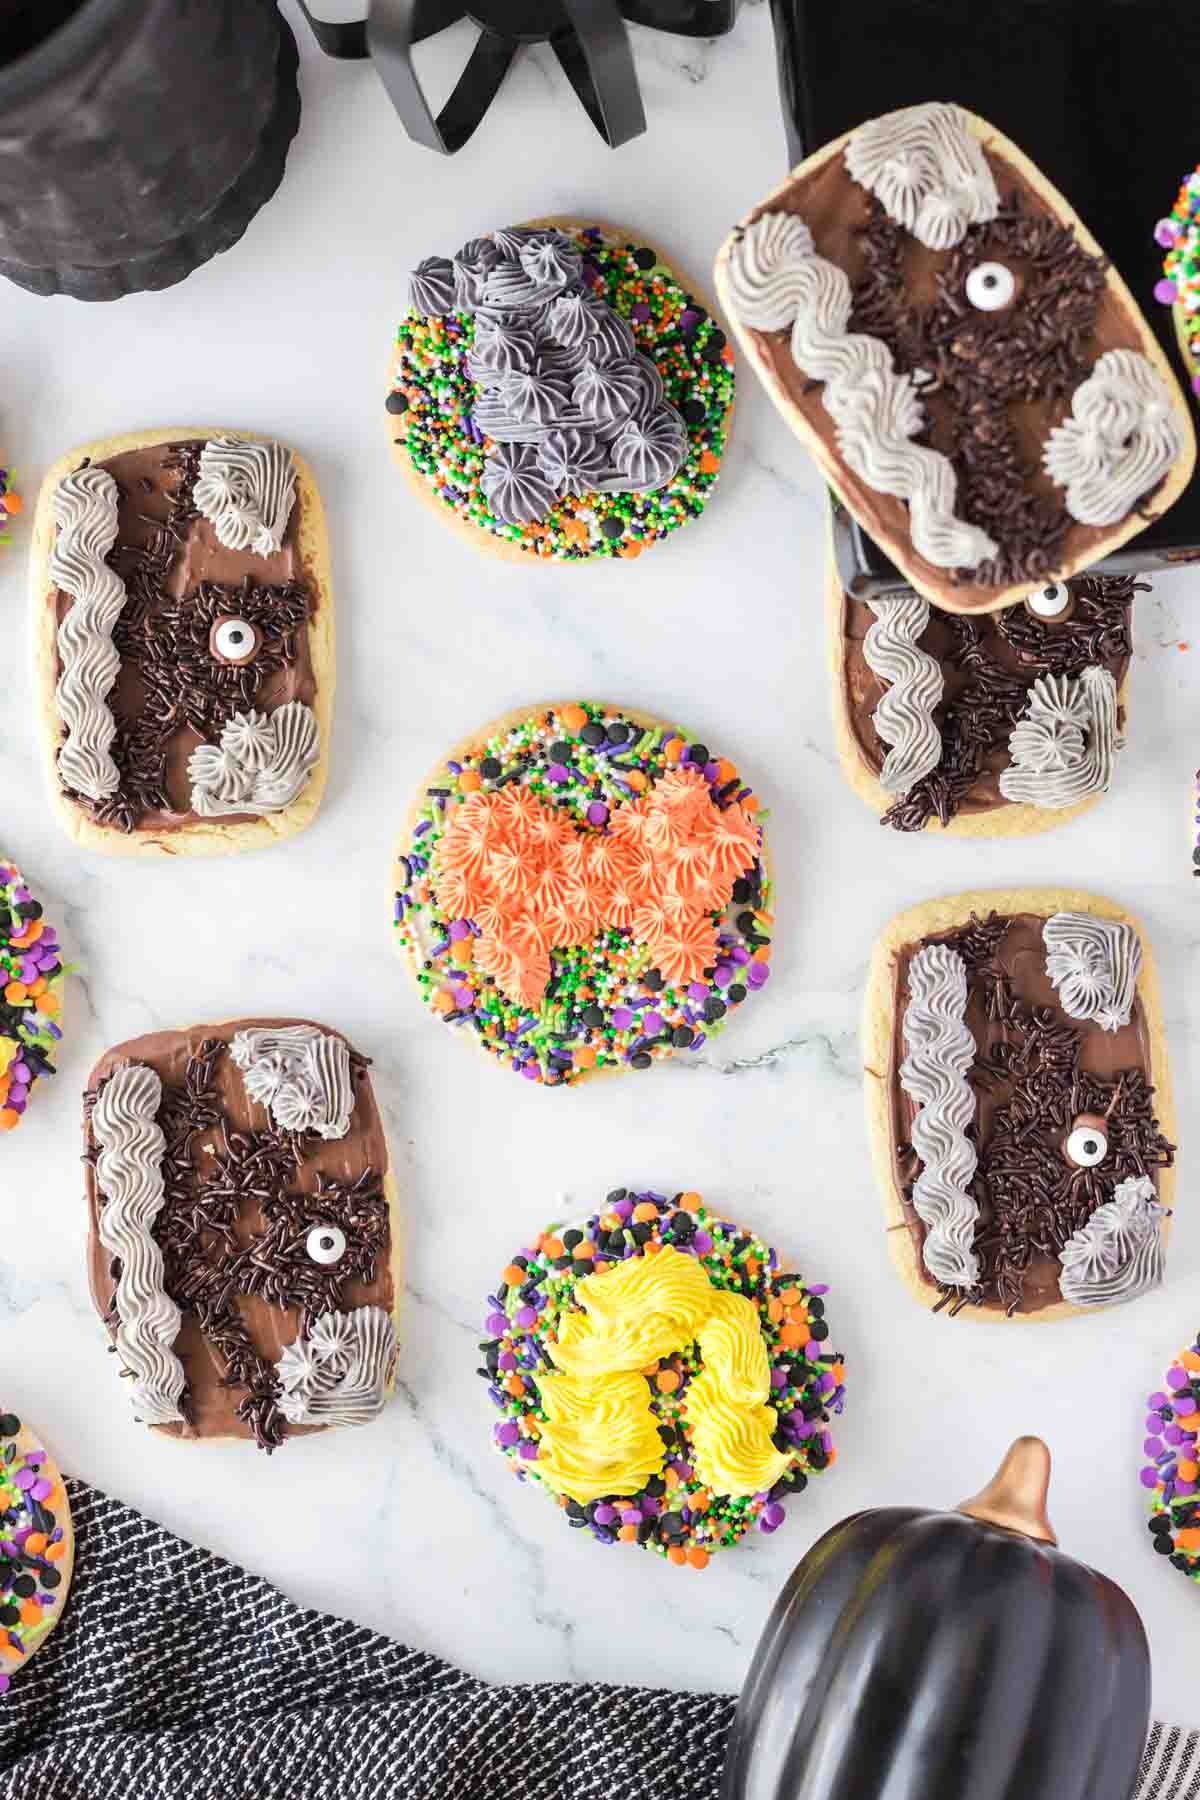
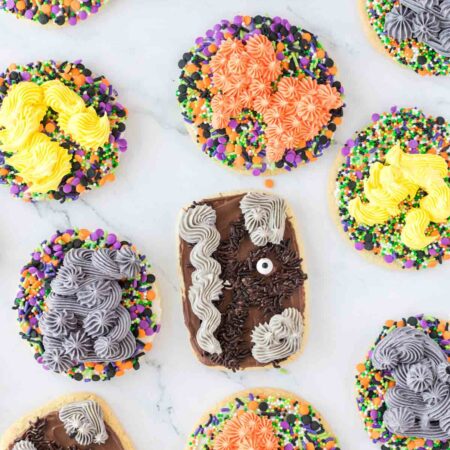
To begin the decoration process, melt the white chocolate wafers either in the microwave or on the stove using a double boiler. There are typically good melting instructions on the package you can use if you’re not sure how to do that! Then take the circle cookies and dip them into the melted white chocolate. If you need to, you can spread the white chocolate around to evenly coat the cookies with frosting. Take that same cookie and dip it into immediately the Halloween sprinkles. Repeat this process, placing the cookies onto a piece of parchment paper to set while you dip the others, until you’ve finished all of the cookies. For the Winnifred cookie, take a piping bag filled with the orange buttercream along with a star tip and outline her hair as shown in the photo right on the top middle of the cookie. Squeeze out a little at a time to make stars in different sizes until you like the shape of her hair. For Sarah, use the yellow buttercream and star tip again to pipe out a drawing of her hairline. Then go over her hairline a second time with smaller strokes. For Mary’s cookies, use the purple frosting with the star tip again. Make a cyclone shape and taper off one side at the top. Fill in the gaps at the top with little star dots. Using the package directions melt the chocolate wafers, then spread the chocolate onto the rectangular cookies. Now let the chocolate cool and harden on the cookies. Place the rest of the melted chocolate into a piping bag. This time cut a small opening at the tip of the bag. Using the chocolate you just piped, draw the stitching to make them look like spell book cookies. Dip those cookies into chocolate sprinkles, just gently pressing down to coat the piping but not the entire cookie. Add a drop of chocolate to use as a glue and stick on the candy eyeball. Finally put the gray frosting in a piping bag with the star tip. On the spelllbook cookies, draw out a spine and the corner bindings. Or if you want to skip the spellbook cookies altogether, you could also just make the Sanderson Sister Hocus Pocus cookies and these Hocus Pocus brownies instead! They both make the perfect treat for a Hocus Pocus party! Serve the cookies on a fun Halloween tray, ideally with a black flame candle nearby, for a delicious movie night treat! Or add them to this fun Halloween dessert board that’s witch themed – they’d be the perfect addition!
Expert Tips
Try to roll out the Hocus Pocus cookie dough to about the same thickness for each cookie regardless of the shape. This will ensure that they bake at about the same amount of time and you aren’t burning ones that are thinner than others. Store cookies at room temperature in an airtight container for up to five days. They typically won’t last that long (we eat ours quickly), but they can if stored properly! Once you’re done decorating, bag up a full cookie set and give them away as fun treats to neighbors and friends or as a favor after a Hocus Pocus movie night! Go slow when piping the buttercream to keep the texture of the tip. You can always do a practice run for the hair on a piece of parchment paper so you know what look you’re going for! Then just scoop it up off the buttercream, put it back in the piping bag, and reuse the frosting over again! Make sure to leave space for the eye on the spell books or if you accidentally cover it with chocolate sprinkles, you can always add a dot of extra chocolate frosting and put the eye on top of sprinkles – no big deal!
More Halloween Treats
If you need more than just Halloween sugar cookies to serve this Halloween, try one of these yummy treats! I mean it’s just a bunch of hocus pocus to think that you only need one Halloween treat to enjoy!
Witch hat cookies – the cutest Halloween cookie recipe that’s not really a recipe at all! It’s a must-try! Spider web pretzels – yummy spider web themed treats made out of just pretzels and white chocolate! Ghost brownies – a fun and easy Halloween treat that uses a box brownie mix topped with an adorable ghost! Monster cookies – soft and chewy treats full of all the things – just try not to eat all of the raw cookie dough! Halloween punch for kids – this fun Halloween punch combines an eery green color with all things gummy for a delicious drinkable treat!